Hi Creative Mamas! I am really happy to share with you this little tutorial on how to make a handmade book using eco print paper. This tutorial is an extension of all the natural dyeing techniques and tutorials on fabric and yarn.
How to make a handmade book
Making a handmade book can be super simple. In this case I will show you a very simple and quick way to make a handmade book using thick watercolor paper.
I am using this kind of paper because I am eco printing the paper first. The paper needs to be thick enough to absorb the dye but also strong enough not to dissolve.

Here are 3 tutorials that will teach you the steps to eco print on paper:
- Eco printing on paper: A Beginners Guide
- Top 10 tips for eco printing on paper
- Eco print on paper with rusty nails and plants
So, this book is made from paper which has been printed using natural dyeing techniques.
Download the list of best flowers and leaves to use in eco printing
This post contains affiliate links, which means I receive a small commission, at no extra cost to you, if you make a purchase using this link. Please see my disclosure for more details.
How to bind your own handmade book
For this handmade little book I am using not only hand dyed printed paper but I am also binding it and decorating it with hand dyes yarn using natural dyes. It’s a quick and easy method to bind as many pages as you want to include in your handmade book or journal.
What is Eco Print
Eco print is the process of transferring the image of leaves, flowers and objects into fabric or paper. It’s a wonderful technique which is super eco friendly and very easy to do.
Eco Printing on paper
Eco printing on paper is great because you can collect leaves and beautiful colored flowers that have fallen on the ground any time that you are out and about.
I also use flowers and leaves from my garden such as geraniums, dyers chamomiles, avocado leaves, rosemary, mint and eucalyptus.
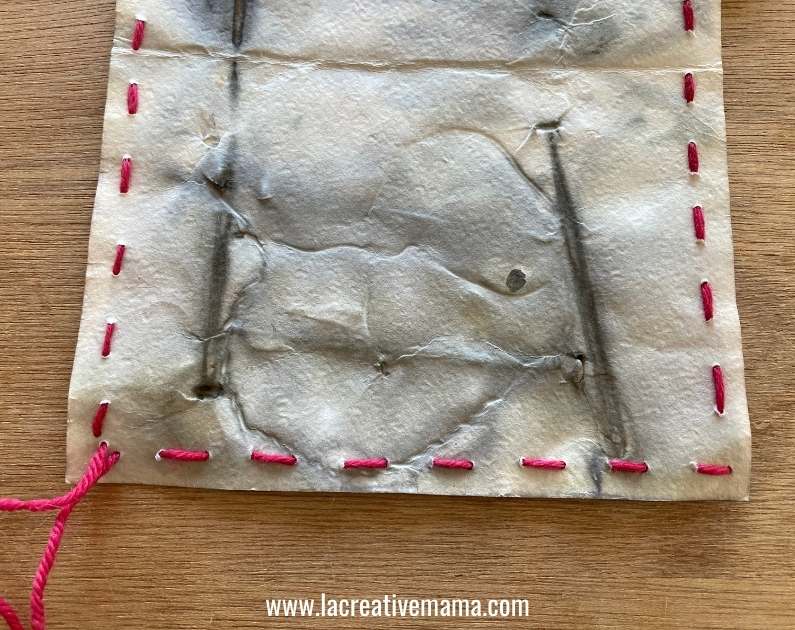
You can also do Eco Printing with rusty nails. I have printed the pages for this book using rusty nails and it created a great print which seems embossed.
Handmade book tutorial using Eco Print paper
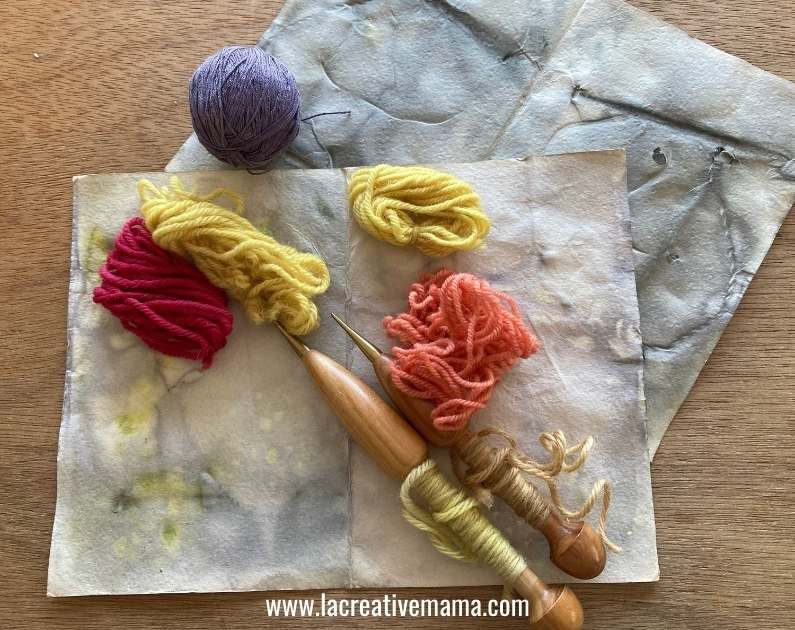
Materials to make a handmade book
- Eco printed paper (follow this tutorial) using watercolor paper
- Wool yarn (I have used hand dyed yarn)
- Embroidery needle with a big eye for yarn
- Pom pom (You can make your awesome pom poms here)
Step 1
Decide how many pages you want to have in your handmade book or journal. In this case I have only used 2 double pages which gives me 6 individual pages plus the front and back book covers.
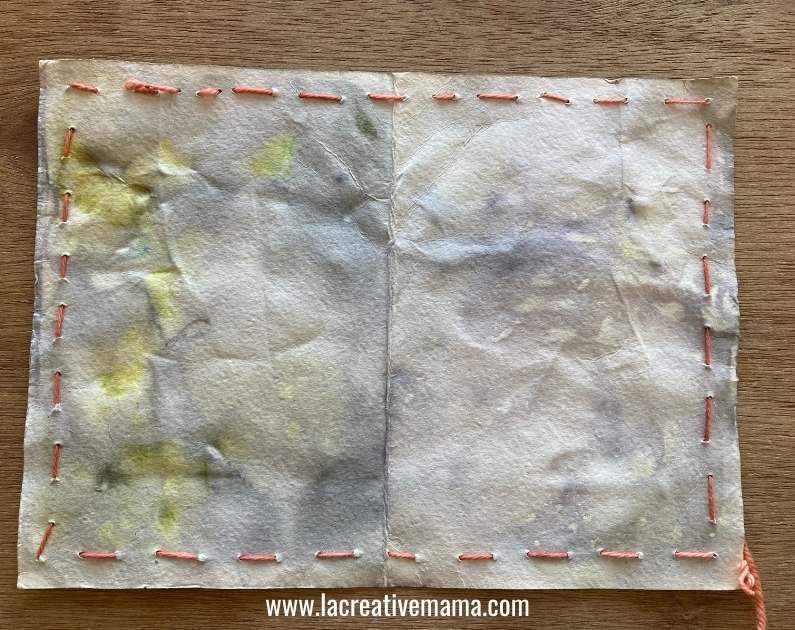
The double pages measure 9 inches by 7 inches ( 23 cm by 18 cm). These pages were dyed using the Eco Print technique and I used rusty nails and onion skins.

Decide which yarn colors you would like to use. In this case I am using yarns which has been naturally dyed with cochineal, madder, dyer’s chamomile and logwood.
Step 2
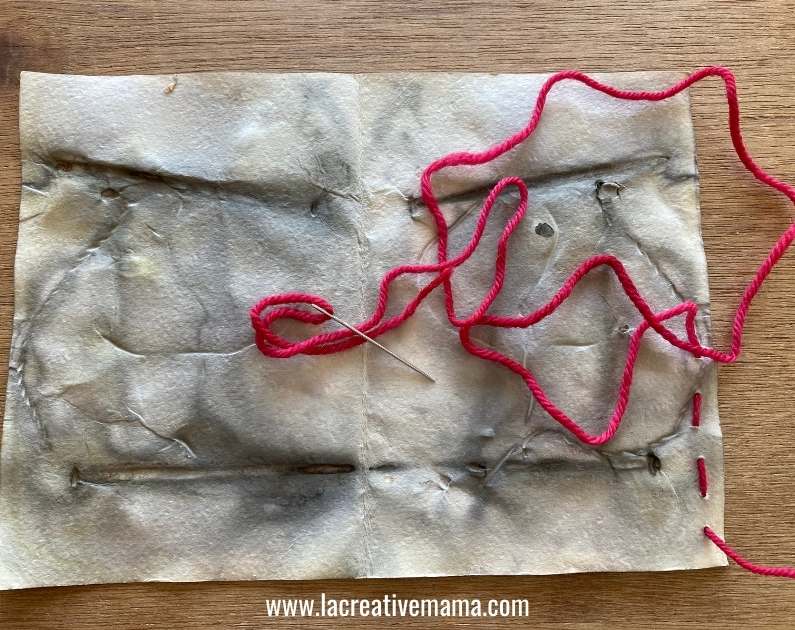
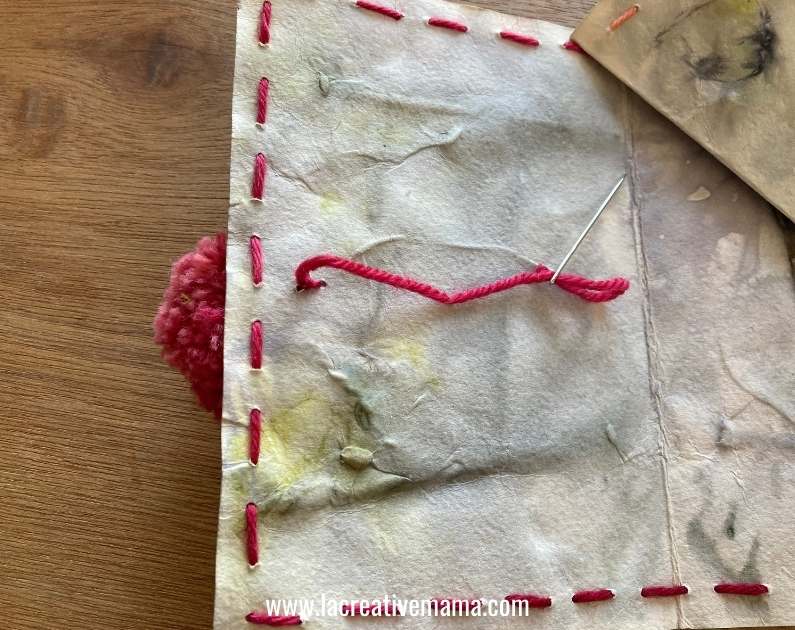
Thread your needle with your preferred yarn color. For this double page I am using madder dyed yarn.

Insert the needle through one of the corners of the double page.
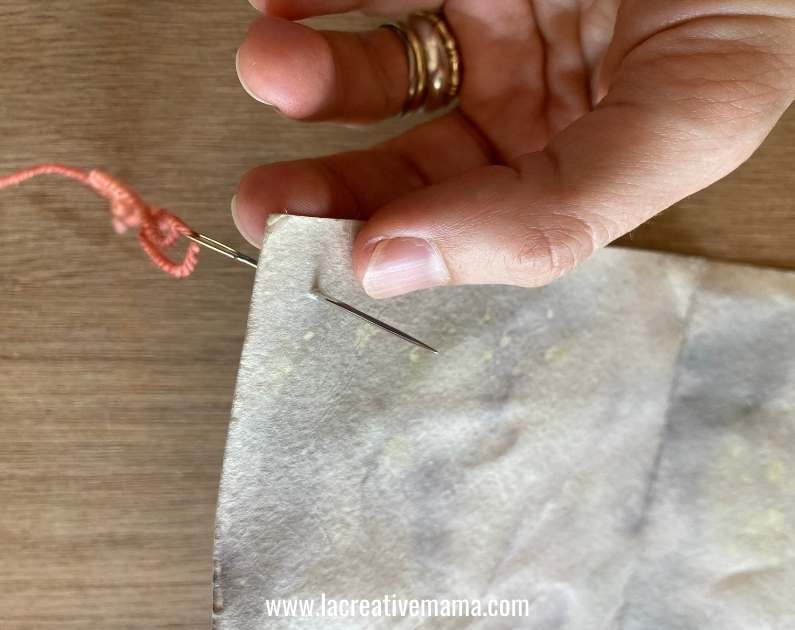
Start sewing with a running stitch. Leave a yarn tail because you will need it to tie a knot at the end.
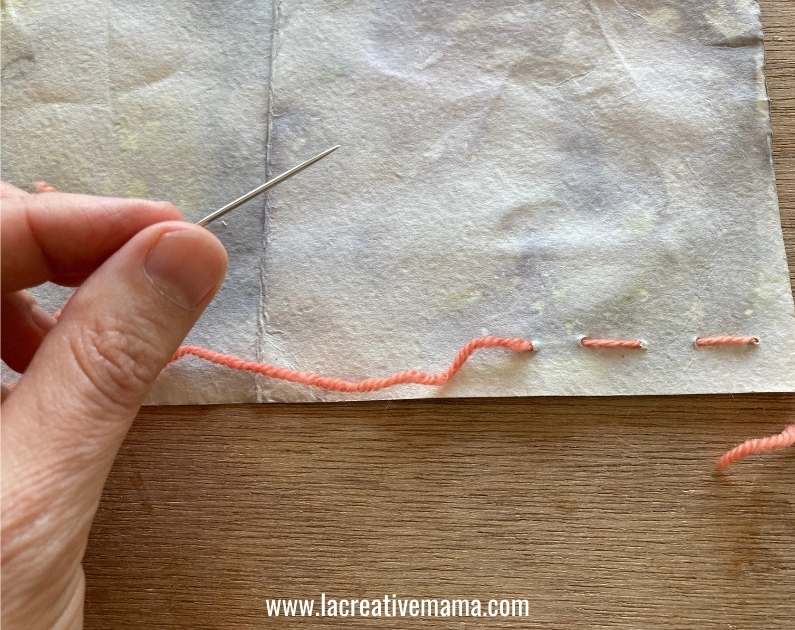
Sew all around the borders of the double page.
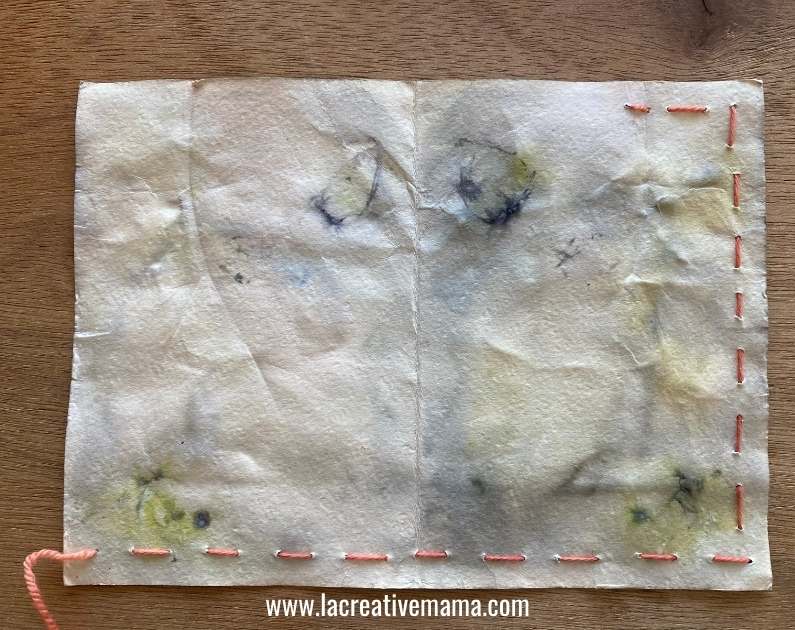
When you finish sewing simply tie a knot with the 2 yarn ends to secure the yarn in place.

Repeat this same process with as many double pages as you want to include in the book.
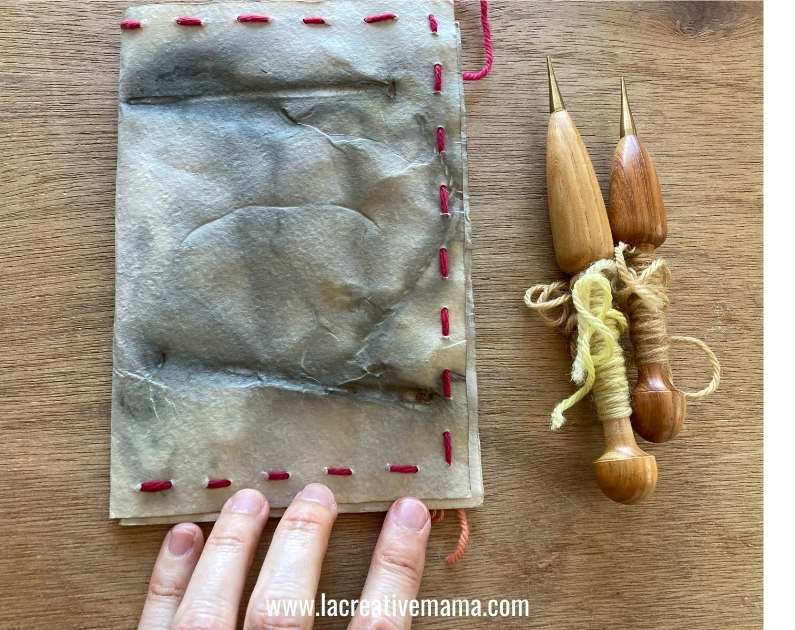
For this page I am using cochineal dyed yarn.
Step 3
Gather all your double pages and fold them in the middle. Place them one on top of the other.

This is how the front cover of the handmade book looks.
And this is how the back cover looks 🙂

Step 4
Before binding the book I decided to sew a pom poms as a closing element. These are great and an easy way to close the book.
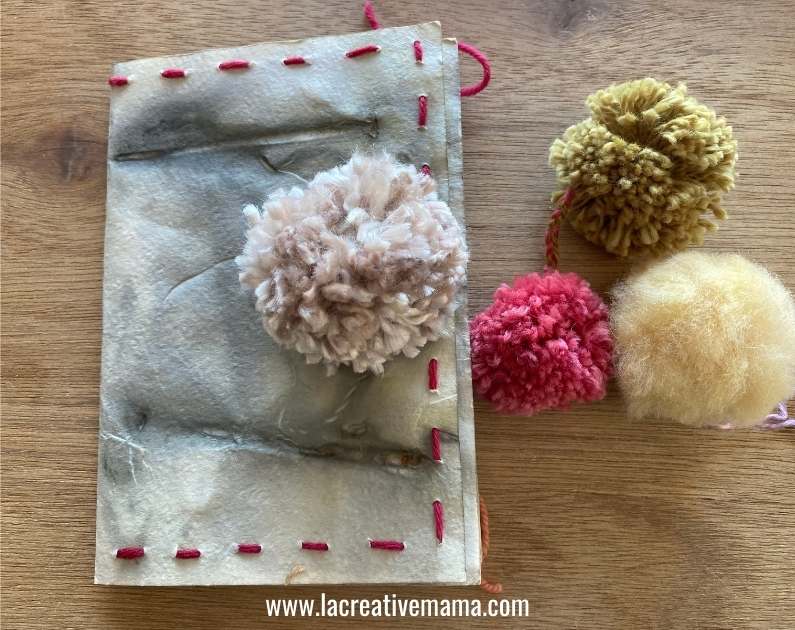
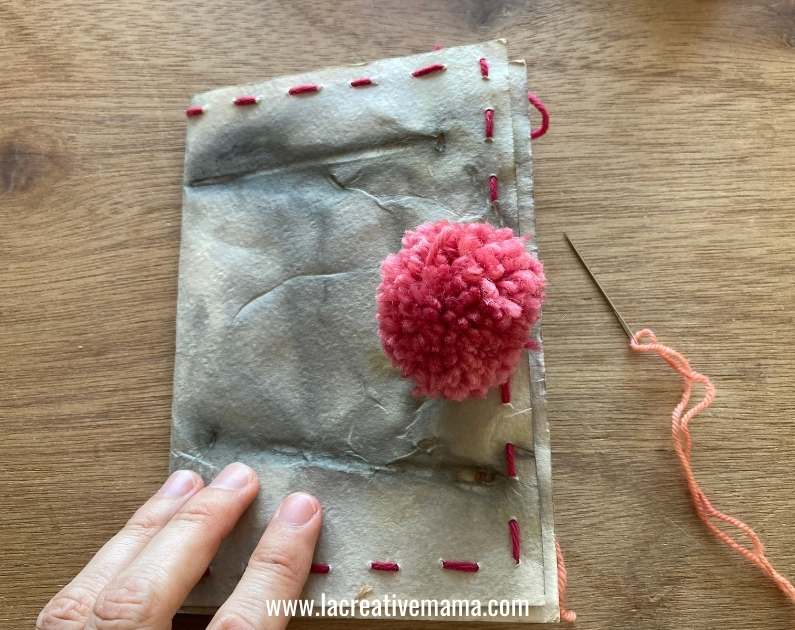
I chose a cochineal dyed pom pom.
Thread a needle with the same color yarn as the pom pom. Insert the yarn thread through the middle of it.

Then insert the same piece of yarn through the front cover page.

Secure the pom pom in place and make a knot on the underside of the front cover.
This is how the front cover looks with the attached pom pom in place. Make sure that the pom pom is half way through the length of the page.
Step 5
Thread a needle with the same yarn as you used before. Insert the needle through the middle of the middle pages and make sure you go through all the pages of the book.
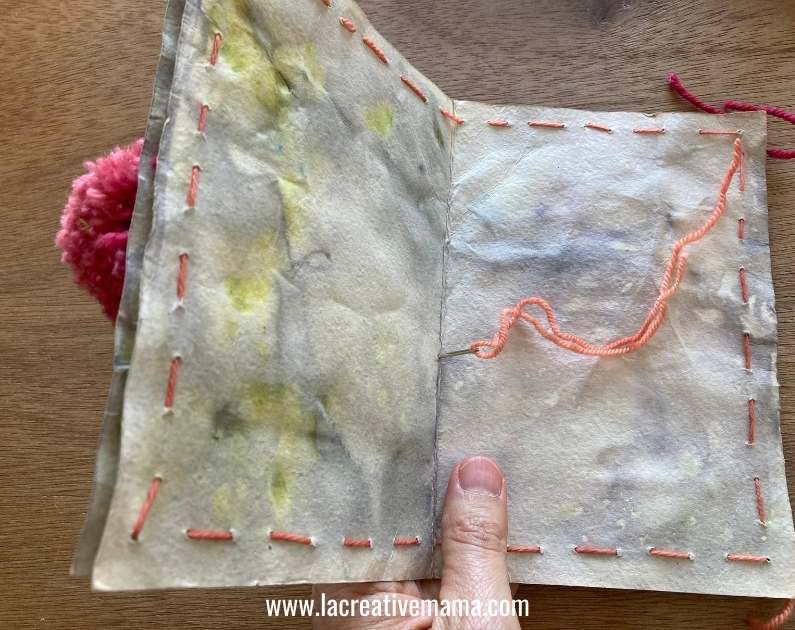
Loop the yarn through the outside of the book and bring the needle back through the inside of the middle pages. You can repeat this loop a couple of times. Make a knot to secure the binding.

Step 6
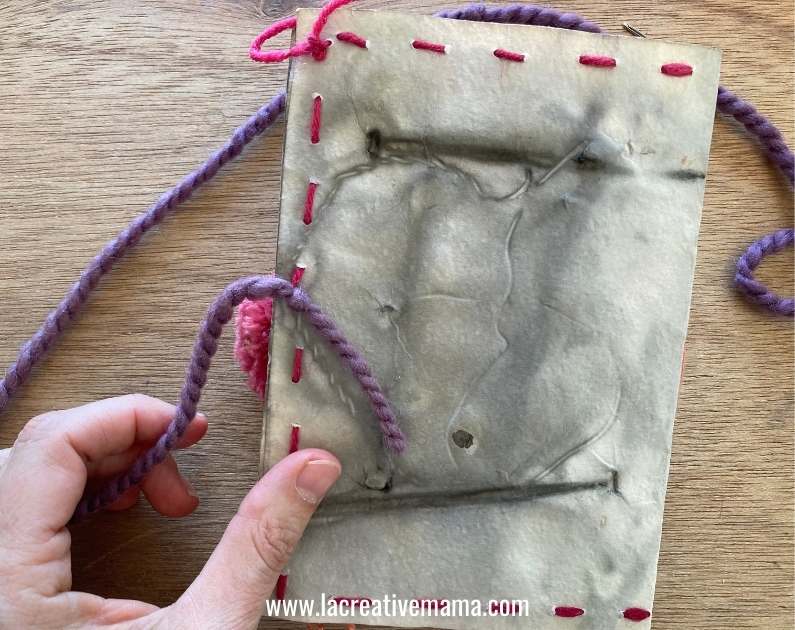
In order to finish the book and to securely close when needed, loop a yarn thread through one of the back running stitches.
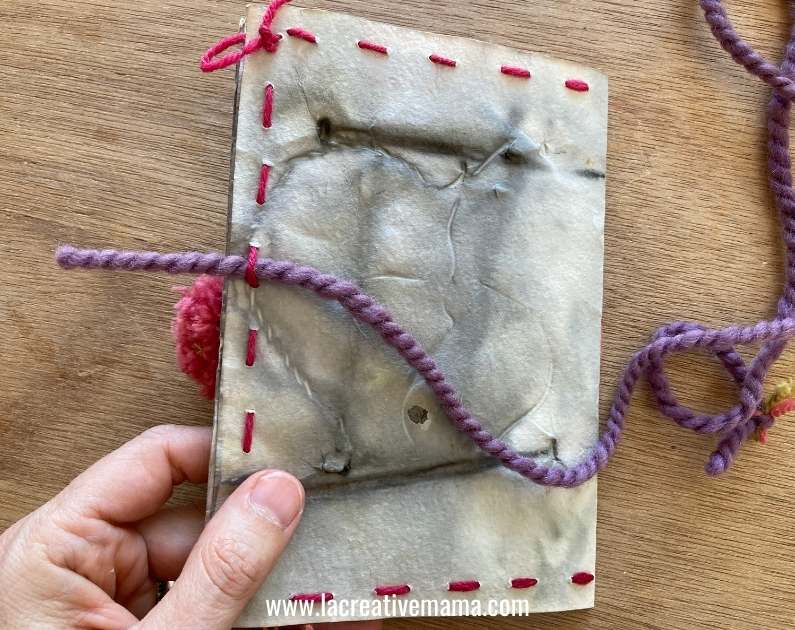
Make a knot to secure in place.
Creating handmade books and journals
This is how the finished handmade book or journal looks. Make it your own. I use mine as a little sampler for my natural dyes.

It started very simply and now its growing into this little resource that I use to teach and to show students all the wonderful things that they can do with natural dyes 🙂

The good thing is that because the pages are so thick they are also super durable so I have had thios little book for a while and it still looks great!
Note the print of the rusty nail looks like the real thing!

I hope you get inspired to make your own handmade book using natural dyes and eco print techniques. Reach out with any questions that you may have.
Other Natural Dyeing Recipes for you to check out!
- Natural dyeing with Onion skins (gold,yellows)
- Natural dyeing with Acorns (gold, black , grey)
- Natural dyeing with Avocados (Blush,pinks)
- Natural dyeing with tea (browns)
Save this tutorial to your favorite Pinterest board
