Hi Creative Mamas! I am so happy to be sharing this very special way to upcycle old jeans into a tote bag. I recently taught an upcycling workshop and we all had such fun!
Upcycling your old clothes into useful and valuable items is a game changer. It allows you to save a lot of money and it’s a great way to make gifts for your friends and family.

How to upcycle old jeans into a denim bag
In this post I will show you exactly how to turn old jeans and make them into a DIY denim tote bag. I am using iron on applique to embellish the tote bag but you can embellish with any technique that you love.
You can use embroidery, you can use a patch or you can even patchwork the fabric before sewing it into the bag.
To make the tote bag I created a super simple pattern. You can download your FREE Tote Bag Pattern instructions which is available in my FREE RESOURCE LIBRARY— get the password for free by filling out the form below.
Tote bag patterns
I have created several tutorials on different tote bag patterns and styles. Check them out:
- How to sew a folding grocery bag pattern
- Reversible Tote Bag pattern with embroidered patch
- How to make a quilted bag
Also you can create unique looking bags by using your own eco printed fabrics. Check out this DIY purse, the drawstring bag and the crossbody bag which are all made of eco printed silks.
Upcycle old jeans tutorial
This post contains affiliate links, which means I receive a small commission, at no extra cost to you, if you make a purchase using this link. Please see my disclosure for more details.
Materials and equipment
- Old jeans (I used my husband’s jeans, they are actually not too old but they don’t fir any more)
- Denim Tote Bag Pattern (available in my FREE RESOURCE LIBRARY— get the password for free by filling out the form below)
- Fabric scissors
- Cotton fabric scraps
- Iron on adhesive fusing (I love this brand)
- Sewing machine
- Overlocker/Serger optional
- Iron
- Tailor’s Chalk
Step 1: Upcycled Denim Tote Bag Pattern
The first step is to print out the FREE Tote Bag Pattern instructions and create the pattern on paper. You can make this DIY denim tote bag in many different sizes but the idea is not to waste any fabric from the old jeans.
The pattern instructions are based in a 32 inch waist pair of blue jeans and it comes in inches and centimeters.
So, the size of the DIY denim tote bag will change depending on the blue jeans that you choose to upcycle. That’s why I decided to give you the pattern instructions rather than a finished pattern so that you can adapt it as you need to 🙂
Once your pattern is ready lay the old jeans on your cutting surface. As you can see I like working with a cup of coffee 🙂

Step 2: Cutting the jeans
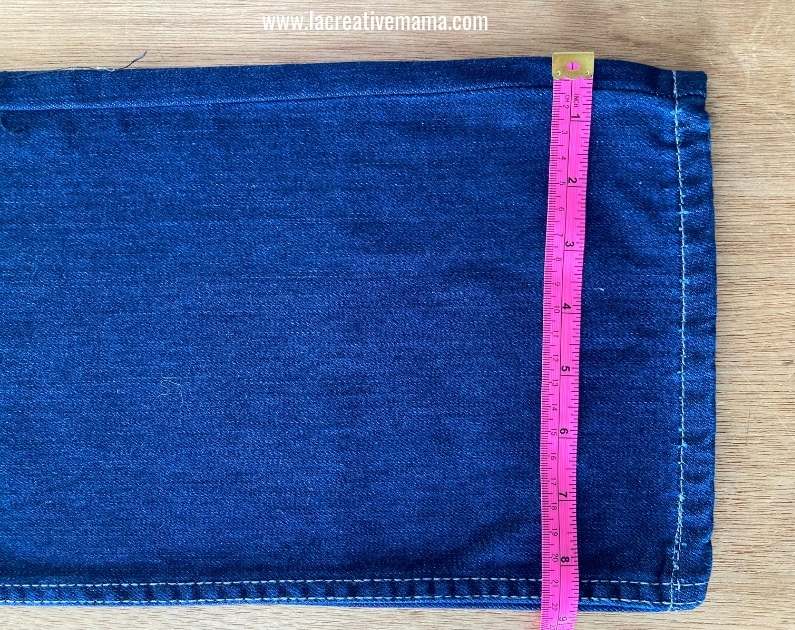
With the jeans flat on your working surface identify the point in which the legs start to widen up.
Draw a chalk line. This line is where you need to cut the leg.

Make sure that the leg is straight, meaning that you are cutting a true rectangle. In this case I had a straight leg jeans.
Open up the leg by cutting through the inside leg seam. I wanted to keep the felt flat seam in the middle of my tote as a design detail.

Cut above the hem line.
You will end up with 2 pieces of flat denim fabric and a pair of shorts.
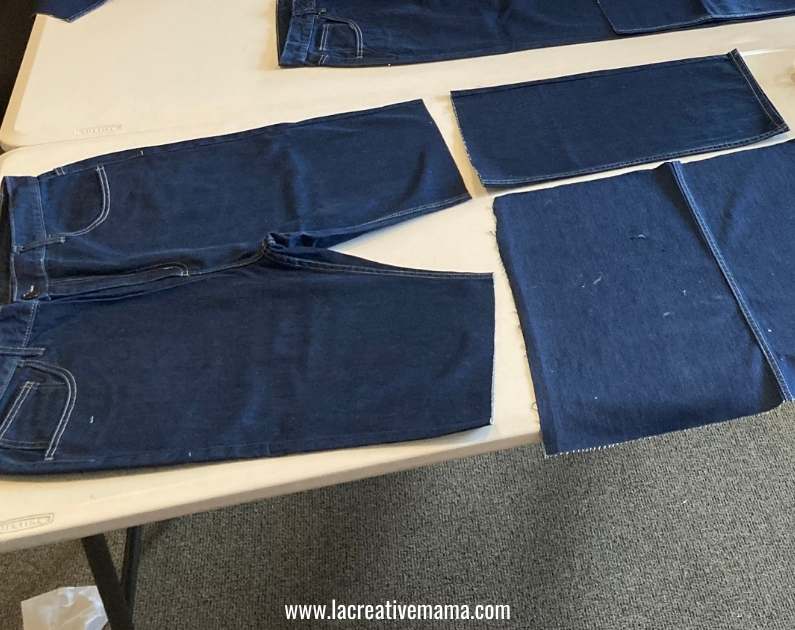
Press the denim fabric pieces flat with a hot iron.
What happens if the old jeans legs are not straight?
This is ok. Simply look for the grain of the fabric (where the warp crosses with the weft) and follow that line to cut rectangular pieces of fabric.
You can always sew several pieces of fabric to create the denim surface required to sew your tote bag.
Step 3: Sewing the denim tote bag
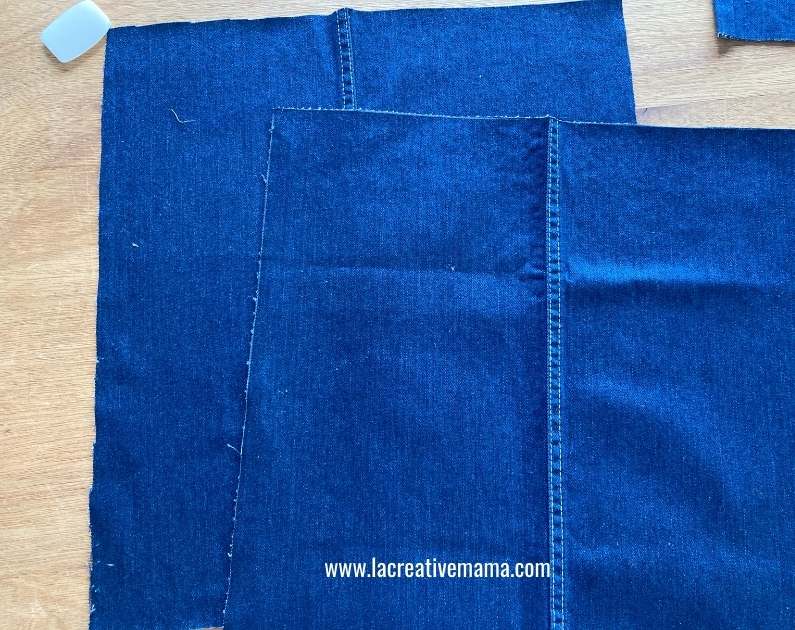
Place the tote bag pattern on top of the denim. Make sure you are following the grain of fabric to ensure that the tote bag sits nicely once its sewn.
Chalk around the pattern and cut.

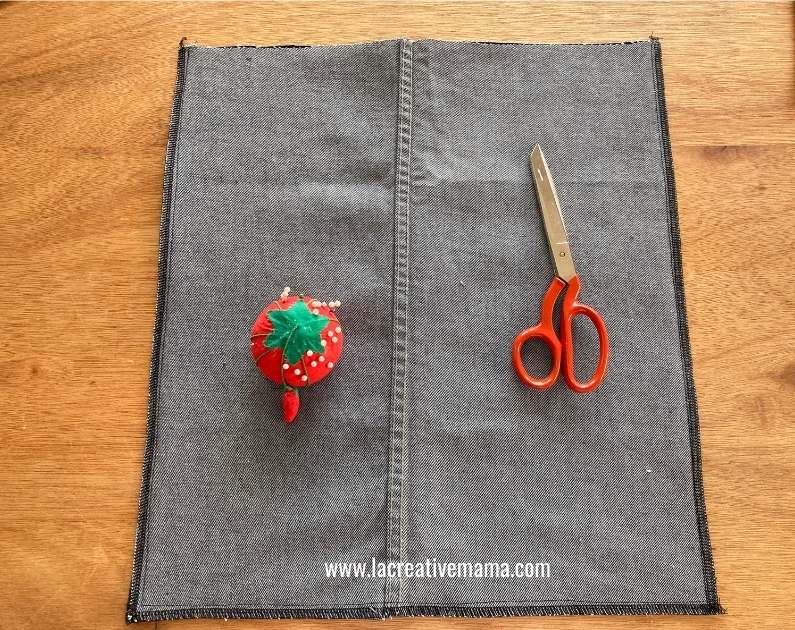
This is how the front and back of the tote bag looks like once it’s been cut.
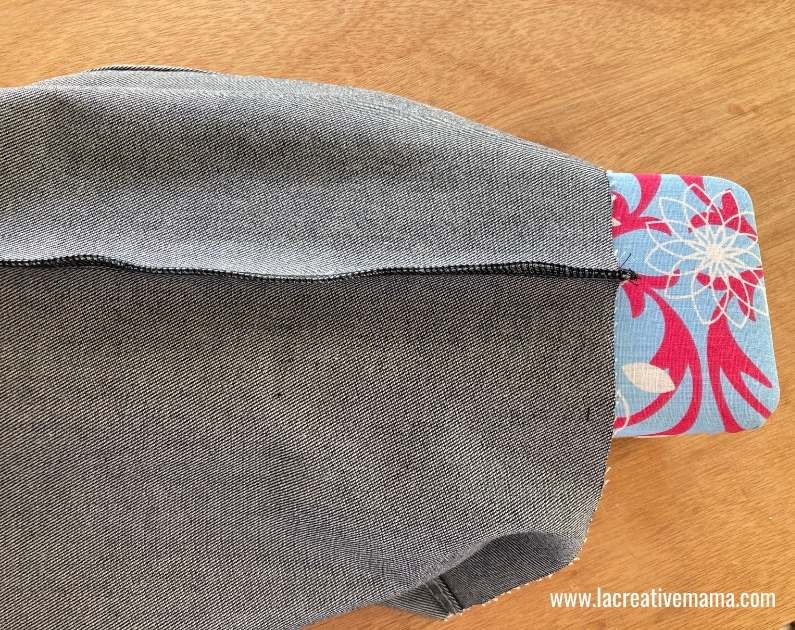
With right sides touching sew around the bag with a regular straight stitch. Sew around with the serger/overlocker to trim the fraying raw edges.
If you don’t have a serger/overlocker simply sew a zig zag stitch. This will do as good a job as the serger/overlocker.
Place the bag on the iron board and press the seam flat.
Step 4: Making a flat bottom tote bag
This is an optional step but I always like my tote bags to have a flat bottom. They look more finished and it’s helpful when I am carrying books inside.
To create the flat bottom place the side seam on top of the bottom seam. These 2 seams need to be touching so if you insert a pin through the side seam it should come through the bottom seam.
Once these 2 seams are aligned sew a straight line. For this bag I allowed 2 inches from the top seam through the sides.
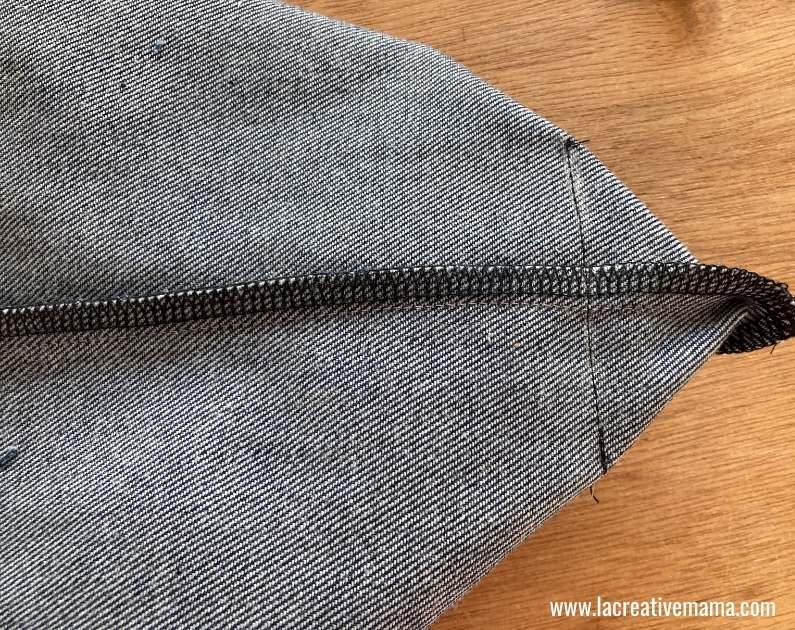
Repeat on both sides.
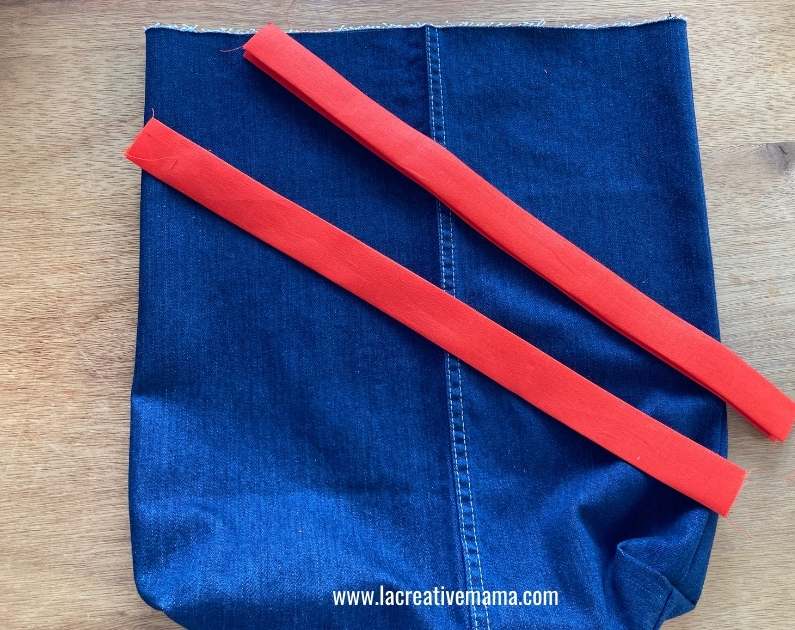
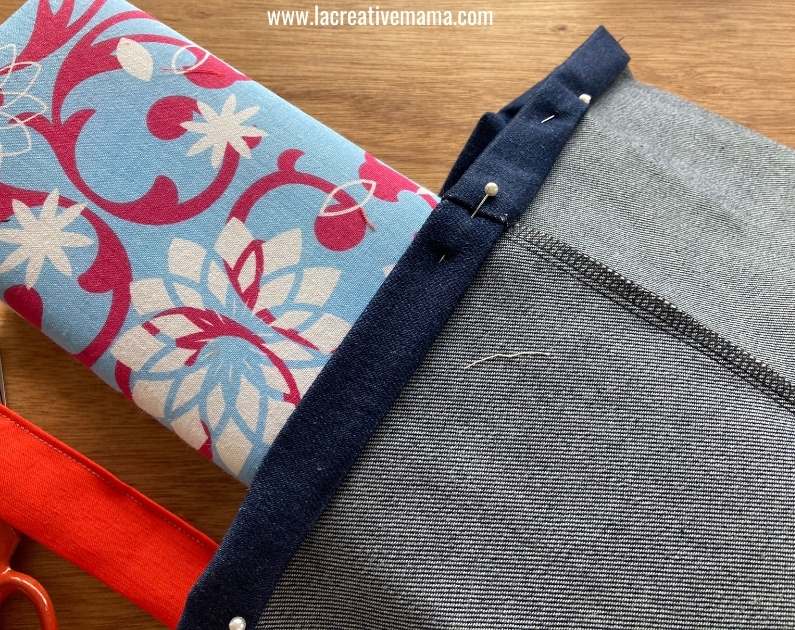
Step 5: Sewing the straps to the tote bag
Cut the straps as per the pattern instructions. Take them to the iron board and fold them in half. Press to make a crisp fold.

Fold in half again and press again. Your straps should have 4 layers and no raw edges should be visible.
This is how the fabric handles should look. Feel free to experiment with the length. Some people love shorter handle and some people prefer really long ones.
Sew the straps on one edge in order to close them. You can choose to stitch on the other end but it’s not needed.
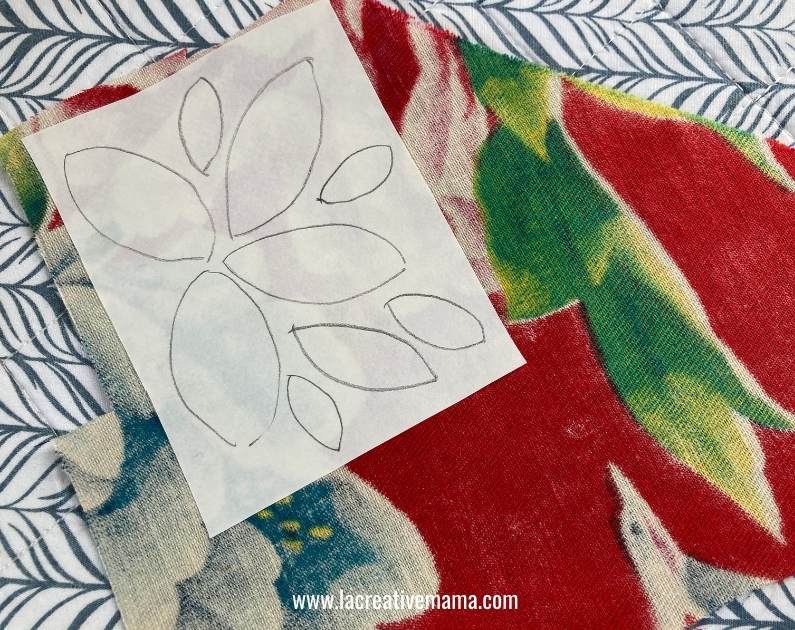
Step 7: Iron fused applique
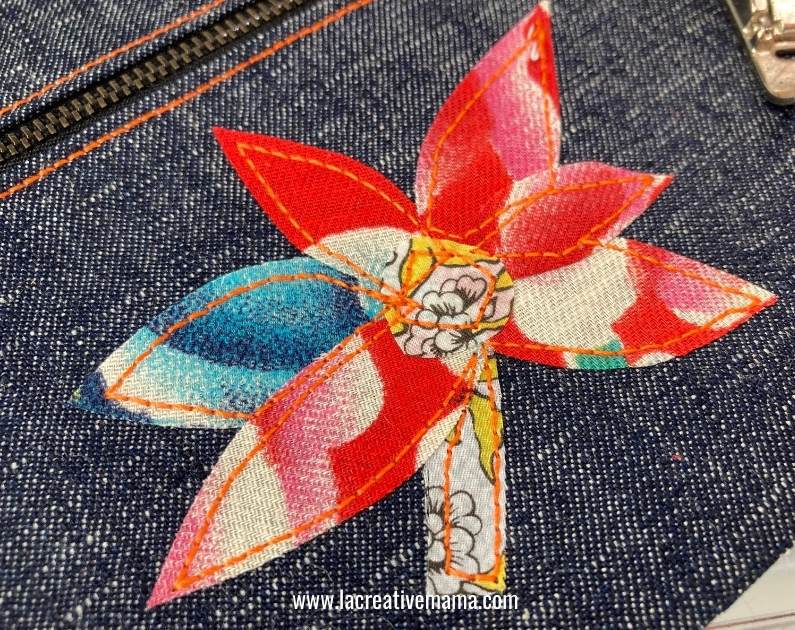
When I was making this tote bag I realized that I needed to further embellish it in order to create a more special looking bag. My solution was to make a flower using iron fused applique. In order to do this follow these steps:
When using iron fused applique you must always use 100% cotton or any other natural fiber.
The iron on ahhesive fusing comes in sheets or in a roll. On the paper side of the iron on adhesive sheet draw flower petals.
Using a hot iron press the iron on adhesive onto the back side of 100% cotton fabric. I am using fun cotton fabric scraps.
Repeat with several different fabrics so that you have a variety of colors.
Place the petals in whatever way you like. Feel free to experiment and have fun with this. You can even applique someone’s name on the bag. That would make for a really nice gift.
Note: The photos below are not from my tote bag project. This applique belongs to another upcycled jeans old jeans project but the process to make the applique was exactly the same. I have included the photos here so that it easier for you to follow along 🙂

Peel off the ahhesive backing and press onto the denim fabric. You will need to do one petal at a time.

When you are happy with the applique flower simply stitch around the flower with a regular size stitch.

This is how the applique looks like.
Adhesive fusing applique video tutorial
This video illustrates how to trace the applique pieces, fuse them onto the fabric and attach them to the tote bag fabric. This video tutorial belongs to the Quilted Applique Tote Bag.
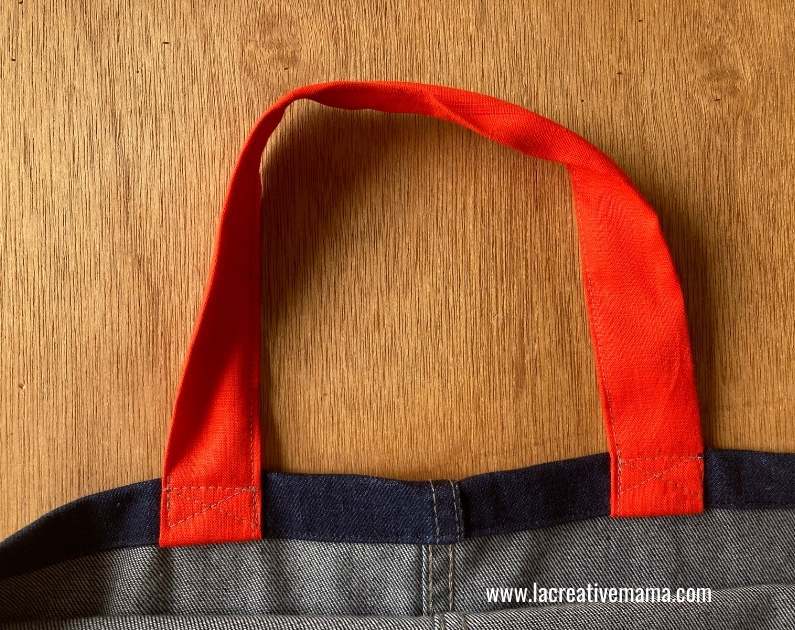
Step 8: Finishing the tote bag
Once the bag is decorated you can now insert the straps. In order to do this fold the top hem twice. I did 3/4 inch (2 cm) folded twice. Mark with pins and press flat.
The last step is to insert the handles inside the double fold. Mark with pins.
Sew all around the double folded edge of the tote bag. The straps will be sewn in this step. Once the hem is done go back to the straps and sew a cross or an 8 figure so that they sit flat against the top edges the photo shows below.
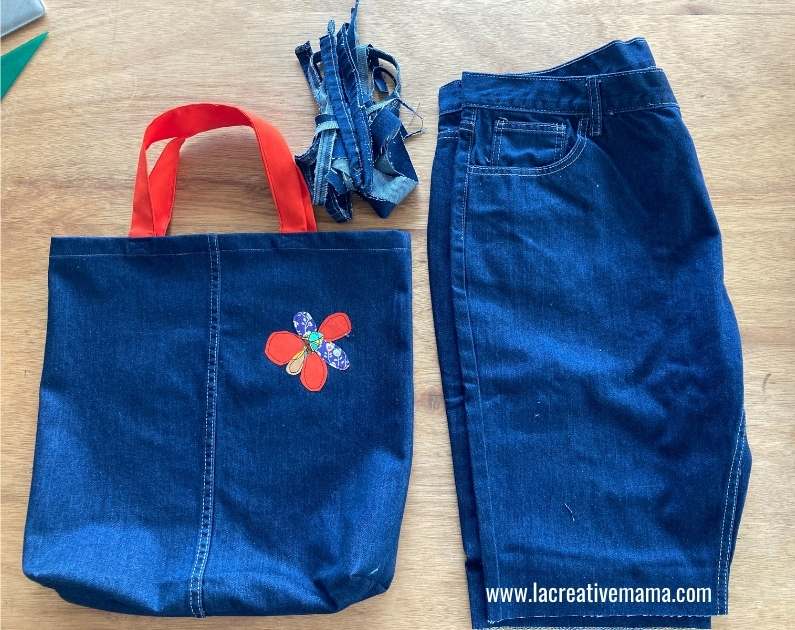
And there you have it. the upcycled denim tote bag is completed. It’s so strong that I have been carrying heavy books across town and it’s been performing super well!
Note: You can make tote handles by upcycling denim as well but I like having some color contrast.

Here is the tote bag (or denim bag) made out of old jeans, the denim shorts which need to be embellished and upcycled as well and the denim scraps which are the trims from the seams and hems.
Applique projects using fabric scraps
If you enjoyed making the flower using fabric applique here are some more creative tutorials that you will love:

For this fabric book cover I used fabric scraps to make the applique as well as bigger pieces of fabric left over to make the book cover.

For this book fabric I used many pieces of upcycled baby clothes to make the beautiful baby appliques.
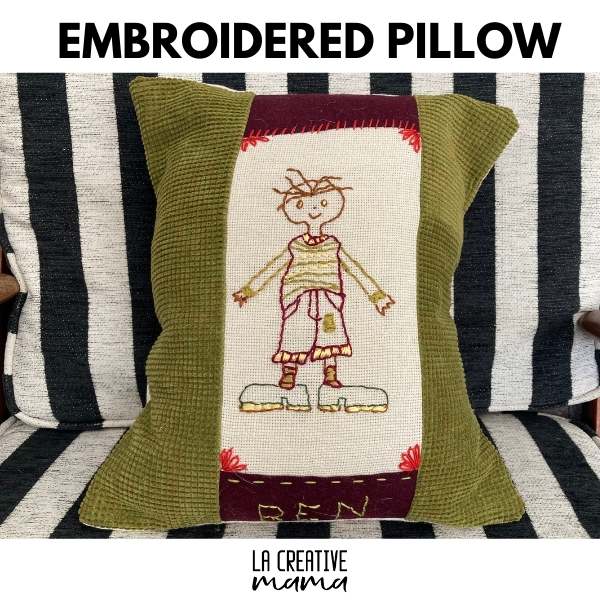
Fir this embroidered pillow I used fabric scraps to make the actual pillow that framed the embroidery drawing.
What can I do with an old pair of jeans?
You can also upcycle old jeans by turning them into a zipper pouch, A flower to embellish other creative sewing projects, a fabric brooch, a fabric journal, a fabric book.
The thing is that denim is a very durable natural fiber, 100 % cotton in most cases, so it’s super versatile.
How can I reuse old jeans for new clothes?
You can easily turn old denim jeans into shorts as shown in this post. You can embellish the shorts by adding patches and fraying the edges.
You can also turn the old pants into a skirt by cutting the legs and adding fabric from the hip down.
Save this tutorial to your favorite Pinterest Board

very nice idea
Cheers 🙂