How to make a flat felt doll?
Hey Creative Mamas! I want to share with you one of my childhood passions and teach you how to make the best toy with these flat felt doll patterns. It’s a fantastic way to make a handmade toy for your child, a gift for someone special or to actually make it with your child as an activity. These flat felt doll patterns make it really super easy.
From a very young age I would draw and paint little characters who had names, did things and went places. They used to live in my left top drawer in my bedroom, in my parents’ house in Buenos Aires, Argentina.
These were paper dolls. I would draw my own doll patterns on paper and I would spend hours coloring them. I would name each of them, I would create their families as well and I would play different scenarios. All my doll patterns were named by their family names and were also color coordinated.
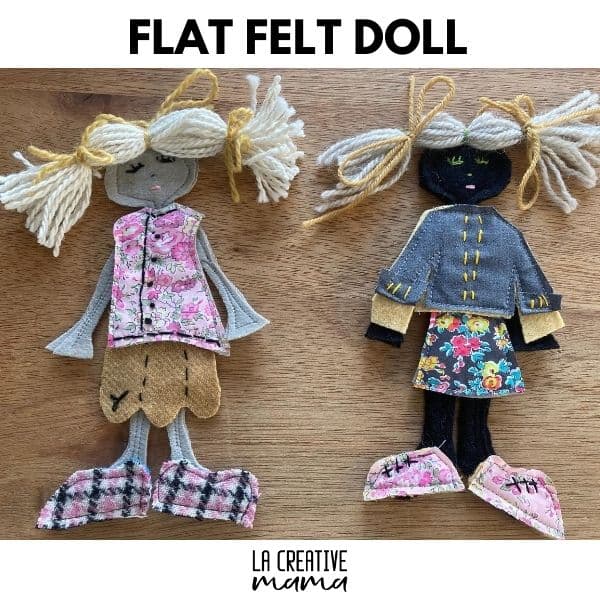
I had the best time creating all these fun characters and of course they had an important part in my upbringing. Looking back I think the reason why I treasured them so much was because I made them by myself.
For many years those characters remained in my drawer while I traveled the world pretending I was a very busy fashion designer and fine artist. Then, one day I went back to my parents’ house and opened my old left top drawer.
All those wonderful characters had been waiting for me so patiently for so many years … they became the characters for my children’s book series “Saffron” and also the inspiration for me to turn them into fabric toys for my kids and into gifts to give to my friends’ kids.
So, now I want to share this lovely idea and process with you 🙂
How to use the doll patterns?
This post contains affiliate links, which means I receive a small commission, at no extra cost to you, if you make a purchase using this link. Please see my disclosure for more details.
The doll patterns are super easy to use (available in my FREE RESOURCE LIBRARY— get the password for free by filling out the form below). You just need to download the PDF patterns and follow the tutorial instructions :).
The felt dolls are made out of felt wool and they have velcro on the back which means that they will stick to a felt sheet or a felt quiet book.
You can sew this doll using a sewing machine or by hand sewing or by a combination of both. In this tutorial I have used a combination of hand sewing and machine sewing. If you don’t have a sewing machine that’s no problem! You can do the whole thing by hand.
Make sure to check out the guide to hand sewing and embroidery stitches for guidance and instruction on how to embellish your doll 🙂
Materials and equipment to make a flat felt doll
- Flat felt doll pattern (available in my FREE RESOURCE LIBRARY— get the password for free by filling out the form above)
- Felted wool fabric in assorted colors
- Fabric scraps (I love using all my fabric scraps from previous sewing projects)
- Trims (Buttons, ribbons, tapes, etc)
- Needles and threads
- Embroidery thread
- Pins
- Velcro
- Fabric glue
- Fabric scissors and paper scissors
- Paper scissors
After you make your flat felt dolls you can also make a little dress up quiet book to keep all of your dolls in one place.
Tutorial
Step 1
Download the doll patterns, print them and cut the pattern pieces. Place on your chosen felted fabric and pin in place.

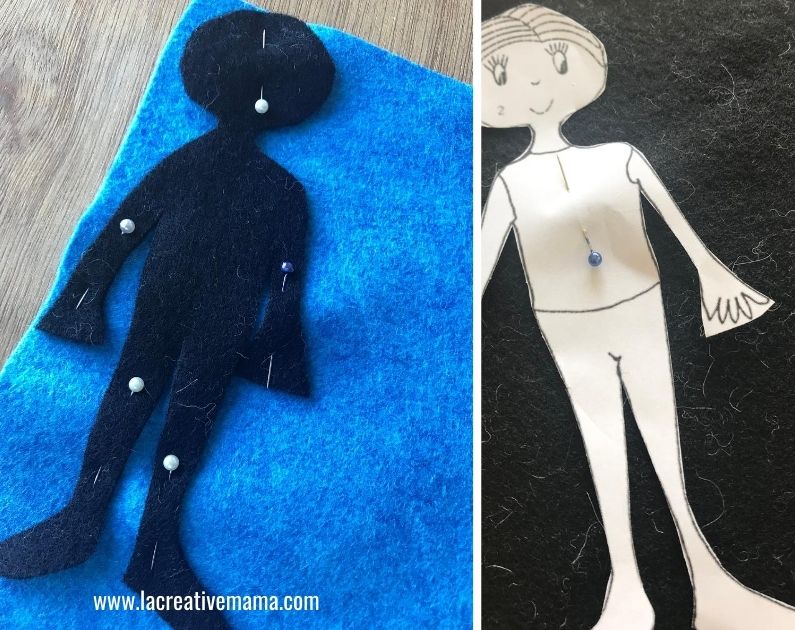
Step 2
Cut around your doll pattern piece. You don’t need any seam allowances for the flat felt doll. Cut in a variety of felt colors. For each doll you need to cut two layers of felt.
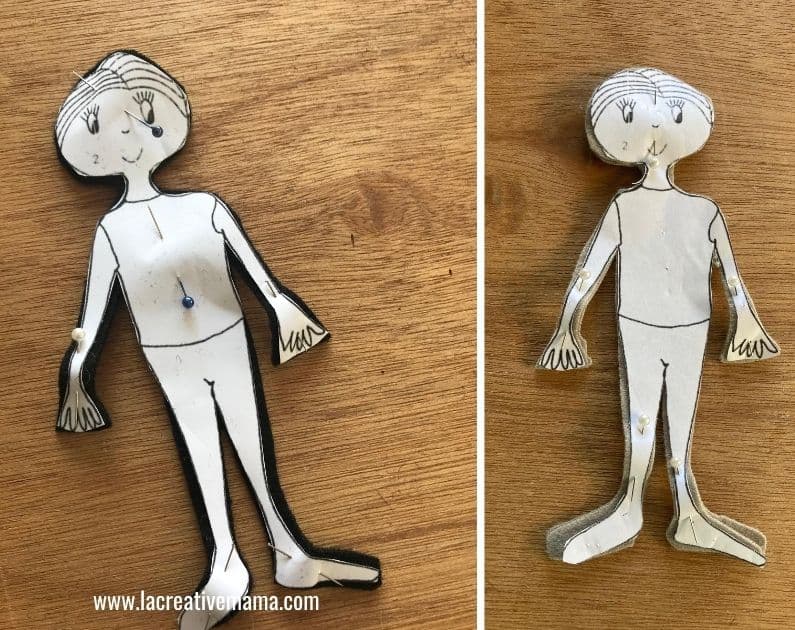
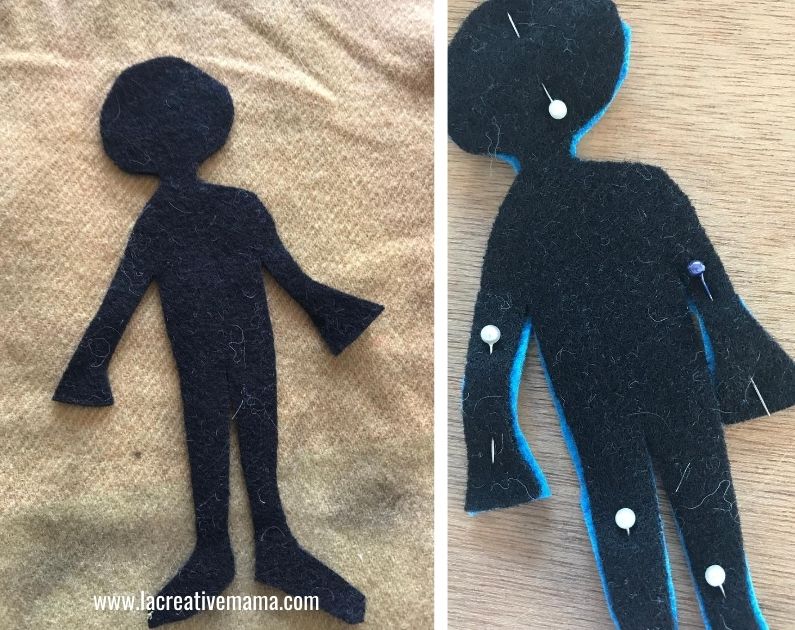
The Flat felt doll sewing tutorial comes with:
- Step by step sewing instructions (PDF version of this tutorial)
- Project checklist (to help kids get organized)
- Dolls certificates
Step 3
Cut around the clothes pattern pieces and place them on top of your chosen fabrics. You need a layer of felt for each clothing piece but you can use any fabric of your choice for the top layer.
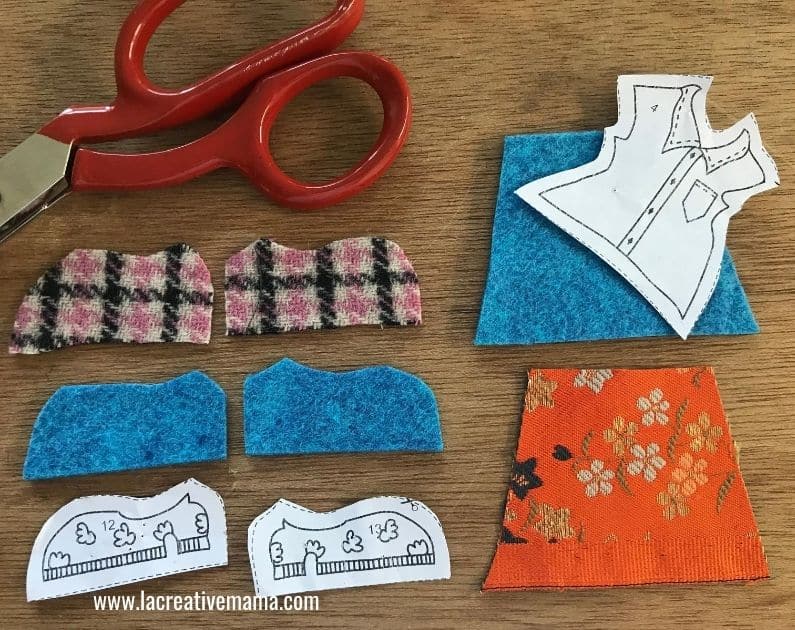

Step 4
This is the time to play around with the clothes for your doll. Using the dress and skirt pattern pieces cut a few in different fabrics just to play around and to have a look at what feels best. I like having fun by making the dress sleeveless :). Decide what dress, skirt and color shoes you want to go with.

Step 5
Embellish your doll by embroidering the eyes, nose and mouth with embroidery thread. Embellish your clothes pieces as well. Check out the Guide to embroidery stitches for lots of ideas to embellish the dolls and the doll’s clothes with hand stitches.
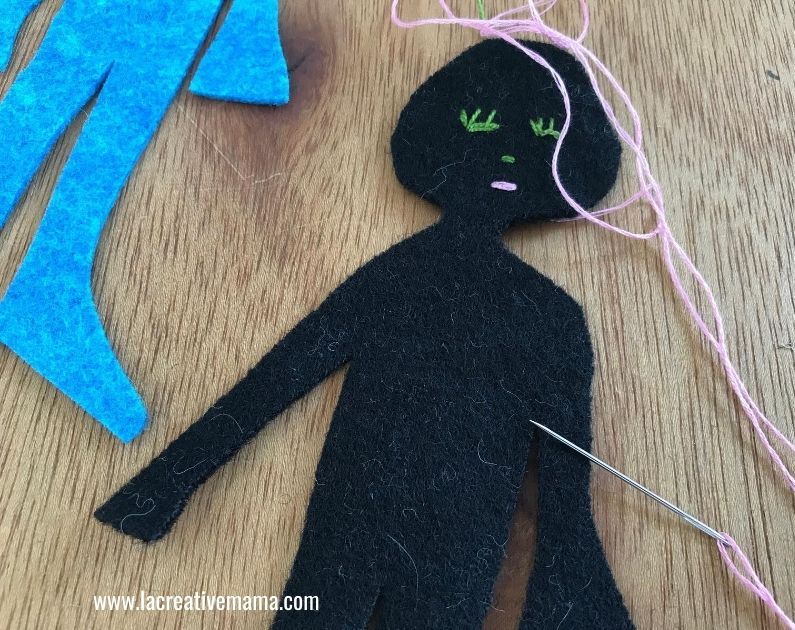
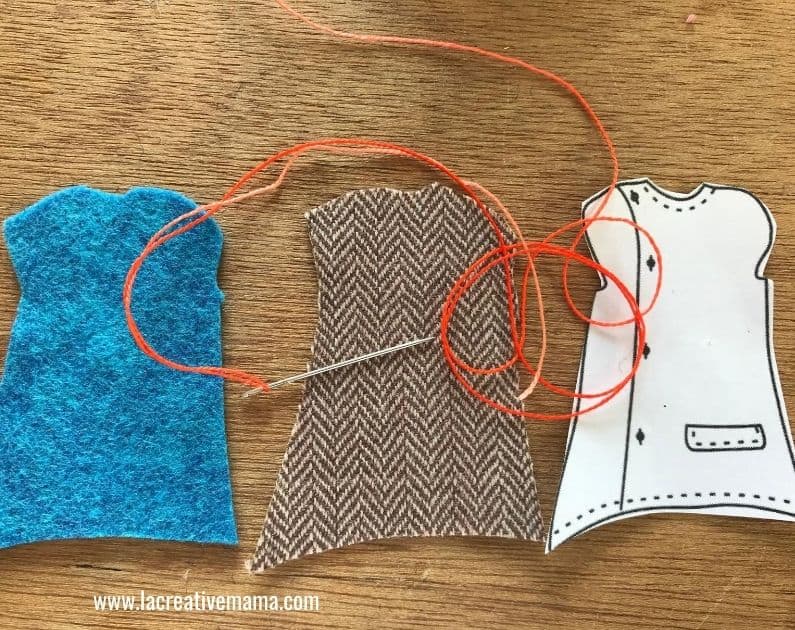
Step 6
Place the two dolls and all clothes layers together and stitch around,
After sewing the two layers together make sure to neaten the edges with your fabric scissors so that the top and the bottom layers are exactly the same.


Step 7
It’s now time to have fun with the hairstyle for our little doll. I have chosen pig tails since it was my favorite when I was a little girl. So, grab some wool and lay it down on the table with a left to right motion folding it in itself every time you reach the 8 inches (20 cms).
Once you have 10 different strands you can cut the yarn. Place it on the top of the doll’s head and secure with a hand stitch. Make this stitch invisible by putting the needle through the tow doll layers. With a contrasting yarn secure the pig tails in place as shown in the photos.


With your fabric scissors cut through the folded edges of the wool yarn to create nice pig tails.
Step 8
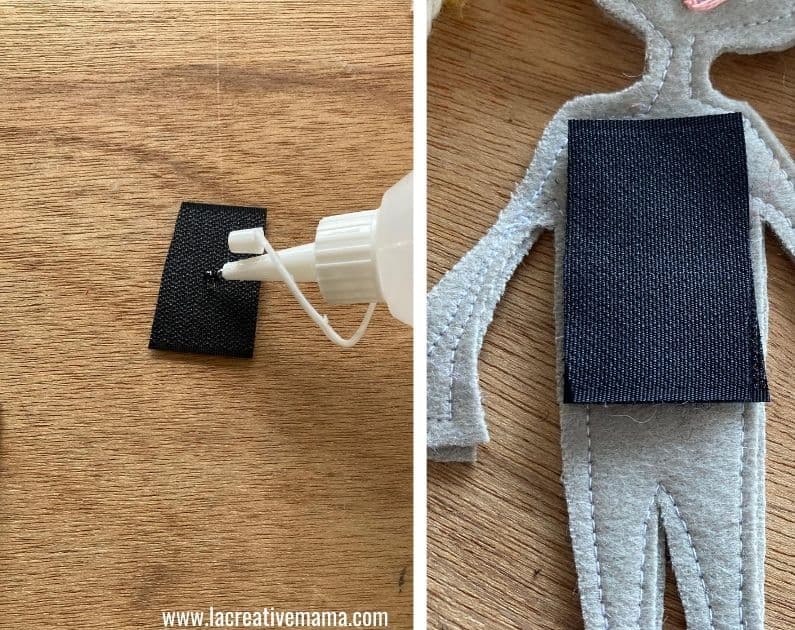
Using fabric glue, glue a piece of velcro to the back layer of the doll and to the back layer of the doll’s clothes and shoes. This will make the clothes stick to the doll’s felt and the doll will stick to a felted surface in case you want to make a dress up doll quiet book.
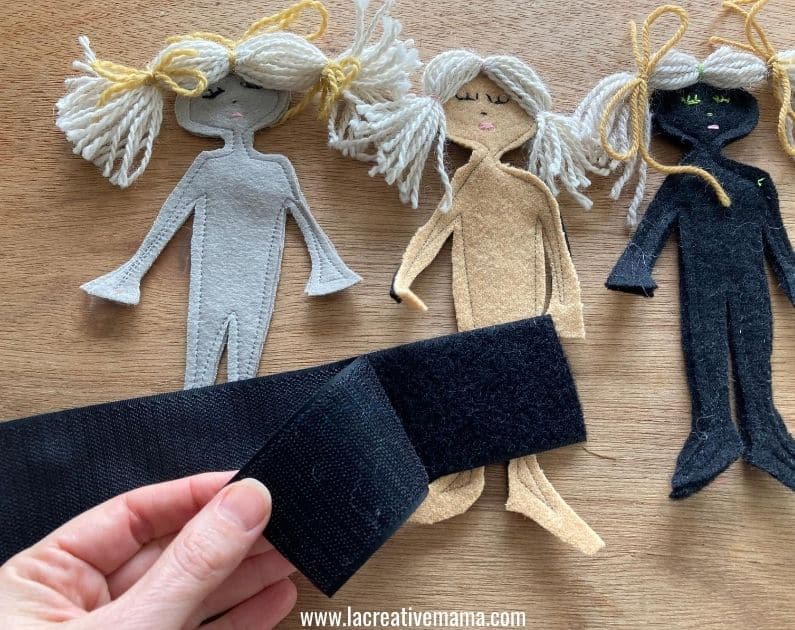
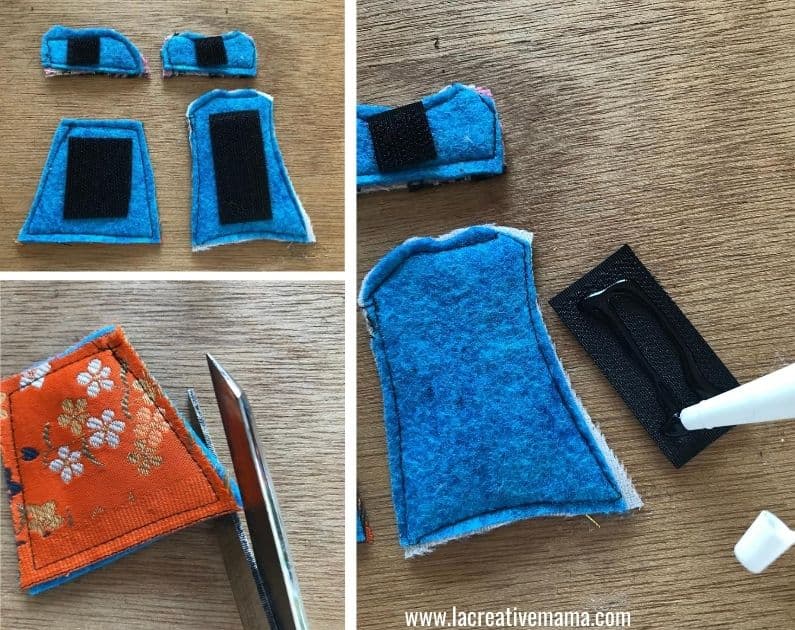
Feel free to make as many dresses and skirts as you wish in different colors and with different embellishments so that your kids can have fun playing dress up 🙂

Step 9
Place clothes on top of doll and the doll is ready to play dress ups!
Note: I decorated the top using backstitch and french knots.

Make your own flat felt doll with these easy to use doll patterns!
Make sure to download your patterns to get started straight away with your flat felt doll!
Want to use these felt dress up dolls to make a dress up quiet book?
Check out this step by step tutorial on how to make a beautiful dress up quiet book to keep the dolls and all their different outfits :).
Check out these cute felt dolls made by amazing little creative kids
One of my favorite things is to showcase the work from my readers. Specially when these readers are little creative souls such as these 2 little crafty women.
Felt doll dress up book
This is Justina Cuzzani and she was the first little reader that had a go with the felt dolls. She lives in an isolated farm so she was limited with the fabrics that she could use.
She upcycled old clothes and fabric and she created this beautiful soft quiet book that houses her felt dolls. Justina loves hand sewing so she stitched and embroidered everything by herself 🙂

Here is Justina with her mom and brother who are her best creative fans!

How to make a felt doll using a heat glue gun
My daughter loves playing dress up with her felt dolls but she gets tired of hand sewing. So the glue gun is the perfect solution for her.
This is little Renata in one of her making felt doll playdates with a couple of her little friends. They made the most amazing felt dolls and every girl left the house with a little quiet book filled with felt dolls.
They simply glued the dolls to the background felt and glued the clothes to the dolls. Each girl made at least three double pages using the heat glue gun instead of sewing.


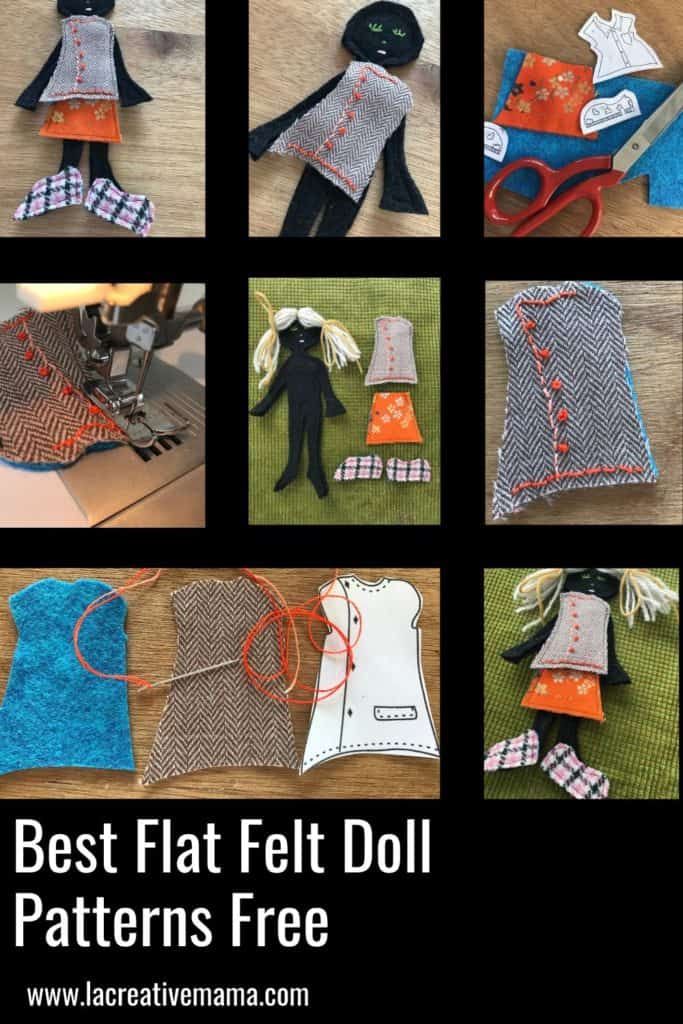
Want to remember this? Save this Tutorial to your favorite Pinterest board!


Correct me if I am wrong. But if I were to download your dolls and clothing, I would have to somehow make the patterns smaller if I can only use typing paper sizes?
I do very much admire your ideas you are sharing. Thank you so much
Jan
Hi Jan, thanks for your comment. The free doll pattern PDF comes ready to print in a regular A4 size paper from a regular home printer. The tutorial represents these measurements. Simply print, cut and use 🙂