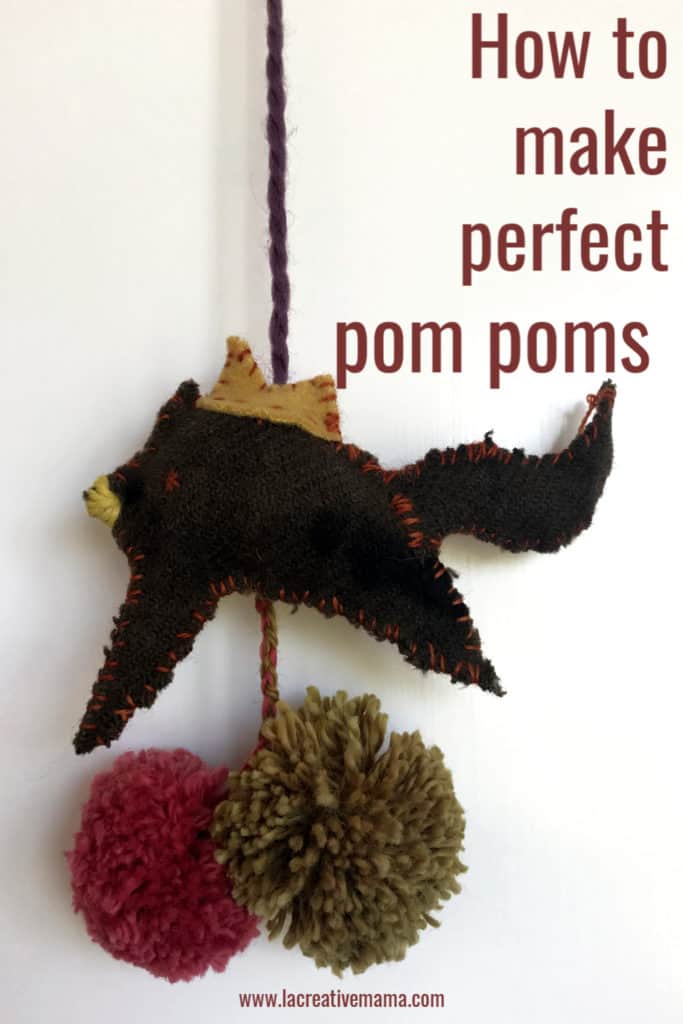
Hi Creative Mamas! I am so excited to share with you how I make perfect pom poms every time, no fail, no sweat, no frustrations!
I have tried different ways to make them so believe me when I say that the two ways I am about to show you are the best, easiest and quickest way to make beautiful and professional looking pom poms.
But first, what are these fluffy woolen balls?
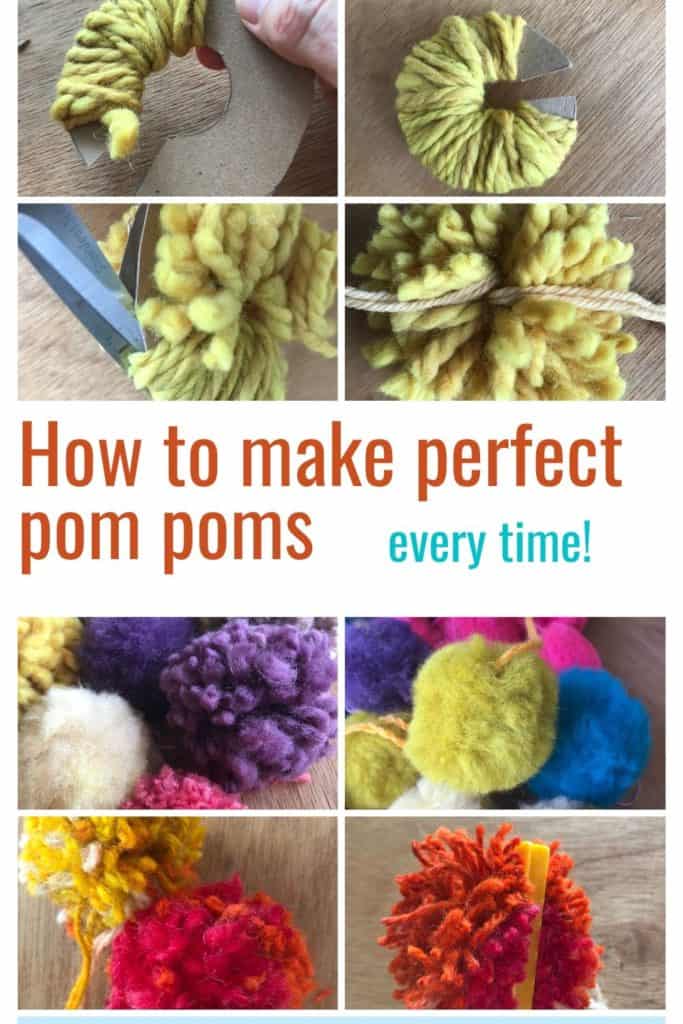
What are pom poms?
They are usually referred to as small woolen balls which are attached to a garment, especially a hat, for decoration. It has many uses but typically they are attached to a woven blanket, a handbag, baby boots, baby woolen hats, a pillow, shoe laces, you can attach them to anything really.
What is the purpose of pom poms?
As mentioned before, nowadays decoration is the main factor when it comes to using pom poms as part of your textile crafts.
However, many ancient and indigenous cultures have used them in their own traditional garments and some of them have functional uses. Before we had zippers and buttons, pom poms would have been the way to create closings and pulls in a garment or handbag.
The other very important purpose for using them, is that you can make use of left over wool yarn and wool roving that you may have lying around your craft room from previous projects.
If you happen to be a knitter or have a close friend who is a knitter or a weaver you can easily get your hands on a lot of wool scraps that you can re purpose into fabulous looking pom poms. You can also dye the yarn before you make them which will add a whole different dimension to your project.
The photo below shows a collection of them which were made with hand dyed yarn using natural dyes.

PRO TIP: In terms of fashion sustainability the use of pom poms can be a great way to eliminate notions such a metallic or plastic zippers, hooks and eyes or plastic buttons by attaching the them to a braided string and closing your garment by knotting both ends
3 Secret to make the perfect pom poms
- Use real 100 % wool yarn or wool roving. You can make sure you have 100% wool by doing the Fabric Burn Method. If you use acrylic yarn the pom poms are not going to be fluffy and they will look sad.
- Use a lot of wool yarn or wool roving in the process of making them
- If you are using a thin yarn (2 ply) make sure you use a lot of it, however if you are a beginner I suggest you use a thick yarn (8 ply and up)
How to make pom poms
In this tutorial I will show you how to make two different kinds:
- Yarn pom poms (with a pom pom maker and with a piece of cardboard. These are two different methods and I like them both!)
- Fluffy pom poms
Yarn pom poms tutorial (with a pom pom maker)
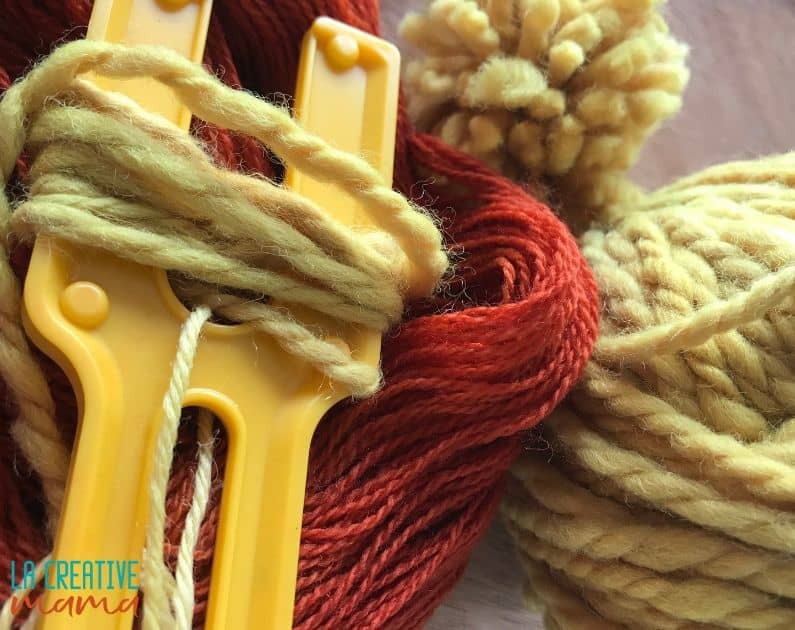
In this example I am using a selection of different yarns which have been naturally dyed using a variety of natural dyes.
“This post contains affiliate links, which means I receive a small commission, at no extra cost to you, if you make a purchase using this link.”
Materials:
- Pom Pom Magic Maker
- Yarn
- Fabric Scissors
Step 1
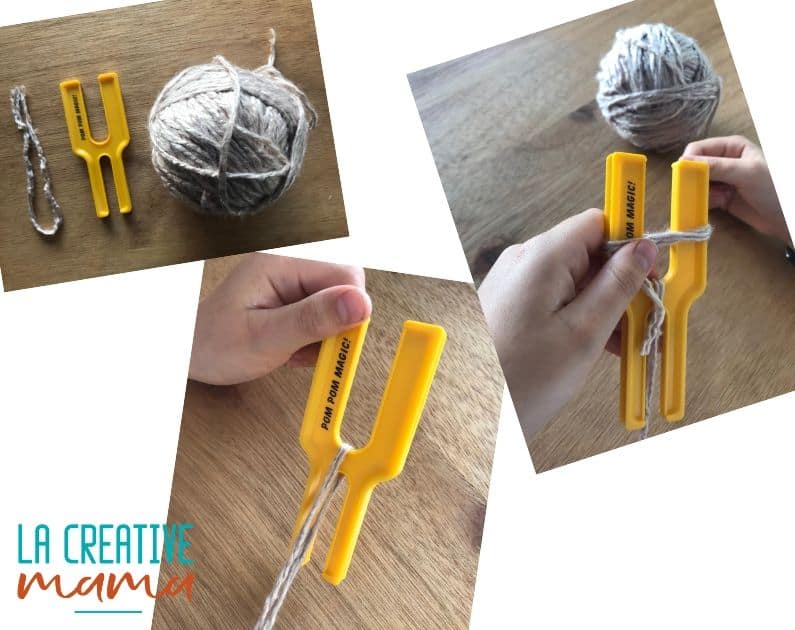
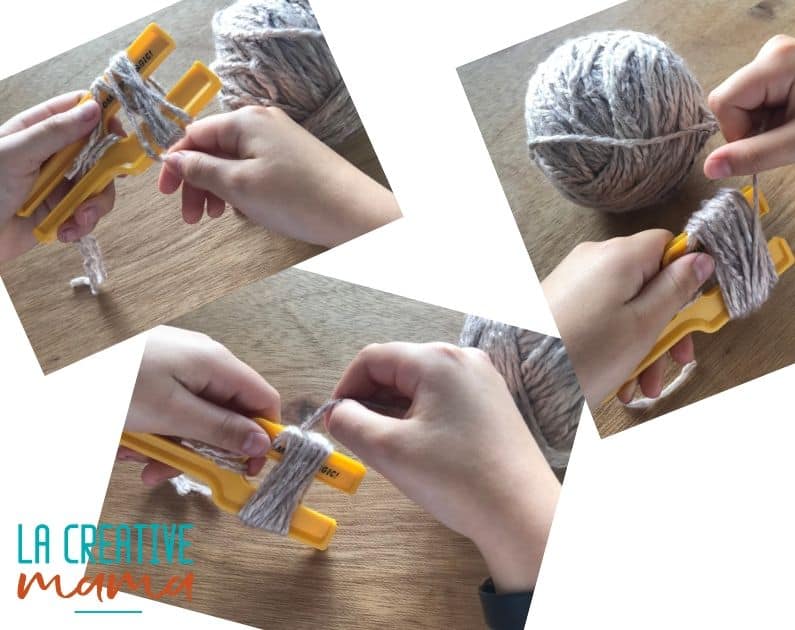
Cut a small length of yarn (8 inches, 20 cms) and place it in the pom pom maker as shown in the picture below. Wind your yarn around either fork of the pom pom maker.
Then change to wind your yarn around both forks as shown in picture below. you can use one, two or three colors, depending on the result you want.
If you are using more than one color do a couple of crosses around the pom pom maker again with the new color and then start winding the new color around both forks.
PRO TIP: Remember the more windings the better the result will be
Step 2
When you finish winding the yarn, gather the windings with the tie and tie off very tightly. Make sure it’s tight!
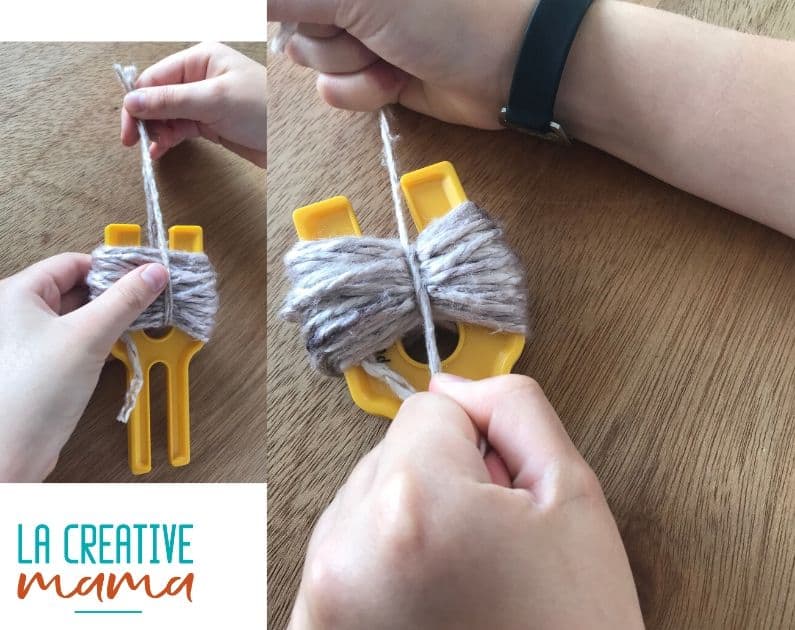
Cut along the grooved out edge of the fork (both sides).

Step 3
Remove from pom pom maker. With the tie make another tight knot in the opposite direction. This will ensure that the pom pom won’t come undone.
Tease the pom pom out with your hands to make it fluffy and rounded and then with your fabric scissors start trimming the yarn into a tidy ball.
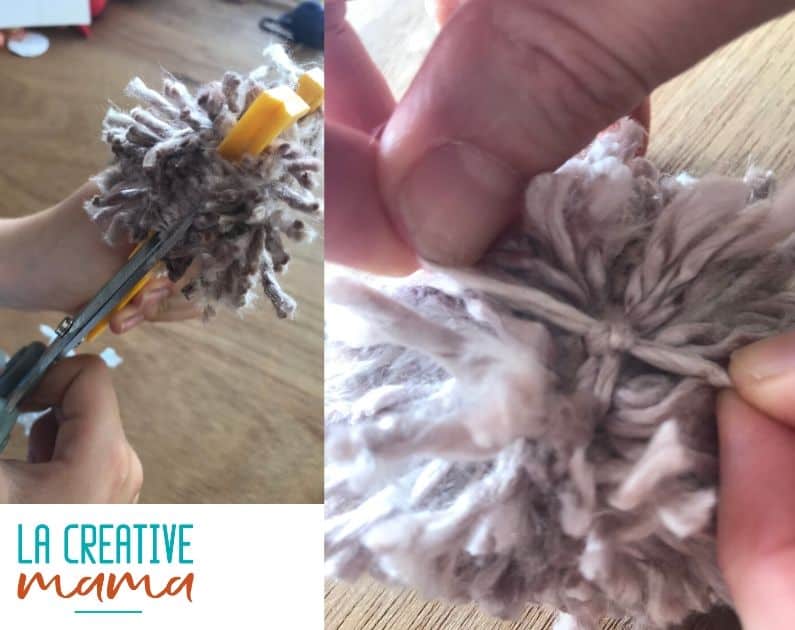
Be careful not to overdo it. It’s quite tempting to cut and cut some more and you can end up with a little tiny ball.

Yarn pom poms tutorial (using a cardboard template)
This method is a great option if you don’t have a pom pom magic at home. You can quickly make your own cardboard pattern by downloading the template. Simply fill in the form bellow.
Materials:
- Pom pom Cardboard pattern (download template)
- Thick craft cardboard
- Pencil
- Scissors
- Twenty inches string (50 cms)
Step 1
Using a thick craft cardboard Create a pattern by making a circle of 3 inches aprox (8 cms aprox). Make a smaller circle in the middle of your pattern as shown in picture below.
Cut a section to create a C shape. You need two of these C shape patterns.

Step 2
Place the two cardboard patterns on top of each other. Starting at one end of the C pinch yarn onto cardboard to keep it in place and start winding the yarn around both templates.
Do this tightly and making sure that you wind around at least for times to create a fluffy result When you are done, insert your scissors in between the two cardboard templates and cut through the yarn.
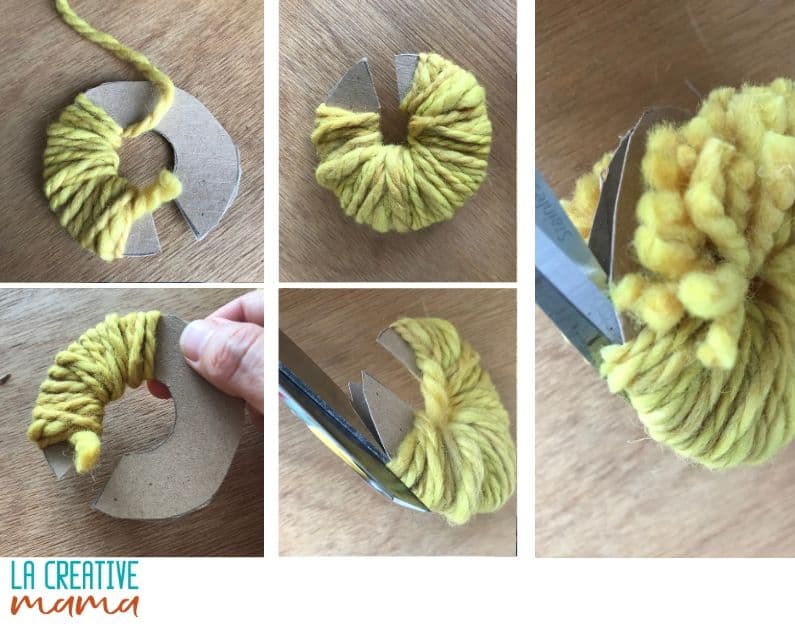
PRO TIP: You need to do this carefully because the yarn can come undone from the templates. To avoid this hold the yarn with your fingers against the templates as you are cutting the yarn.
Step 3
When you finish cutting the yarn through in between the two templates place the whole pom pom on the table. Fold the string in half and slide it in between the two cardboard templates.
Start at the gap in the C. Pull both ends of the string until they meet at the C gap. Pull tight and tie a knot. Flip the pom pom over and tie a double knot binding the two halves together.

Step 4
Pull off the cardboard templates. Fluff the pom pom and cut around again as in the previous method
OK, so how about making some really seriously fluffy stuff by using wool roving to make the pom poms.
Wool roving pom poms tutorial

To make the most amazing fluffy and rich looking wool balls you need to use wool roving. These will make the perfect complement to any wet felted project!
Materials:
- 100 % Wool Roving
- Fabric scissors
Step 1
Cut 5 inches (12 cms) long strips of wool roving. Cut as many as you need to ensure that your pom poms will be super full and fluffy. For this example I cut 5 pieces from the wool roving long roll. (Wool roving comes in a long roll)

Step 2
Place a piece of string (5 inches/12 cms) in the middle of your wool roving and tie a knot. Make it tight as shown in picture below.

Step 3
Tease the pom pom out with your hands to make it fluffy and rounded and then with your fabric scissors start trimming the yarn into a tidy ball.
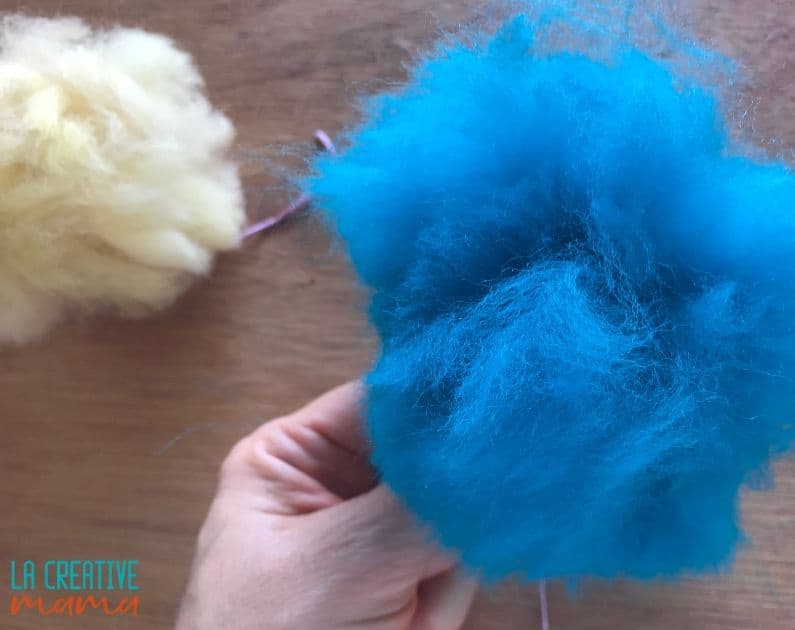
Again, be careful not to overdo it. It’s quite tempting to cut and cut some more and you can end up with a little tiny ball.
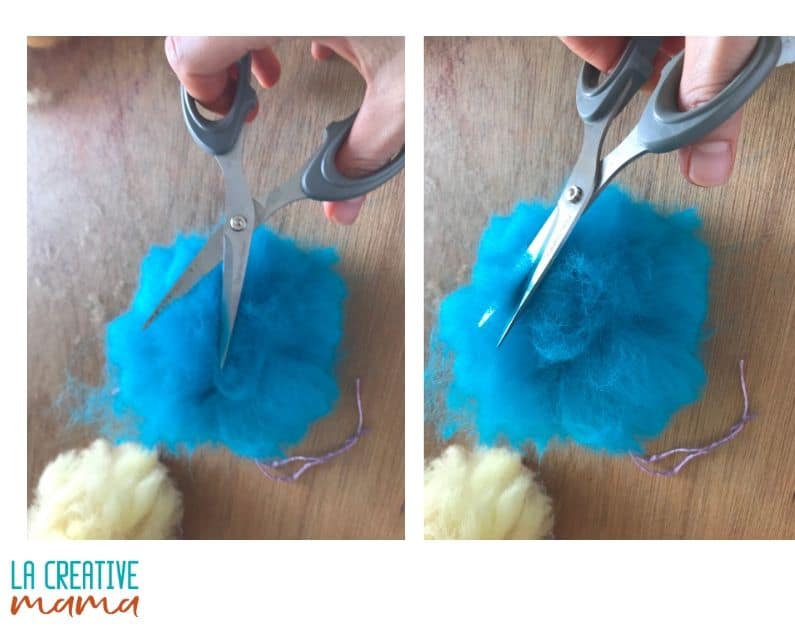
Final Result
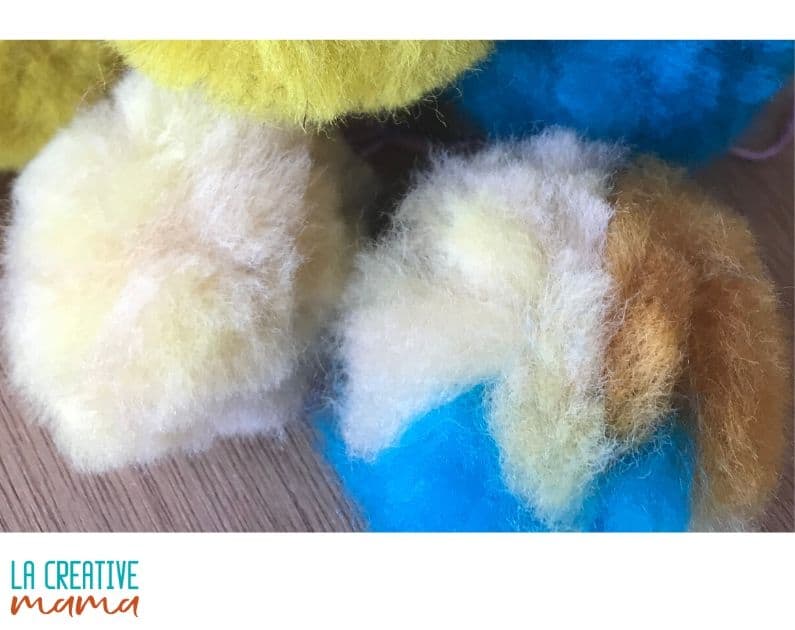
PRO TIP: If you want multi colored pom poms you can use several colors of wool roving in step 1
How to use pom poms in your creative sewing crafts
These are creative fun tutorials that incorporate these fluffy balls into amazing crafts to make handmade gifts or use within your home decor:
- How to make a fabric book using upcycled fabric
- How to make a plushie (without a sewing machine)
- How to make an embroidered tea cozy
Save this tutorial to your favorite Pinterest Board
