Hi Creative Mamas! Welcome to another great natural dyeing post! If you’ve ever wondered how to bring beautiful, natural colors to your feather collections, you’re in the right place.
This post will walk you through the dyeing process using natural dyes, including tips for achieving the best results with various materials like white feathers, ostrich feathers, and even protein fibers. Let’s dive into this creative and eco-friendly journey!

Why Use Natural Dyes for Feathers?
Natural dyes are a great way to add vibrant colors to feathers without relying on synthetic dyes like Rit dye or more expensive dyes like Jacquard acid dyes.
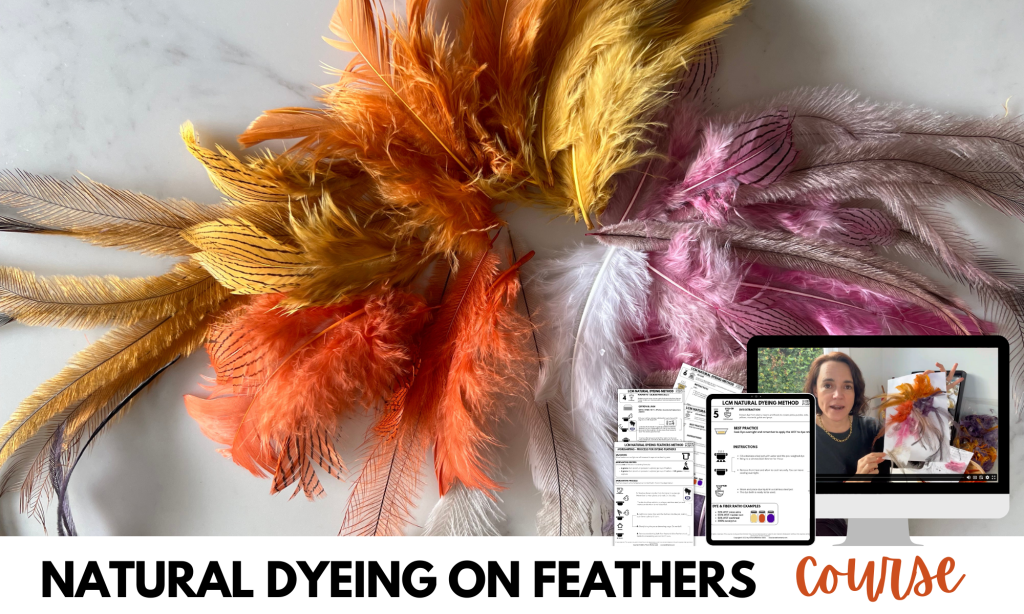
We have our super popular Natural Dyeing on Feathers Course inside La Creative Mama Academy, you can check it out here!

Using natural materials like onion skins and cochineal can give your feathers beautiful and subtle hues. Plus, it’s a good idea to work with natural dyes as they are more eco-friendly and allow you to use your own materials, making this a sustainable craft project.
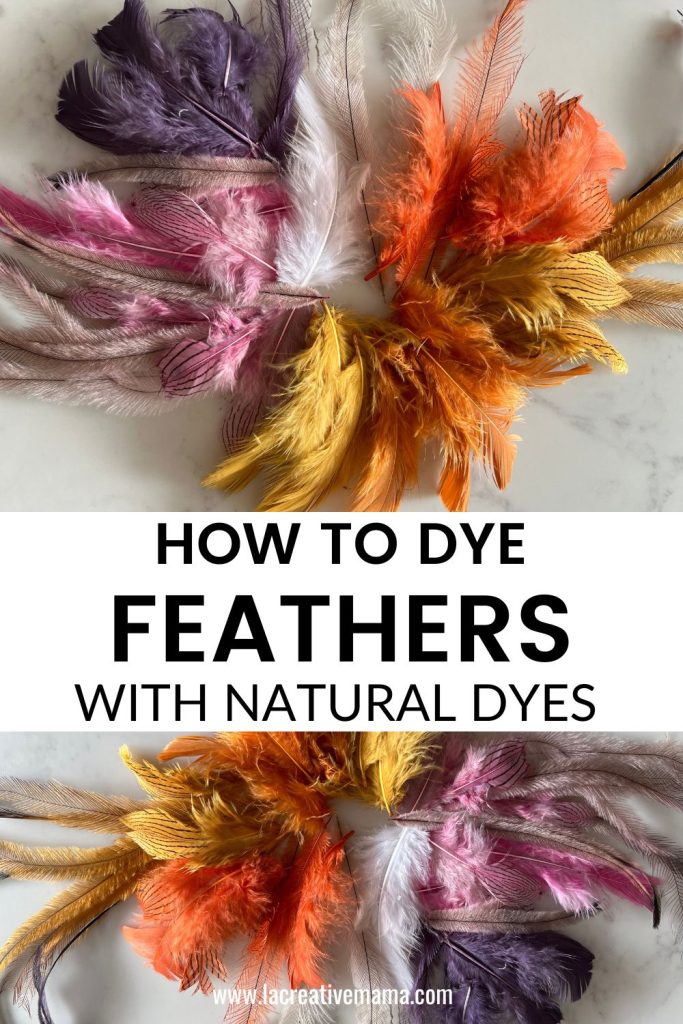
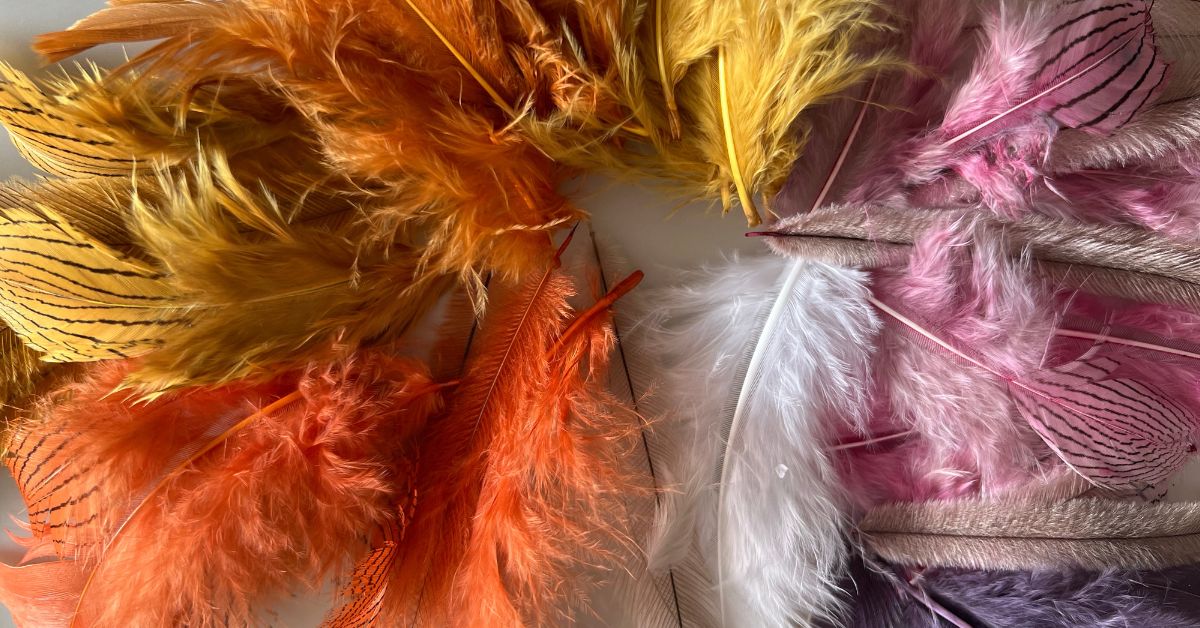
The photo below illustrates the type of natural color that is available to us through the use of natural dyes!

As you can see they are very similar to the type of colors that you can achieve on leather.

Choosing and Preparing Feathers
Before you begin, it’s important to select the right feathers. Light-colored feathers like white feathers or even pink feathers work best, as they absorb colors well and show off the desired color beautifully.
So the first thing to consider before we get any further is what kind of feathers to get.
The main thing is to get hold of real feathers and to do your due diligence to make sure you are purchasing from reputable and cruelty free suppliers.
What is cruelty free?
Most ethical feathers come from farms that sell the feathers of ducks and geese raised for meat. The ethical label means that the farms meet standards for quality of life and do not force-feed or live-pluck the animals.
Ethical down products and feather suppliers are traceable to farms that raise animals without causing undue harm. These products generally have a certification from Responsible Down Standard (RDS), Global Traceable Down Standard (GTDS), or Downpass.
Please note that the feathers that are photographed in this post as well as all the feathers that I work with and use inside my feathers course are cruelty free.

These are the feathers that I typically use:
- White Turkey Plumage Feathers
- Silver Pheasant Feathers
- Emu Feathers Loose
Best Natural Dyes for dyeing feathers
Here are some natural dye options that are perfect for dyeing feathers:
- cochineal
- onion skins
- logwood
- acorns
- coreopsis
- Black Tea
The photo below illustrated the type of color you can get from cochineal dye on the right and cochineal modified with iron on the left.

And this photo below shows the kind of color possible by using coreopsis flowers on the left, and coreopsis modified with iron on the right.

As you can see you can achieve subtle changes in color when you know how to extend the color palette using natural dyes. It’s very exciting.
To learn more about modifying natural color read this post.
Grab the FREE NATURAL DYES LIST
There are so many amazing natural dyes that you can use!
Complete the form below to download the FREE list of the best 40 dyes to use in natural dyeing! Save time and frustration!
Step-by-Step Natural Dyeing Process
Prepare Your Dye Bath: Fill a small tub or pot with enough water to cover your feathers. Bring to a boil, add your dye material (onion skins, tea, or other), and let it simmer for 30–60 minutes.
For the best dye saturation, strain out any solids before adding your feathers. your dye bath should look lithe the liquid in the photo below.

Mordanting: It’s very important to always mordant your feathers so that they can absorb dye more effectively.
Feathers are protein fibers and should be treated as such. For a detailed post about mordanting your natural fibers go here.
Dye the Feathers: Submerge your feathers in the dye bath. Use plastic forks or wooden spoons to stir gently, ensuring even coverage.
Depending on the feather type, soak them for 20 minutes to an hour. Adjust the soak time for different colors or brighter hues.
Rinse and Dry: After dyeing, rinse the feathers under cold water until the water runs clear. Lay them on a paper towel to dry or use a blow dryer on a low setting if you’re in a hurry. This step ensures that the dye sets properly and that the feathers retain their shape.
Fixing the Color: To keep your natural colors from fading, give the dyed feathers a final rinse in a mixture of water and white vinegar. This helps lock in the color and prevents it from washing out over time.
Tips for Dyeing Success
- Use Enough Dye: When working with a lot of feathers, make sure you have enough dye in the bath to fully submerge them. This ensures even color distribution.
- Experiment with Long Soaks: For more intense shades or when working with natural black dyes, try long soaks in the dye bath. It’s all about experimenting to achieve the shade you want.
- Handle with Care: Remember to use rubber gloves when handling dyed feathers to avoid staining your hands.

Creative Uses for Dyed Feathers
Now that your feathers are beautifully dyed, let your imagination run wild! Here are some ideas for using them:
- Incorporate them into handmade jewelry like earrings or necklaces.
- Add them to dreamcatchers or wall hangings.
- Use them to decorate gift wrap or handmade cards.
- Include them in fly-tying projects for fishing enthusiasts.
Natural dyeing feathers is a wonderful way to explore creative possibilities while using natural materials.
Whether you’re after subtle natural black tones or bright colors like the ones in this post, the process is as rewarding as the final result.
I hope you give this a try and share your results—good luck, and happy dyeing, Creative Mamas!
Check out La Creative Mama Natural Dyeing Feathers Course here!


