How to make no sew DIY scrunchies for kids?
Hi Creative Mamas! To be honest I was not planning this post at all, but yesterday afternoon my daughter came back from school with a clear plan to make something that she had watched a you tuber make during her lunch break at school.
She had seen this lovely young woman make these no sew DIY scrunchies for kids which are the latest thing at my daughter school.
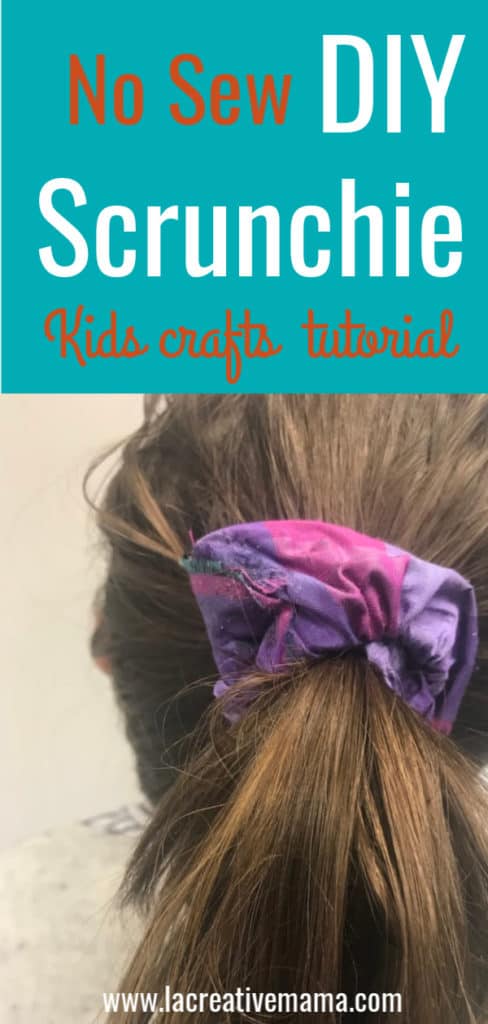
So she asked me if she could go to my workroom and help herself to my fabric stash. Of course I said yes and then I started reminding her about the safety issues around sewing and needles etc. Much to my horror she told me that she was making scrunchies without using the sewing machine or the hand sewing needles.
This surprised me because we have been spending a lot of time in my workroom lately doing lots of textile crafts and she has been loving the sewing part. She has been getting better and better and its been a great opportunity to teach her good grounding knowledge around hand sewing and machine sewing .
But she insisted that she wanted to do these scrunchies that required no sewing and that she only needed my fabric glue and a few fabric scraps. I wasn’t that keen on her using my fabric glue (which I only use it for my little kids students).
And I wasn’t that keen on her using my treasured fabric stash to make scrunchies which were not sewn correctly. I could just see the whole thing ending up in the trash. However, she had a creative look about herself and a cute determination to make all these scrunchies for her and her little friends that warmed my heart.
So I decided to be really supportive and we looked up for the you tuber she was referring to. Her name is Claudia Fuenmayor, a lovely young woman who was showing a video called “2 easy ways to make scrunchies at home! (Without sewing machine)”. We watched it together and I quite liked it since the results were quick and the process seemed straight forward.
I could see that my daughter was attracted to the “no sewing” part. Since there were no needles involved, I let her to her own devices in my workroom while I got on with dinner.
Half an hour later she came into the kitchen with three beautiful scrunchies all made up. She seemed so confident and happy about her achievement. She told me that she likes doing relaxing crafty activities.
She also said that it was good to do something with her hands after school and because there was no sewing she could just relax and enjoy what she was doing.
At that moment I realized that even though its great that my daughter is learning how to sew, the most important thing I can pass on to her is the enjoyment of the making process.
Touching the fabrics, creating something from nothing, feeling the magic of your hands making, that’s what I want her to get out of textile crafts. It doesn’t matter if there is traditional sewing involved as long as she is enjoying the process.
My daughter reminded me yesterday of something very important! I practice and teach textile crafts as a way to express ourselves and communicate stories and memories through cloth. It’s a vehicle that allows me to unleash my creativity, gives me a creative break away from my every day mama routine and above all, it has allowed me to support other women.
Through textile crafts I have created social projects that empower migrant and refugee women and helps them settle safely into their new adopted country. It allows for a therapeutic process that goes beyond the making. It’s a process of enjoyment and a little magic.
When I saw the scrunchies all made up I was so impressed that I asked her to make one more scrunchie and I took step by step photos. Your little ones might want to give it a go!
What fabric are scrunchies made of?
Best fabric to use for these no sew DIY Scrunchies for kids are light denim or heavy cotton drill. Try to avoid stretchy fabric since they are not the best to glue with.
DIY Scrunchie Tutorial
This post contains affiliate links, which means I receive a small commission, at no extra cost to you, if you make a purchase using this link. Please see my disclosure for more details.
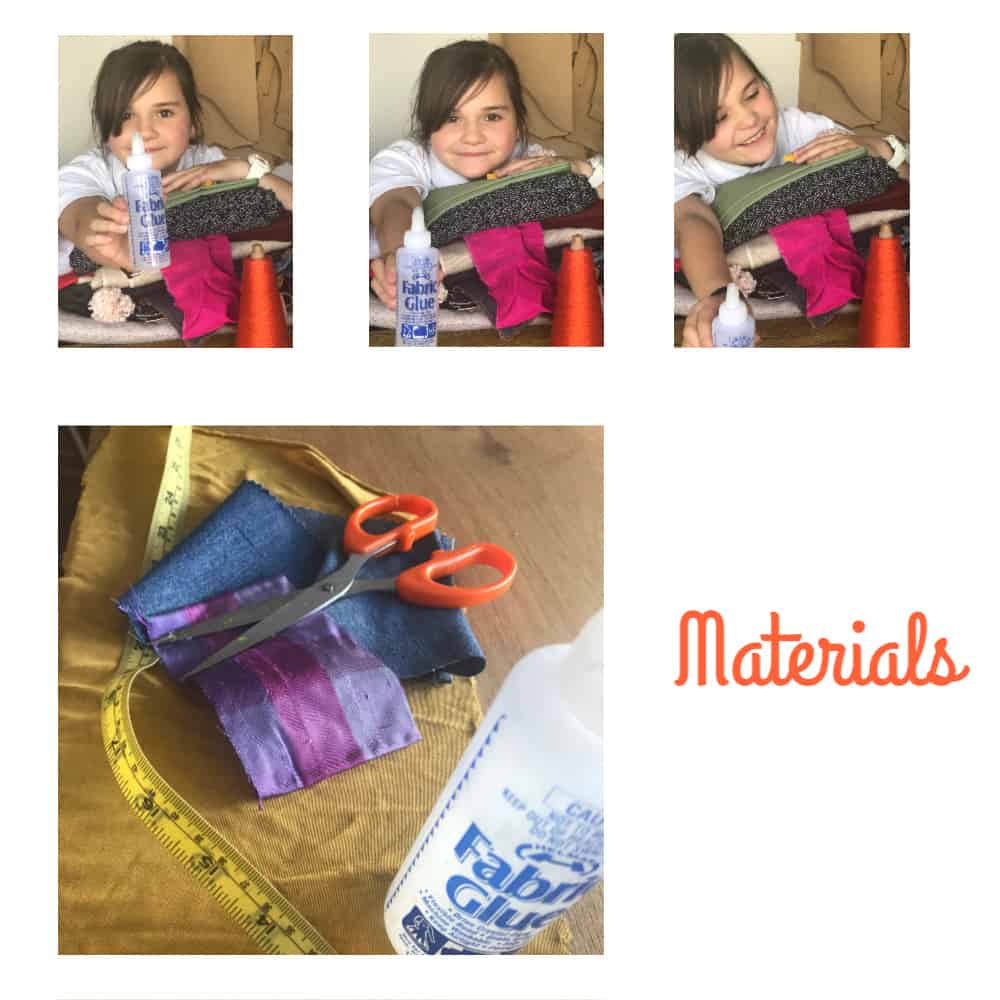
Materials:
- Fabric Glue
- Fabric
- Scissors
- Tape measuring tape or ruler
- A mug or a sellotape roll 3 ” in diameter
- a hairband
What are the measurements to make a scrunchie?
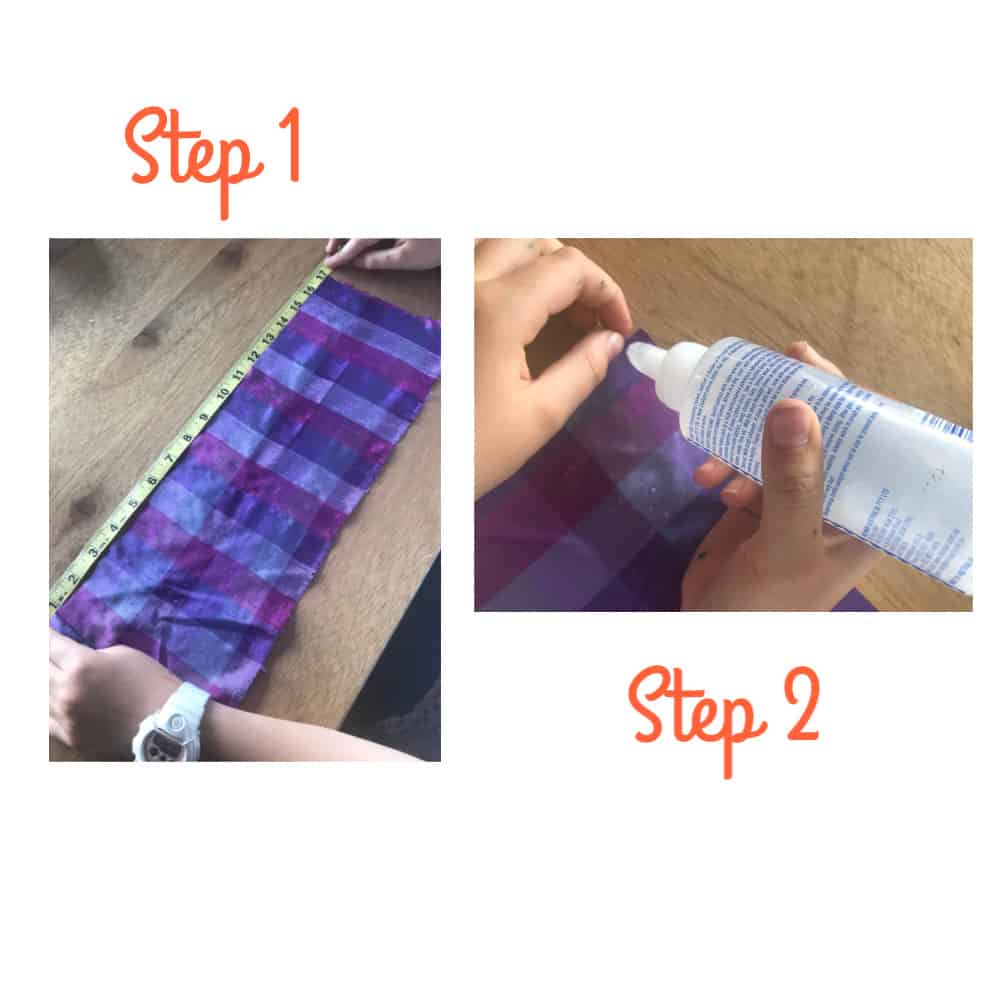
For this DIY Scrunchie No Sew we used a piece of 17″ by 6 “
Tutorial: No Sew DIY Scrunchies for Kids
Based on the you tube tutorial by Claudia Fuenmayor
Step 1 & 2:
Cut a piece of your chosen fabric 17 ” by 6 “. Open up the glue bottle.
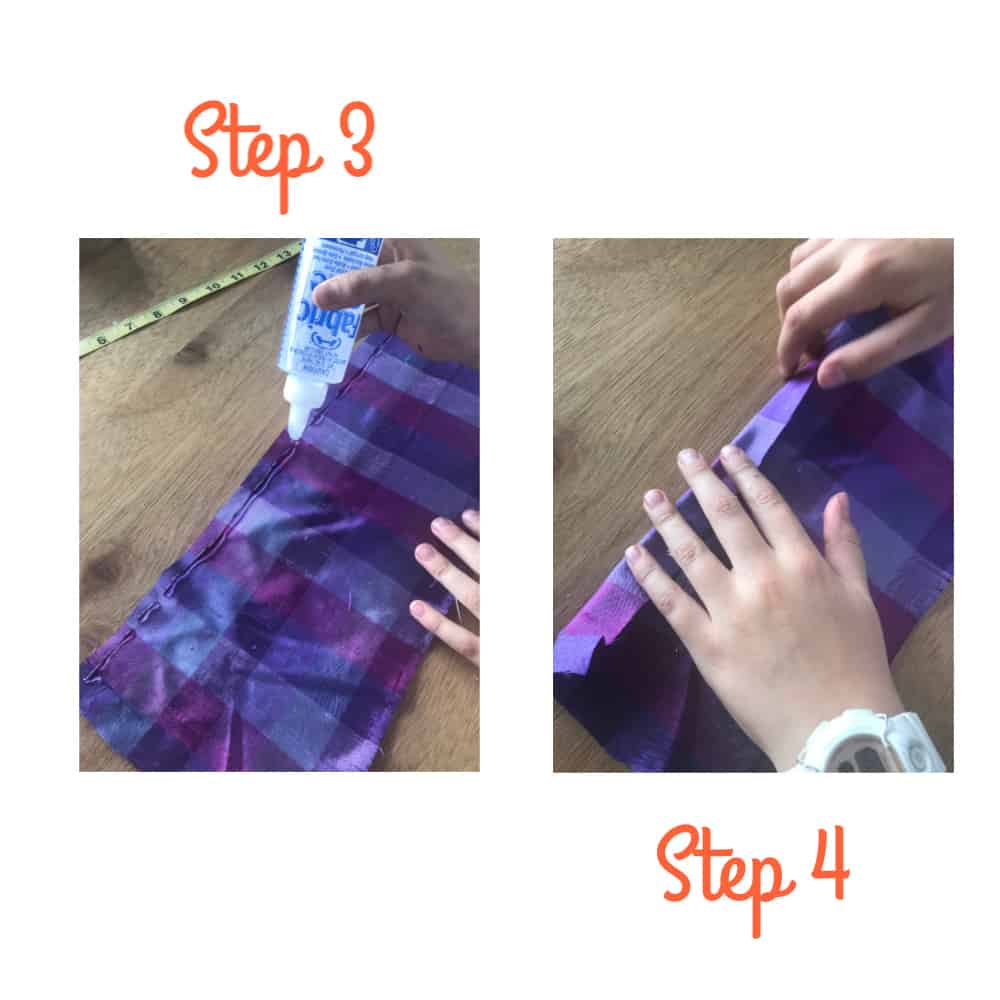
Step 3 & 4:
Glue one of the large side edges of your fabric one 1/2 ” away from the edge.
Fold the edge towards the glue line.
Step 5 & 6:
Repeat step 3 with the opposite edge.
Repeat step 4 with the opposite edge. Make sure the glue is dry before continuing to the next steps.

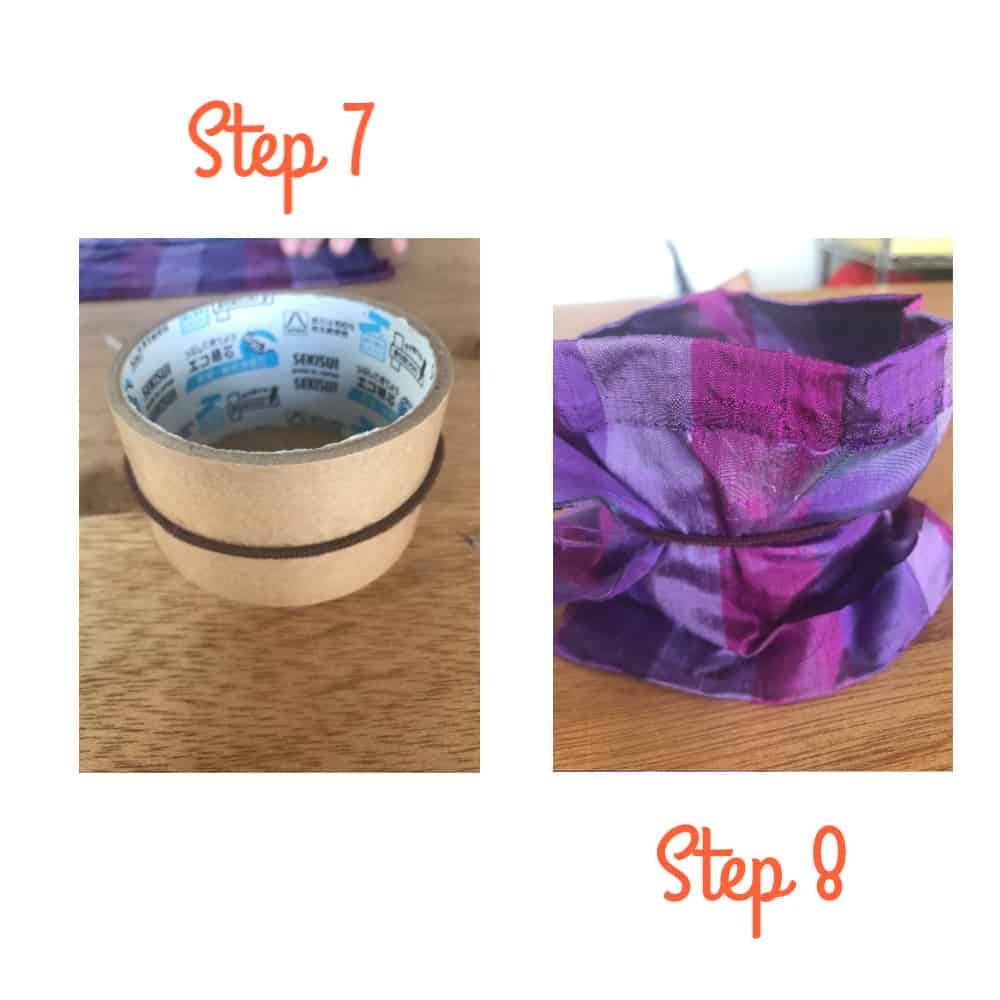
Step 7 & 8:
Place the hairband around the mug or sellotape roll to make sure the hairband is stretched but not super tight.
Place the fabric around the mug or sellotape roll and place hairband over it. Make sure the glued rolled edges are facing you.
Step 9, 10 , 11:
To close the scrunchie you are going to glue one edge and stick it to the other.
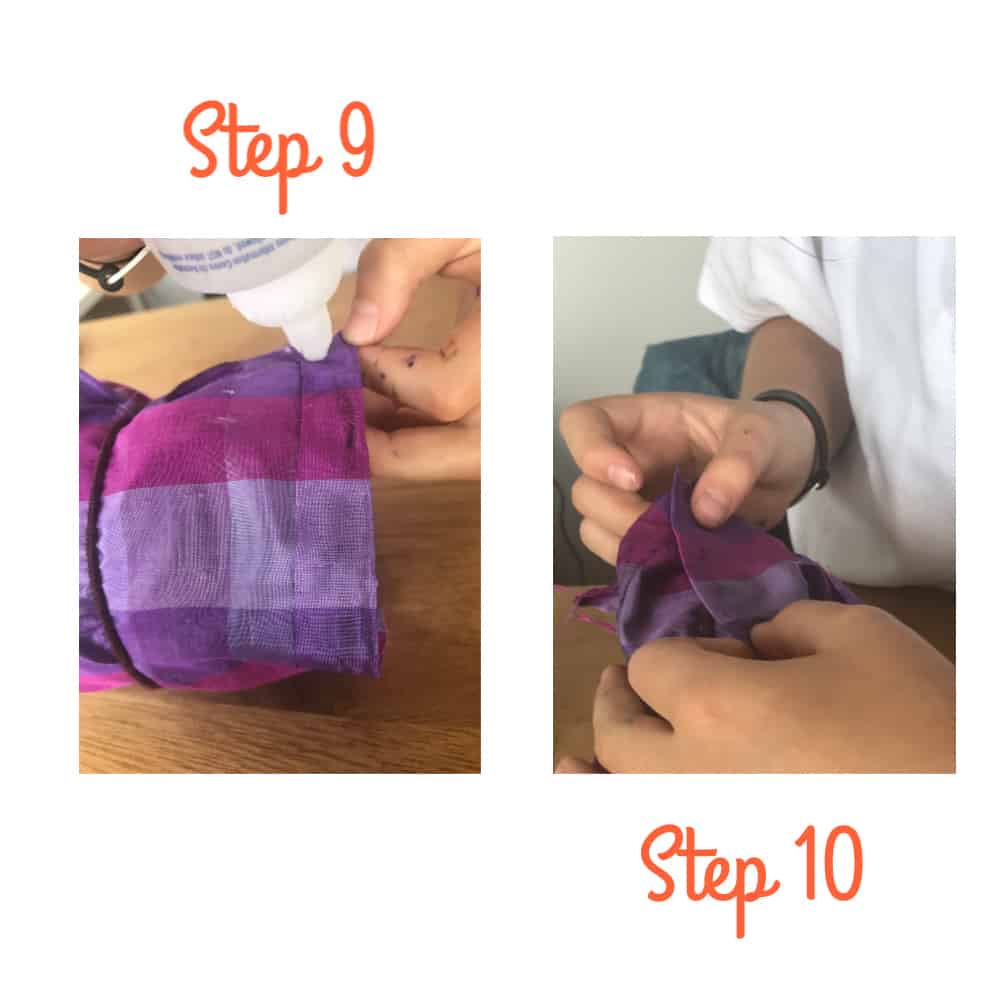
Step 12:
Remove the scrunchie from the sellotape roll. Fold the raw small edges inside the scrunchie and glue the left side edge. Stick the right side edge on top. Voila! the scrunchie is done


