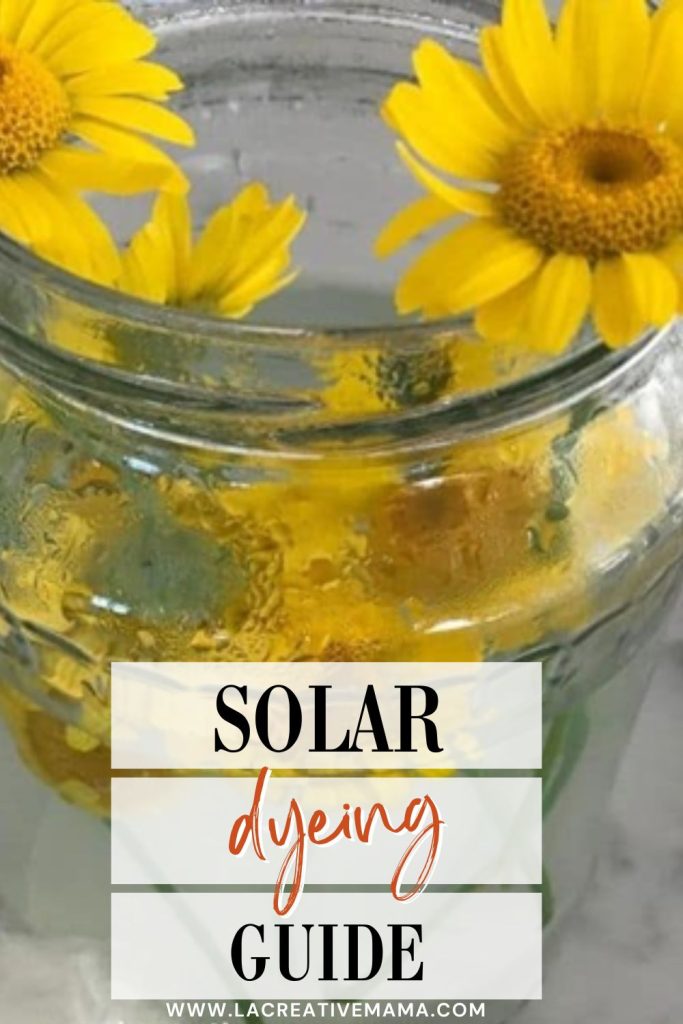
Hi Creative Mamas! In this post I want to share with you the Beginners Guide to Solar Dyeing so that you can get started in the wonderful world of color creation!
This method will allow you to get really creative with those fabric scraps that you may have lying around your house.

Solar Dyeing is by far the easiest and most straight forward of all the natural dyeing methods. It’s also a great way to get your kids involved.
There is a lot of fun to be had by watching the color change every day as it’s exposed to the sun.
It’s also a great way to connect with your surroundings since natural solar dyeing uses natural materials such as leaves, flowers and veggies.

Getting creative with the food waste such as onion and avocado skins, left over coffee and tea or using those afternoons at the park as an excuse to gather leaves and flowers has had a huge impact in unleashing my creative side.
The beginners Guide to Solar Dyeing will show you how you can get creative as well with materials that you have around your house 🙂
Natural Dyes
Using the best natural dyes inside your dyeing jars will make or brake your solar dyeing results!
You can download the BEST 40 NATURAL DYES that you need to use to create bright natural color!
Download the FREE NATURAL DYES LIST by completing the form below
What is Solar Dyeing?
Through Solar Dyeing you can dye fabric, yarn and threads using the sun as your heat source.
It’s one of my favorite methods of dyeing simply because I can get my kids involved in the process and it’s proven to be a very educational and entertaining thing to do.
Make use of any old fabric scraps that you may have around the house and create your own colors. Then you can turn your dyed scraps into beautiful textile crafts such as a fabric flower brooch or hair band.
You can create beautiful and amazing crafts including fabric collages and fabric books !!!
The Beginners Guide to Solar Dyeing Tutorial (Video and step by step tutorial)
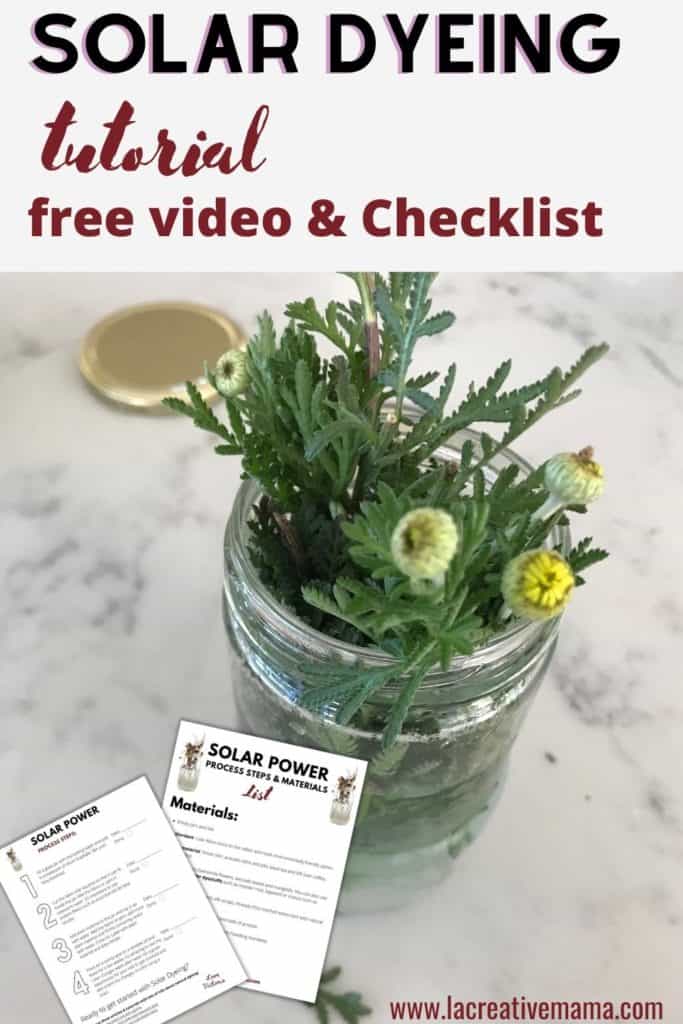
Make sure to download your FREE Solar Dyeing Process Ckecklist so that you can get started with Solar Dyeing at home 🙂
Solar Dyeing video Tutorial
Solar Dyeing step by step tutorial
This post contains affiliate links, which means I receive a small commission, at no extra cost to you, if you make a purchase using this link. Click here to read my full disclosure policy
Materials and Equipment
- Empty jars and lids
- Mordant: I use Alum since its the safest and most environmentally friendly option.
- Dye material: I like using as much food waste from my kitchen as possible. Onion skin, avocado skins and stone, black tea and left over coffee are a few of my go to dyestuffs. In terms of leaves and flowers I love using eucalyptus leaves, dyers chamomile flowers, avocado leaves and marigolds. Of course you can also use dried or powder dyestuffs such as madder root, logwood or insects such as cochineal.
- Wool scraps, wool fleece, silk scraps, threads (This method works best with natural fibers)
- Labels to identify dye material and date of process
- Gloves and mask for protection when handling mordants
- Hot water
Make sure to download your FREE Solar Dyeing Process Ckecklist so that you can get started with Solar Dyeing at home 🙂
Step 1:
Let’s start by gathering our materials. You don’t need much equipment at all when you are using the sun as your energy source, but you do need a few essential elements.
Please check the materials and equipment box above.
Note: I have used materials such as leaves, flowers and food waste in this video and tutorials but you can also do Solar dyeing using any natural dyes. Read the Beginners Guide to Natural Dyes for more info 🙂
When choosing your fabric scraps make sure to start with wool fabric/yarn or silk. Protein fibers (silk/wool) are the easiest to dye with because they absorb the color beautifully.
Cellulose fibers (cotton, linen, hemp) require a different kind of mordant and depending on the dye the color can be less reliable. Check out The Ultimate Guide to Natural Dyeing for more info 🙂
In order to know if your scraps are natural or synthetic Check out this tutorial and perform a quick Fabric Burn Test.

Step 2:
Fill a glass jar with hot boiling water and add ½ a teaspoon of Alum Sulphate. You can buy the allum at your local garden center. Stir until fully dissolved.

Step 3:
Now its time to prepare our fabric. I have chosen an old 100 % woolen blanket and merino wool yarn .
I am also using 100% silk scraps and wool fleece. It’s important to use protein fibers such as wool and silk for best results.
Cut it into squares so that it can fit your jar. Wet the fabric in lukewarm water. Repeat process with yarn.

Step 4:
Now its time to add the plant material or food waste in case you are using avocado and onion skins as shown in video.
For this tutorial I am using dyer’s chamomile and french marigolds from my own dye garden at home.
These are my dyer’s chamomiles.

And these are my french marigolds 🙂

Add plant material to the jar and top it up with water.

Add your fabric (silk, cotton or wool) and yarn, add more plant material and fill the remaining space with water. This jar below its filled with the green leaves from the dyer’s chamomiles.

And this jar is filled with the flowers of the dyer’s chamomiles.

This jar is filled with the marigolds 🙂

Close lid. Repeat process with tea, coffee, onion skins, avocado skins and stones, avocado leaves.

Step 5:
Place on a sunny spot or a windowsill and leave for a few weeks.

If it’s summer I would leave them in my garden in a sunny spot but if it’s winter I place them in my window sills all around the house. It makes me so happy watching the color change every day in front of my eyes!

It’s amazing to see the color changes week after week. It’s a great opportunity for your kids to get involved and document the changes in color.
On a sunny day, the color change can be quite dramatic but if you are not having a lot of sun the dye process will take longer. The longer you leave the jars exposed to the sun the better the results will be. The examples in this tutorial and video were left for just two weeks.
Step 6: Remove fibers from solar dyeing jar
Remove threads, fabric and yarn from your jars, rinse well and leave to dry.


Results from solar Dyeing Process
The results shown bellow are from Onion, Dyers Chamomile flowers, Logwood (purple color ), coffee and tea. The fibers are silk, cotton, wool fleece and wool fabric. Note they are all natural fibers.
These fibers were in the dyer’s chamomile jars.

These fibers were in the onion skins and eucalyptus jars.

These fibers were in the marigold (forefront fiber) and in the coffee jars.

What dyes can you use for Solar dyeing?
As shown in the video and in the tutorial you can use food waste as well as plants from your area. this is a great way to connect with your environment and to create color in a very frugal way.
However I sometimes use left over dyestuff from bigger jobs from the hot dyeing method and I use them in my solar dyeing jars.
Here are some of these examples: In the illustration below I have used: Cochineal (light purple), madder (red) and logwood (dark purple).
The yellow is dyer’s chamomile from my garden which you can also purchase and the brown is a mixed jar that had some dyers chamomile and some logwood.

How to use the solar dyed fibers
I use all my dyed fabric and yarn/thread in my fabric crafts. Its a great way to make unique and creative sewing and textile crafts. It’s so lovely to start by creating color!

Use your colored thread/yarn and fabric to make any of these great handmade gifts:
- How to make an envelope pillow cover Tutorial
- How to make a hair clip holder with fabric applique
- How to make a fabric flower using fabric scraps
- How to make a plushie
Keeping a Solar Dyeing Chart:
For best practice keep a chart in order to document and keep track of your experimentation so that you can repeat the exact same recipe (time and dyestuff quantities) in the future.
For best results leave as long as you can but in summer most dyes will give you long lasting beautiful color after two to three weeks if placed in a sunny spot. I like to leave my jars out in the garden in summer and inside on my window sill during the winter.


Is the boiling part absolutely necessary? Is it just necessary for the alum (like could you boil the alum and water separately and then add the other items once it is cool or is it essential it be boiling hot when the plants an cloth is added?
I know the heat from the sun is necessary but I want to do this with kids and so am trying to avoid having boiling water involved.
Hi Gale, YES! You can totally prepare the water and alum ahead of time to avoid the kids handling hot water 🙂 Thanks for pointing this out!!!!! I will add to the tutorial 🙂