Hi Creative Mamas! Welcome to another exciting article about natural dyeing. In this post I want to share with you how to dye with marigolds.
You can easily create beautiful yellow dye using natural plant dyes such as french marigolds.
Marigold flowers are one of the easiest natural dyes to use when you are starting out. I grow them in my dye garden every summer.
There are 3 ways in which you can dye using marigold flowers:
These are 3 different processes but they all have one thing in common. They make the most of the natural dye color that little marigold flowers provide us with.
Natural color from marigold dye
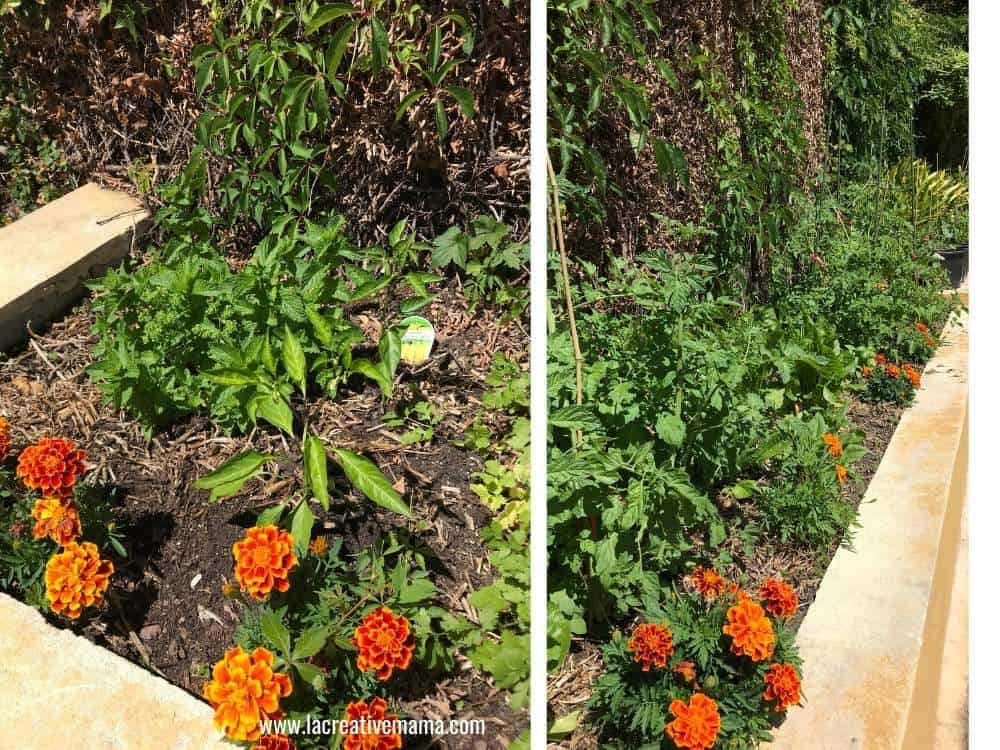
These are my french marigold flowers planted amongst my dye and vege garden. This photo was taken in the middle of summer.
If you plant your marigolds in spring you will have fresh flowers to give you yellow dyes and botanical dyes for printing all summer long.
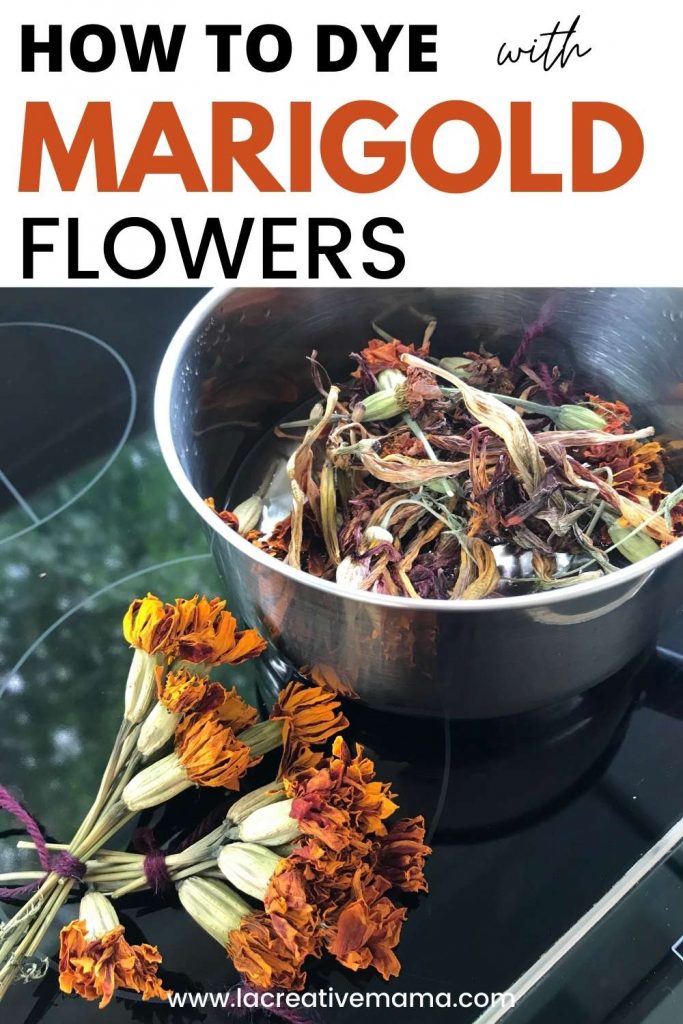
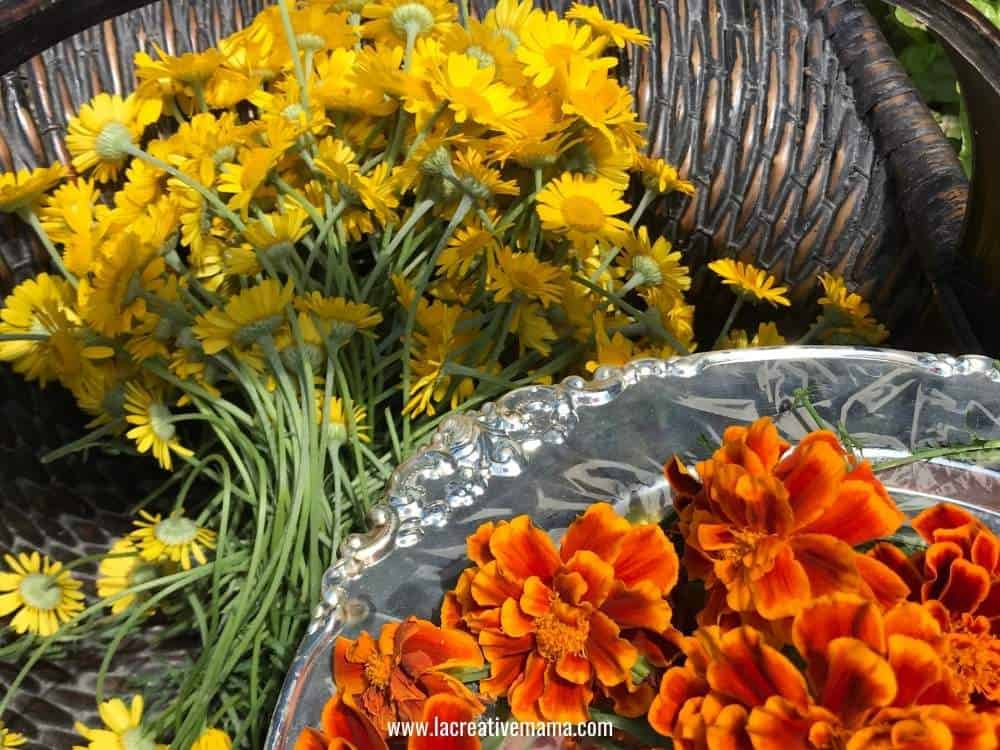
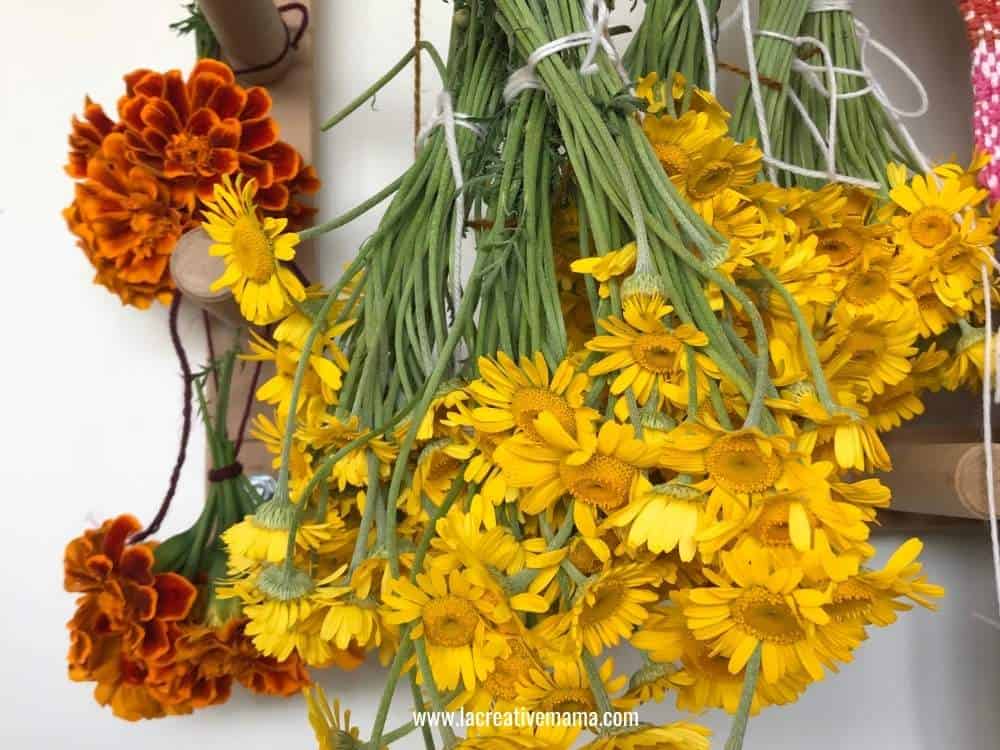
When you are ready to dye you can harvest the flowers. You can use them fresh or you can dry them for later use.
In order to dry them, make little bundles and tie them together. I like hanging them upside down in my studio.
They take about a week to dry completely. Once they are dry I keep them inside a paper bag or if I want to keep them for more than 3 months I will normally place them inside a plastic container with a lid.
For eco printing you will need to hydrate them in some water before using them. For natural dyeing you can place them inside a pot of cold water overnight before you do the dye extraction process.
Marigold is one of the 40 best natural dyes which I recommend you use.
Grab the FREE NATURAL DYES LIST
Complete the form below to download the FREE list of the best 40 dyes to use in natural dyeing! Save time and frustration!
Materials and equipment
- French Marigold flowers (fresh flowers or dried flowers). This is your plant material
- Rubber gloves
- Dye pot or glass jars
- Alum sulphate
- Fabric or skeins of yarn (100% natural fibers)
Unlike synthetic dyes, all natural dyes will work on natural fibers. These include cellulose fibers such as cotton fabrics or yarn, linen and hemp. Protein fibers such as wool and silk are my favorite fibers to work with.
Solar Dyeing with marigold flowers
Solar dyeing is a very simple and easy method to use. It relies on the sun as the source for heating the water.
It takes longer because you need to allow the sun to heat the water in order to activate the mordanting solution, the fibers and the dyes.
In solar power, the mordanting, the dye extraction and the dye process are all happening at the same time activated by the sun.
Solar dyeing method:
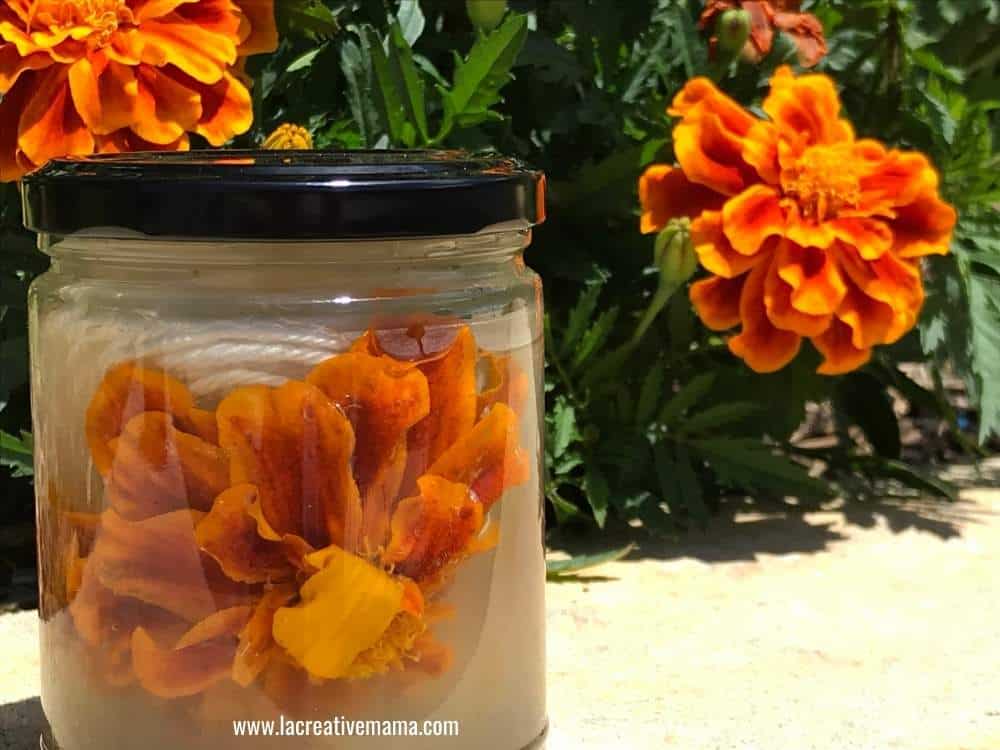
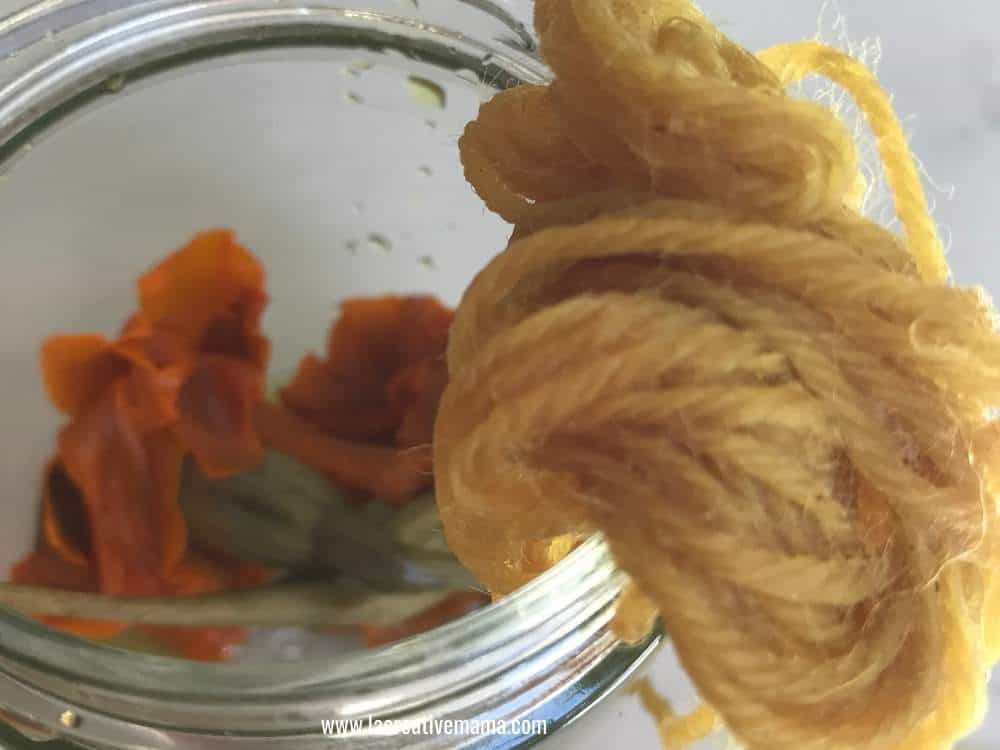
The first step is to pour warm water inside a glass jar. Add 1/2 a teaspoon of Alum and stir well until fully diluted.
Place your dye material, in this case the marigold flower petals, inside. Place the wool yarn or fabric inside as well.
Fill with enough water until you reach the top of the jar.
Place in a sunny spot outside in the garden or by a window.
After a few days the color of the liquid would have changed quite a bit as shown in the photo below.
I took this photo after 2 weeks in the middle of the summer. For best results keep at least for 10 days.
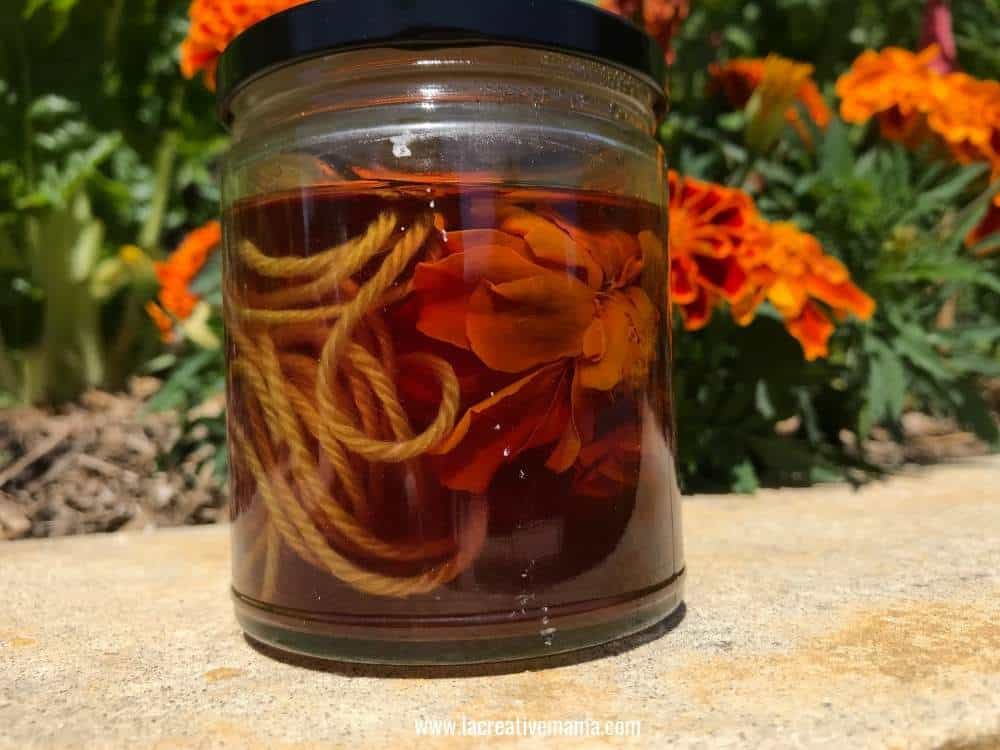
After 1 or 2 weeks (depending on the amount of sun and the color intensity that you are going for) you can remove the lid and have a look at the color result.
For best results keep at least for 10 days. For an even better result keep for 3 weeks!
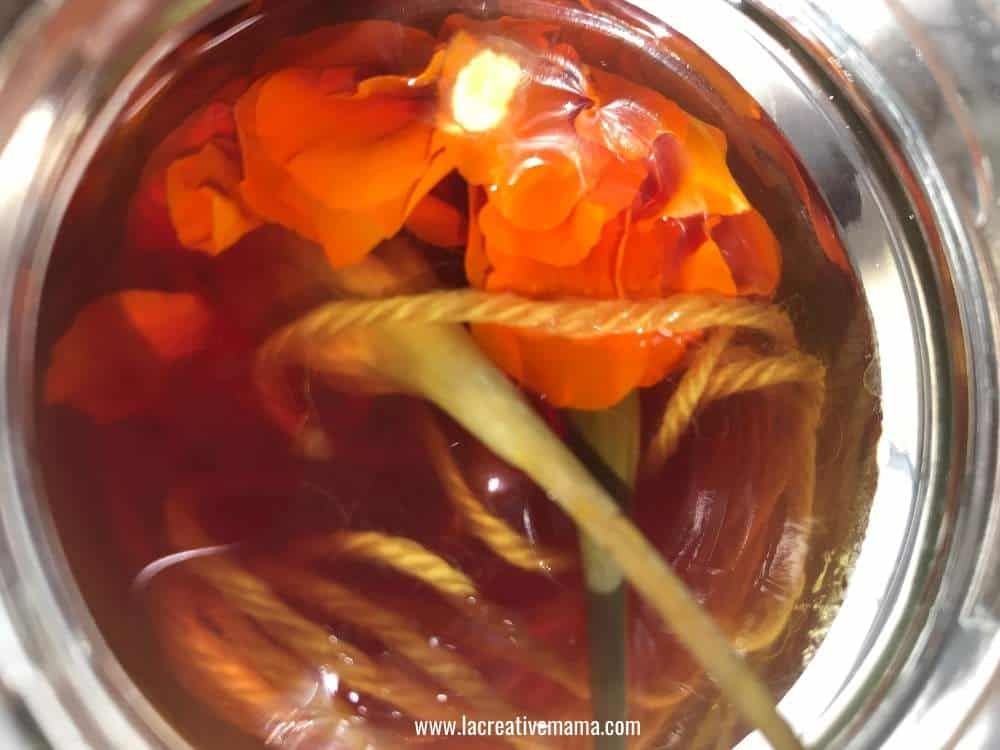
The longer you leave the jar on the sun the more intense the natural color will be.
Rinse the fiber well making sure the water runs clear. You can rinse with hot water or cold water.
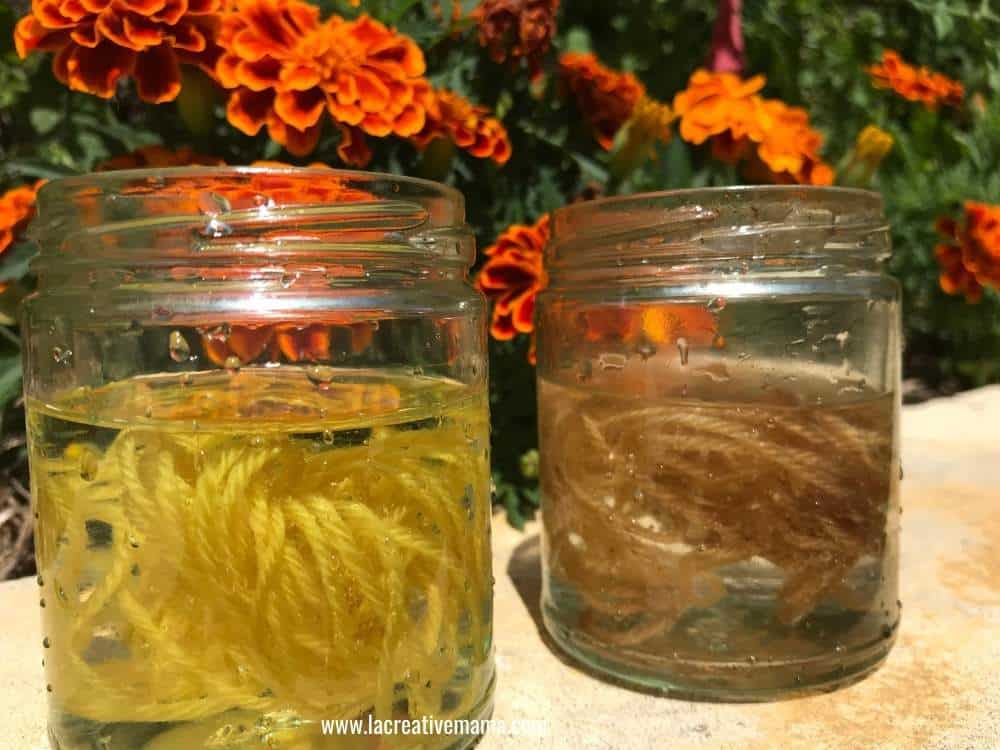
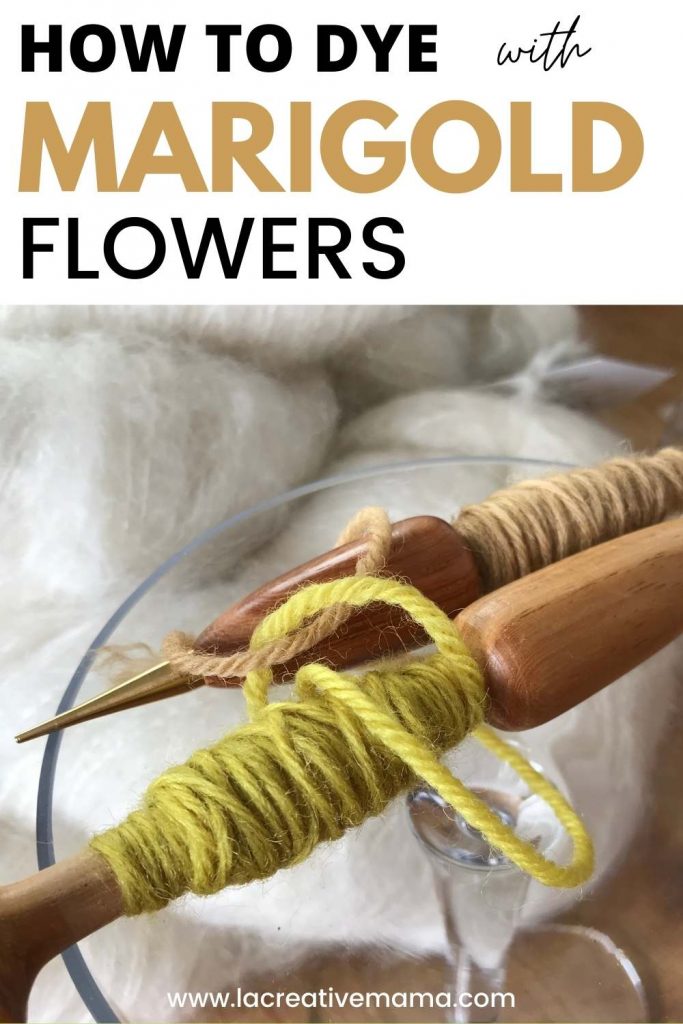
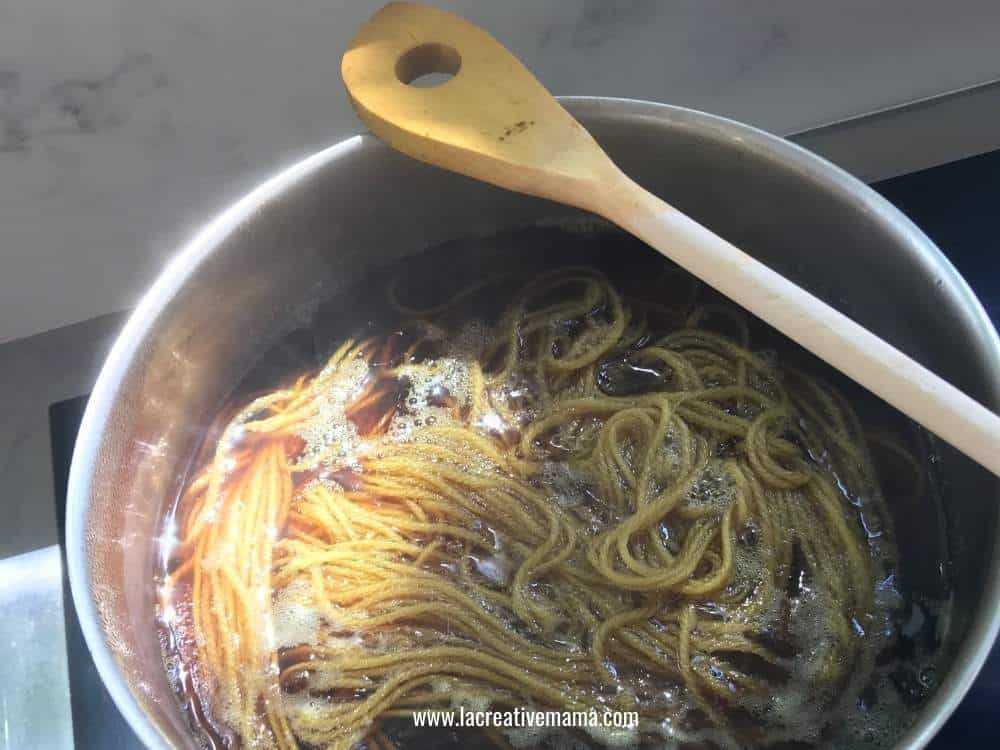
The photo below shows the result of 100% merino wool dyed with solar power.
The yellow yarn is from the marigold flowers and the brown yarn is from a solar power coffee jar.

This method works really well when you want to dye silk scarves. You can also use other dye plants such as dyer’s chamomile, black tea or onion skins.
Immersion dyeing with marigolds
When naturally dyeing using the immersion method you can’t cut any corners. You need to prepare your fibers before you even start extracting the color dye from the marigolds.
You will need to go through the first 4 steps in La Creative Mama Natural dyeing Method. These are:
- Fiber classification
- Weigh of the fabric
- Scouring
- Mordanting
Read this comprehensive natural dyeing tutorial in order to know how to go prepare your natural fibers correctly.
Once you have cleaned and mordanted the fibers in the mordanting solution you can proceed with the extraction dye step.
Place the marigold flowers inside a stainless steel pot filled with warm water.
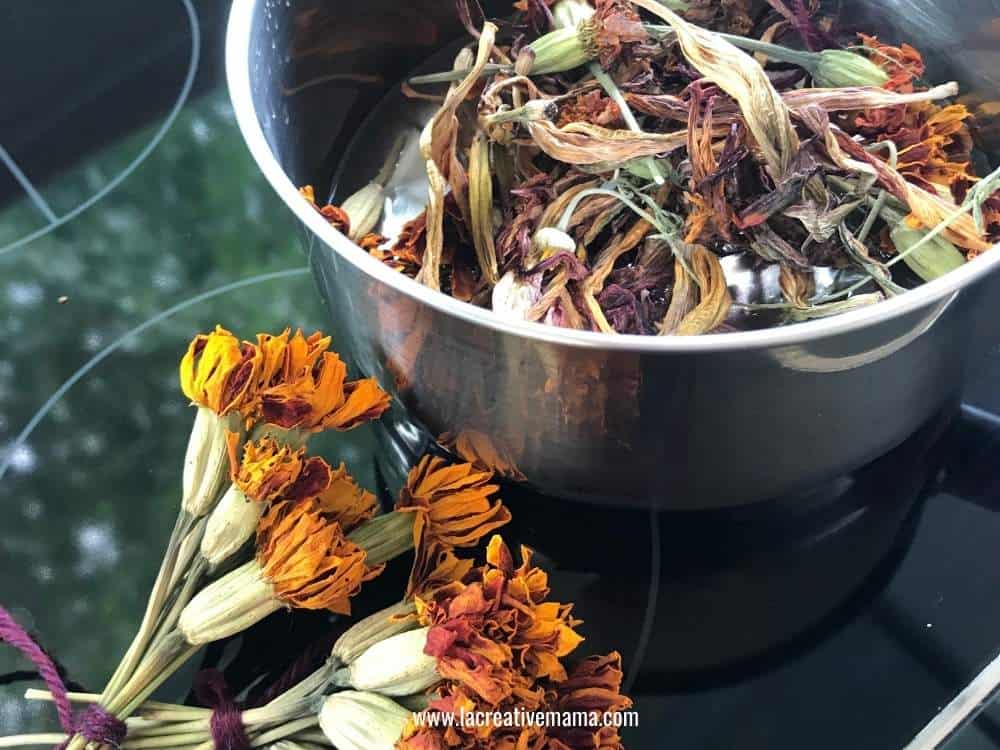
Bring it to boiling point and then reduce heat to a gentle simmer.
Let it simmer for 1 hour.
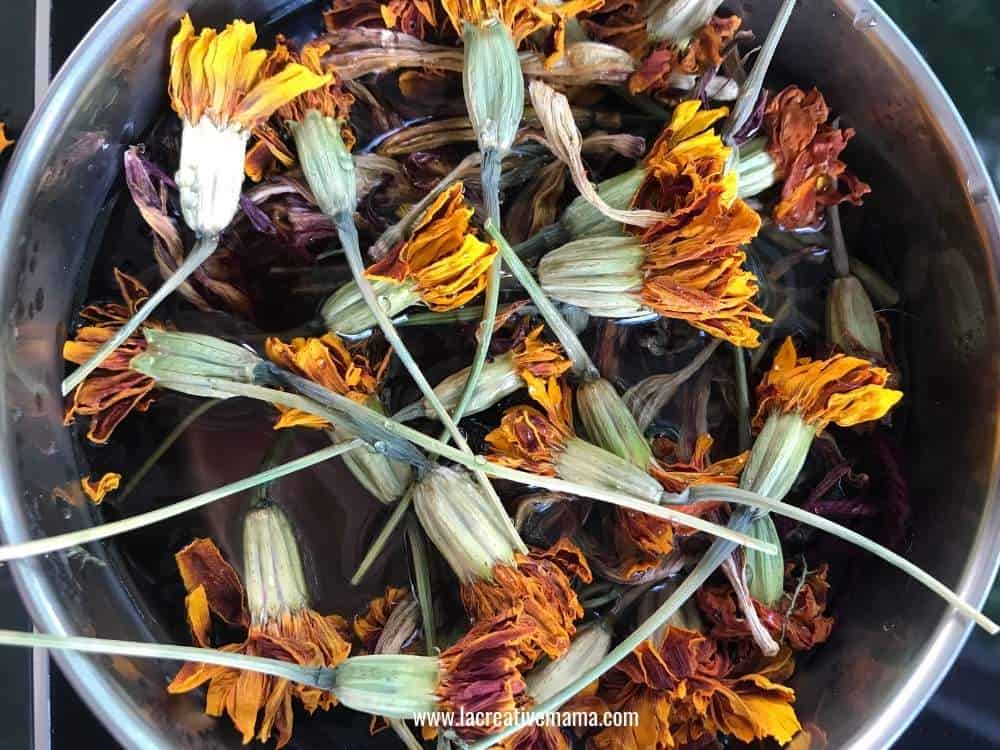
For best results allow the marigolds to sit in the dye pot overnight.

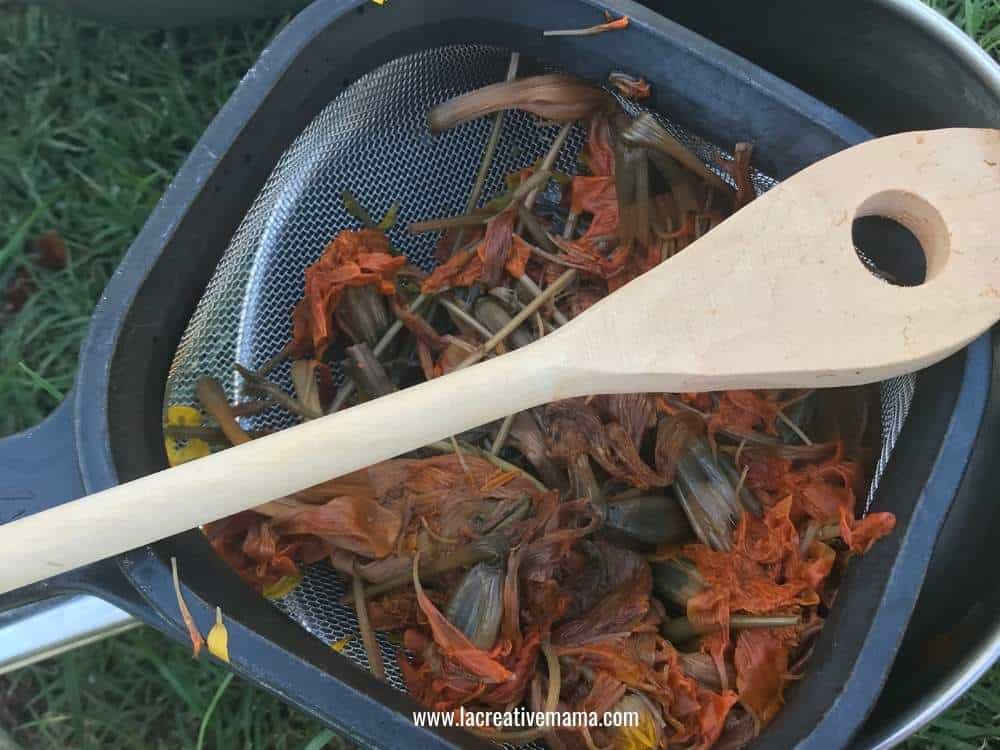
The next morning you can strain the marigold flowers and place the dye liquid inside a stainless steel pot.
Place the mordanted fiber inside and dye for 1 hour. Don’t allow the temperature to go beyond simmering point.
Remove the fiber from the dye bath and rinse until water runs clear.
In the photo below you can see the results from an afternoon of dyeing wool yarn using marigolds, dyer’s chamomile and logwood dyes.
The yarn in the left was dyed with marigolds and then placed ina logwood (purple) bath for 5 minutes.
As you can see the combination of the yellow dye from the marigolds and the purple dye from the logwood created arich brown dye.
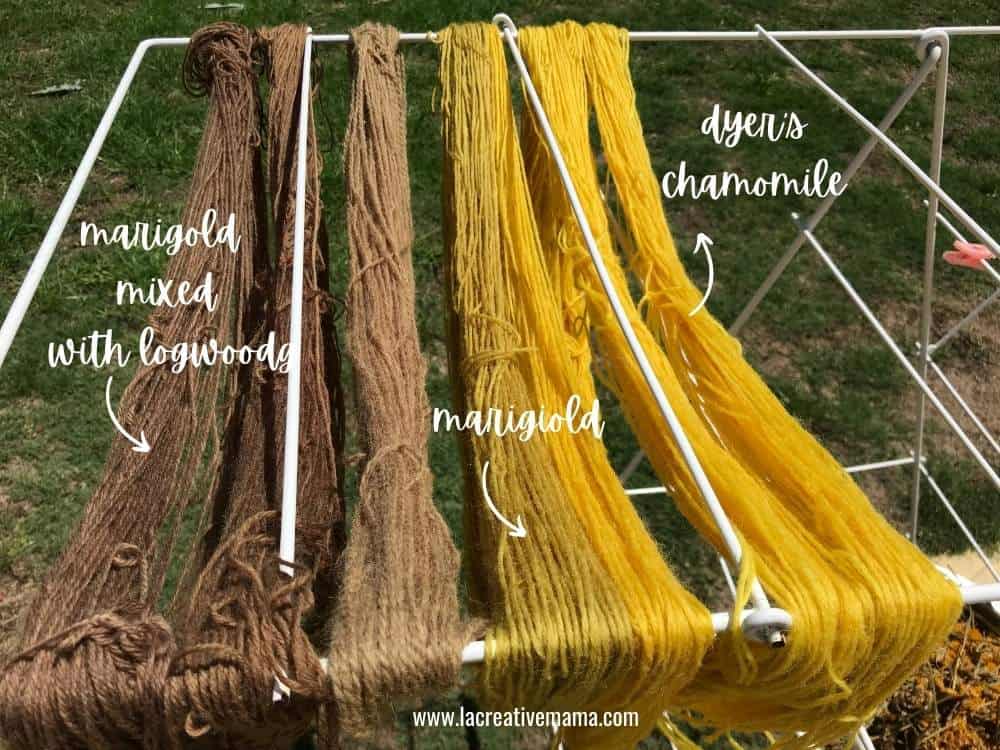
The yarn in the middle shows the true color obtained from the marigold dye bath. The 2 yarns to the right were dyed using only dyer’s chamomile.
The photo above show the marigold dye in the middle (yellow dye) and the brown combination of the logwood and the marigold.
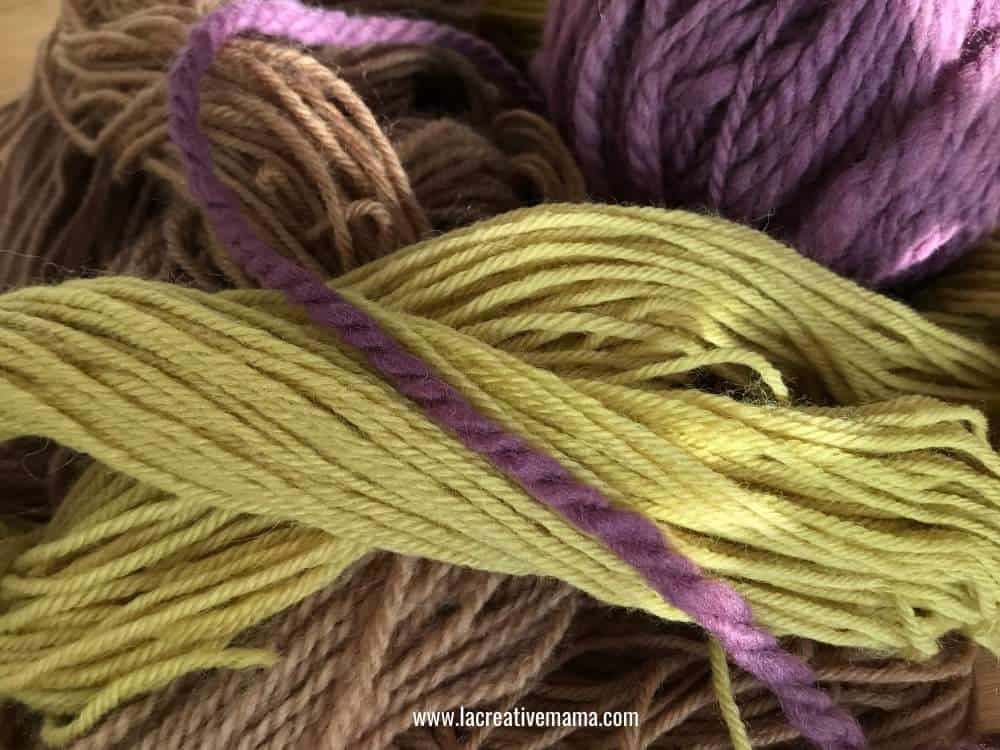
I love dyeing a few wool skeins at a time and changing the color of a couple of them by mixing colors from different dye baths.
It’s a great way to have a wide variety of natural color and to extend your color palette. You can also modify the colors by using an iron bath.
More natural dyeing tutorials
This is a great resource if you want to know how to tie dye using natural dyes. Also you can use natural dyes to upcycle old fabrics.
Did I mention that food left overs such as avocado skins and onion skins make the best natural color?
Save this tutorial to your favorite Pinterest board!