How to make a plushie (without a sewing machine)
Hi Creative Mamas! Have you ever wanted to make your own toys for your kids or as a gift to a special little one? Toys that are made with love, toys that are made with eco friendly and sustainable materials, toys that will be treasured because they are unique and customized for you and your kids?

Making your own plushie (soft toy) is the answer, but the question is: how to make a plushie?
Making a plushie (soft toy) is super easy when you have a pattern and instructions to follow. You can use fabric scraps or you can use your naturally dyed fabric and yarn. You can use your favorite embroidery stitches or applique and collage techniques. You can get super creative and have lots of fun with it.
The best part is:
- You don’t even need a sewing machine!
- Your kids will love you and adore you because you are the cool mom making these cool soft toys for them!
In this article I will show you how to create two different plushies from two different patterns without using a sewing machine.
I am using the Creative Mama Applique Patterns (which we will use as the soft toys patterns). You can download your FREE Applique patterns to follow this tutorial and make your own unique soft toys :). Just fill in the form below.
Tutorial: How to make a plushie
“This post contains affiliate links, which means I receive a small commission, at no extra cost to you, if you make a purchase using this link.”
Materials:
- Fabric: I have used wool fabric because it doesn’t fray, its nice to the touch and also very durable.
- Plushie Patterns from La Creative Mama Resource Library
- Fabric (I used scraps from my natural dyeing practice)
- Fabric options: You can buy felted wool here
- Filling: You can buy poly fil or you can use your wool leftover from your pom poms
- Yarn and embroidery thread (I used my naturally solar dyed yarn and thread)
- Fabric Scissors
- Needles and threads
Step 1
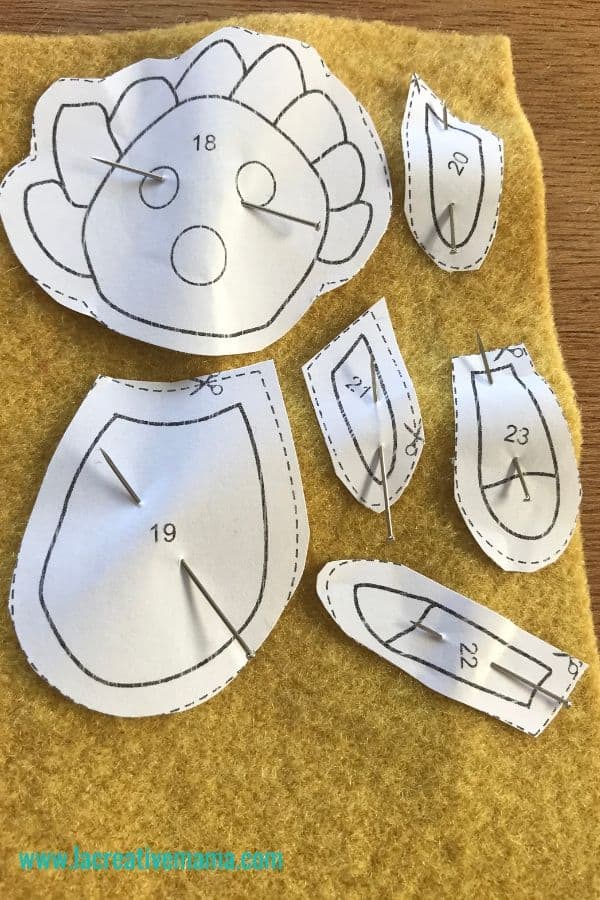
Print out your patterns. Cut around the shapes with paper scissors. Choose beautiful color threads, yarns and fabrics that you would love to work with. Make sure your needles are appropriate for the type of yarn, thread and fabric that you are using.

Step 2
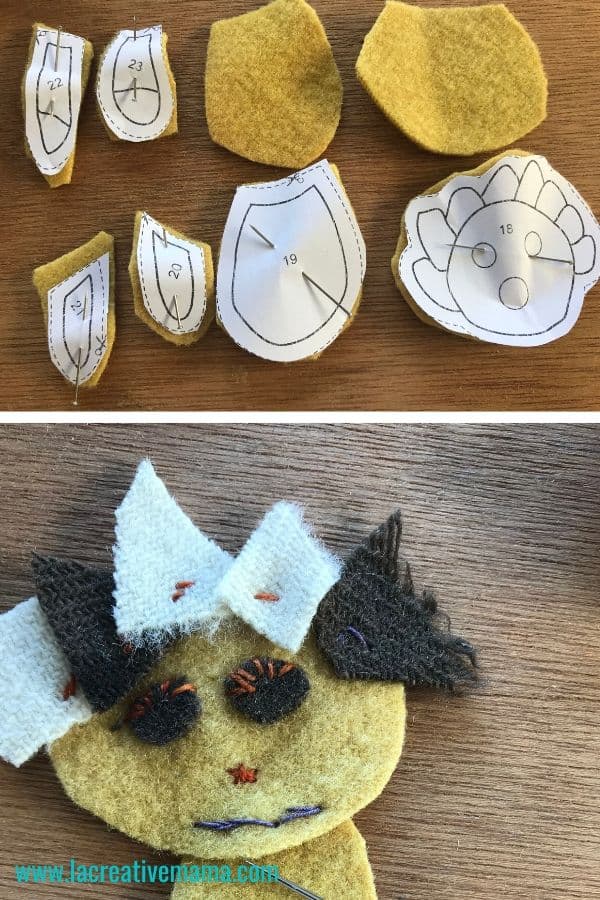
Place your cut out shapes on top of your chosen fabric. Cut two faces and two bodices (pattern pieces 18 and 19). For this project I have chosen an old woolen blanket that I dyed using Bundle Dyeing as well as a blanket that I dyed with Eucalyptus from my street using the Hot Method of natural dyeing.

Step 3
Using your chosen yarn or embroidery thread start to embellish the separate components of the plushie’s body. I have only embellished the plushie’s face but you can embellish as much as you want For the face you can either cut out some eyes from a different color fabric or embroider them.
I have done both. I have added applique for the eyes and embroidered the nose and mouth. I have also added some hair to this little plushie by cutting pieces of different color wool felt and stitching them one by one.
I have used a very loose running stitch and a back stitch. Feel free to embellish as you please. This is a lovely part of the process in which you can indulge in some mindfulness slow sewing Check out “A Guide to Embroidery Stitches” to learn all about embroidery stitches for your handmade gift.

Step 4
Attach the front face and bodice and the back face and bodice pieces together using a back stitch. Place them on top of each other and start sewing the front and back face parts together with a whipstich.

Step 5
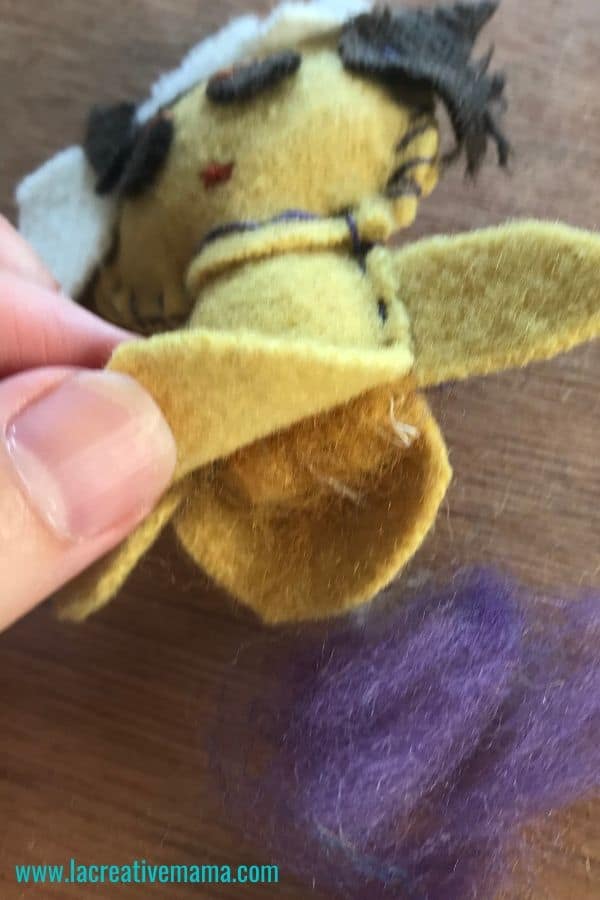
Once the two faces are together you can start to fill the bodice with your chosen filling. I am using my fluffy pom poms left over as a filling but you can buy wadding instead.

Step 6
Sandwich the little arms pieces in between the two bodices and keep filling it as you keep sewing. You can fill the plushie as much as you want as long as you can still sew the pieces together Add the leg by sandwiching them in between the two bodices. Close the plushie completely.

Final DIY Plushie

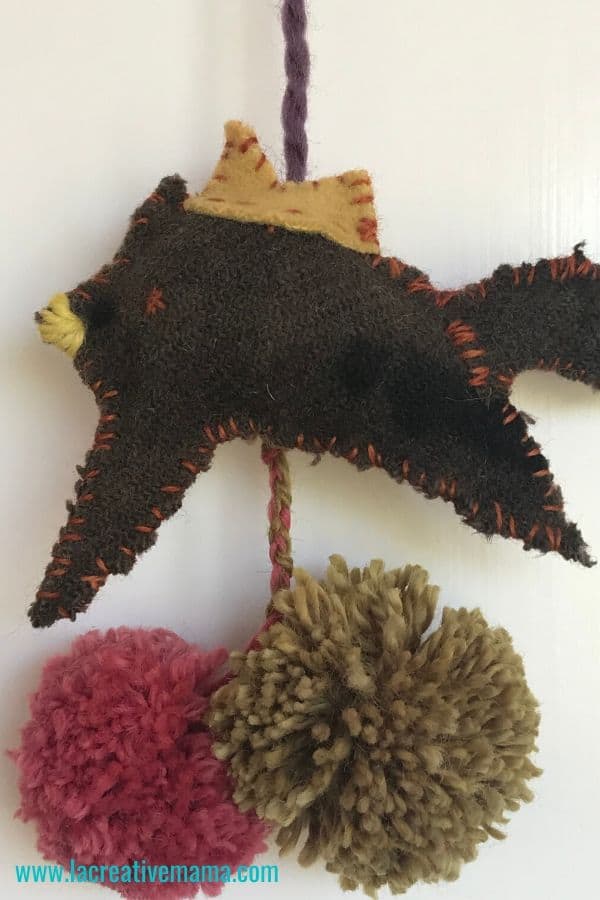
Here is another plushie using another pattern from The Applique Sewing binder
Follow same steps 1-6. For this plushie I have made it part of a baby cot mobile by attaching it to two pom poms.

And here is the plushie turned into a mobile toy for a baby’s room

