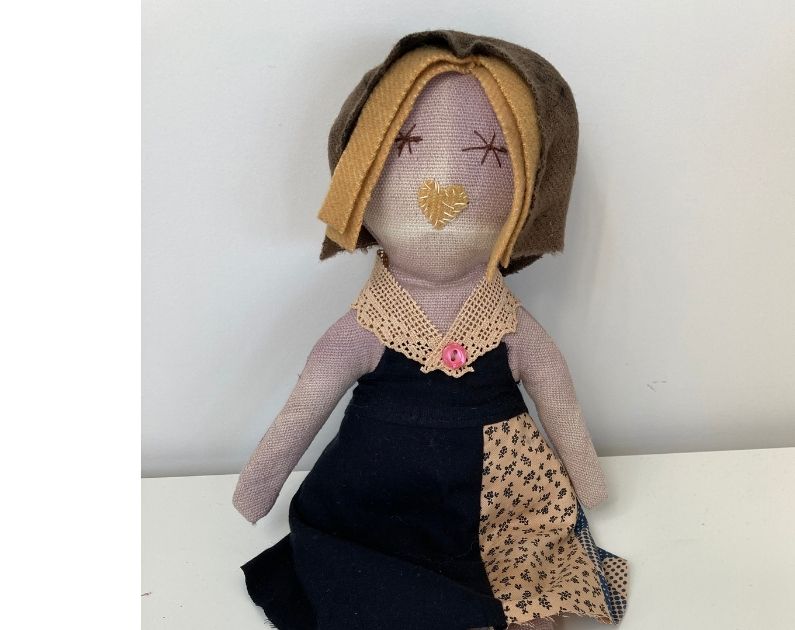
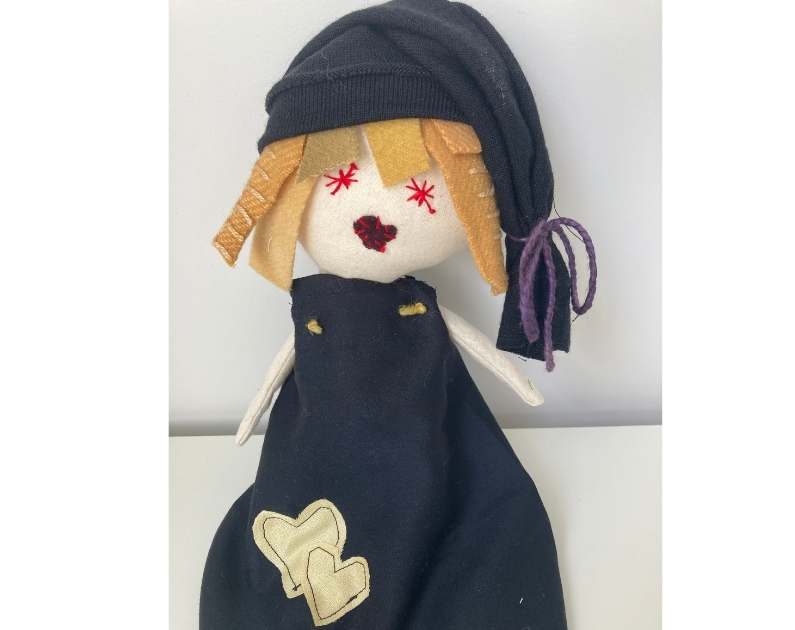
Hi Creative Mamas! So happy to share this rag doll tutorial with you today! In this post I will show you an easy and quick step by step of how to make a rag doll using fabric scraps.
For this tutorial I am using fabric leftovers from my naturally hand dyed samples. I love to use these because naturally dyed fabric has a special quality to it.
I am also using vintage items such as buttons and doilies which I have tea dyed to reinforce the antique quality of them.

Rag doll patterns
This post contains affiliate links, which means I receive a small commission, at no extra cost to you, if you make a purchase using this link. Please see my disclosure for more details.
A friend of mine recently shared her fabric doll pattern with me. We made some dolls together and we had a fun afternoon.

Since then I have modified the pattern and I have been creating my dolls using exclusively fabric scraps which I hand dye, eco print and tie dye.
I find that this has given my dolls a more unique look and now I want to share these techniques with you.
Materials and equipment
- Rag doll paper pattern (available in my FREE RESOURCE LIBRARY— get the password for free by filling out the form below)
- Sewing machine
- Hand sewing needles
- Felt fabric for hair and accesories
- 100% cotton fabric for doll base
- Buttons & fabric scraps
- Embroidery thread
- Filling/stuffing for the doll
- Fabric glue (optional)
Step 1: Rag dolls
Gather all of your materials for the rag doll. For this tutorial I will be using a 100% cotton fabric which was hand dyed using logwood.
I am also using an upcycled woolen blanket for the hair, mouth, hat and socks. You can use regular wool felt for these.
The yellow blanket pieces were dyed with onion skins and the brown piece was bundle dyed and immersed into a dye bath. If you would like more info about how to dye fabric using natural dyes go here.

Download and print the rag doll pattern. I like to cut around it and glue it onto hard cardboard (pattern paper) so that I can re use many times without getting damaged.
This makes it super easy to run a pencil around the pattern shape and it results in more accurate cutting 🙂

A great tool to have is a chopstick. These dolls are small and you will need some patience turning the legs and arms inside out.
This is when a good old fashion chopstick will be your best friend 🙂
Step 2: Rag doll patterns
Place your pattern pieces onto the fabric. Make sure that your fabric is placed on the straight grain.
Trace around the doll shapes.

The patterns don’t include seam allowance so make sure that you add 1/4 inch or 6 mm seam allowance at the time of cutting.

Lay all the doll pieces on your working table. You will have 1 front, 2 legs and 2 back pieces.

Step 3: Sewing step by step
Fold your leg pieces in half and pin them.
Place the back pieces together right sides touching and pin them.

Flip the leg pieces inside out with the help of a chopstick.

Sew the 2 back pieces together.

Press the back seams open. Note that the middle of the back remains open at this stage.

Place back and front pieces right sides together and pin.

Step 4
Using a regular sewing stitch, sew around the doll. Be sure to leave the bottom of the doll open.

Sew twice around the underarm of the doll. This is to reinforce the area before you clip into that corner.

Once you finish sewing all around the doll you need to clip into the underarm seam. Don’t be shy and clip literally 1 mm away from the seam.
This will ensure that there are no catching seams once you turn the doll inside out.

Clip on the corner created between the head and the body as well. Clip around the head and arms in the round areas.

Now it’s time to turn the doll inside out.

Step 5
At this stage you would have 2 legs and a body ready to be filled.

Start by filling the legs with the stuffing. I have used a recycled polyester stuffing but you can also use a cotton filler.
Stuff the legs and leave 1 inch/3 cms unfilled towards the end.

Once the legs are stuffed place them inside the doll. They need to be evenly placed. Pin in place and sew a straight line. This will close the bottom of the doll.

Your doll will have a raw edge at the bottom as shown in this photo. At this stage you can give the doll a good press.

Stuff the doll through the back opening.

Make sure the doll is evenly filled and use the chopstick to help you stuff the arms.

Once the doll feels full and fluffy you can sew a whipstitch to close the back opening.

You can also sew using an invisible stitch, but I like to see the stitches so I like using a whipstitch.

This is how the fully closed dool looks 🙂

Step 6: Doll’s head
This is the fun part! Let’s play around with the doll head and the facial features. You get to give your doll her own personality.
Cut a heart shape, or a circle or a triangle for the mouth in the felt fabric.

Sew it in place using your preferred hand stitch.

For the eyes you can either cut little ovals in felt or your can sew a few backstitches just like I did here.

You can also glue all of the facial features and details if you are crafting with kids.
Doll’s hair
For the hair I simply cut strips of my dyed wool fabric and I sewed them one by one to the top of the head.


Two strips of felt on each side is enough.


Now it’s time to add the hat pieces. Place it on top of the hair strips so that it is covering the whole head.
Sew little stitches to secure the hat to the head. I have used a brown embroidery thread so that it doesn’t show.

This is the finished doll.. I also added 2 little hearts to each leg as a detail and sewed a button on top.
If you would like to know how to make the dress, please see the description below. The FREE pattern includes the dress.
However, you can also make your own template for the dress by playing around with fabric on your little dolls.

Traditional rag doll dresses
Using the dress pattern provided cut the dress on the fold.
Fold the front top piece down. this will create a facing.
Sew a stay stitch all around the dress including the hem but excluding the back seams.
Sew the 2 back seams together. This will close the dress.
Place the dress on the doll. You have 2 options. You can sew a piece of fabric like I did with my doilie and close it with a button.

You can also sew a thick embroidery thread through the top back towards the front to resemble a dress strap.

I really hope that you have enjoyed this tutorial and please reach out with any questions that you may have 🙂
Save this tutorial to your favorite Pinterest board


