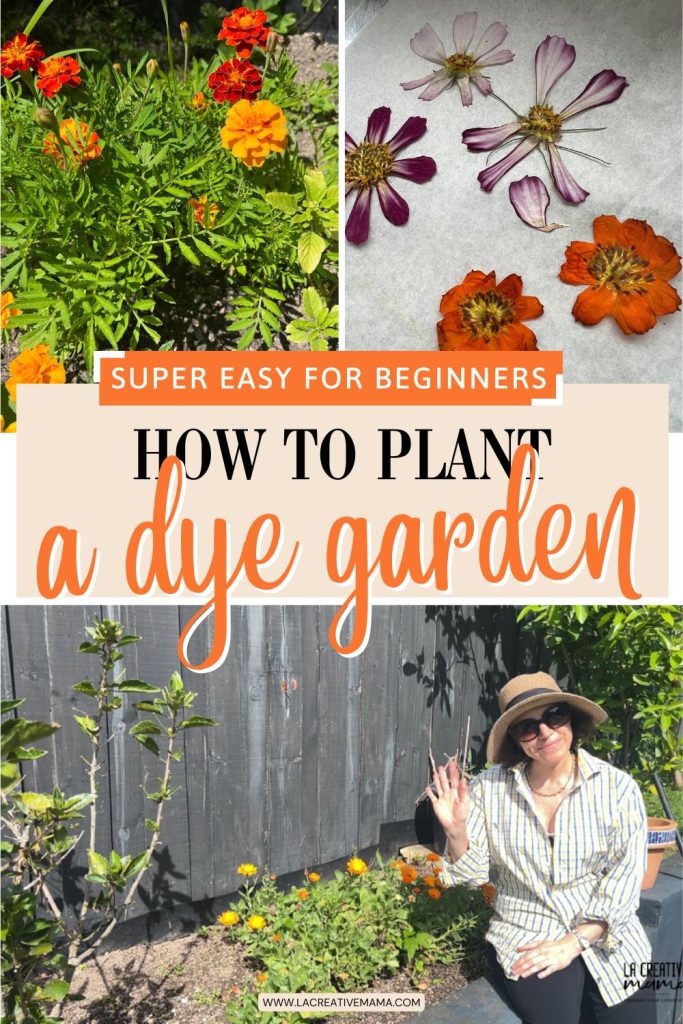
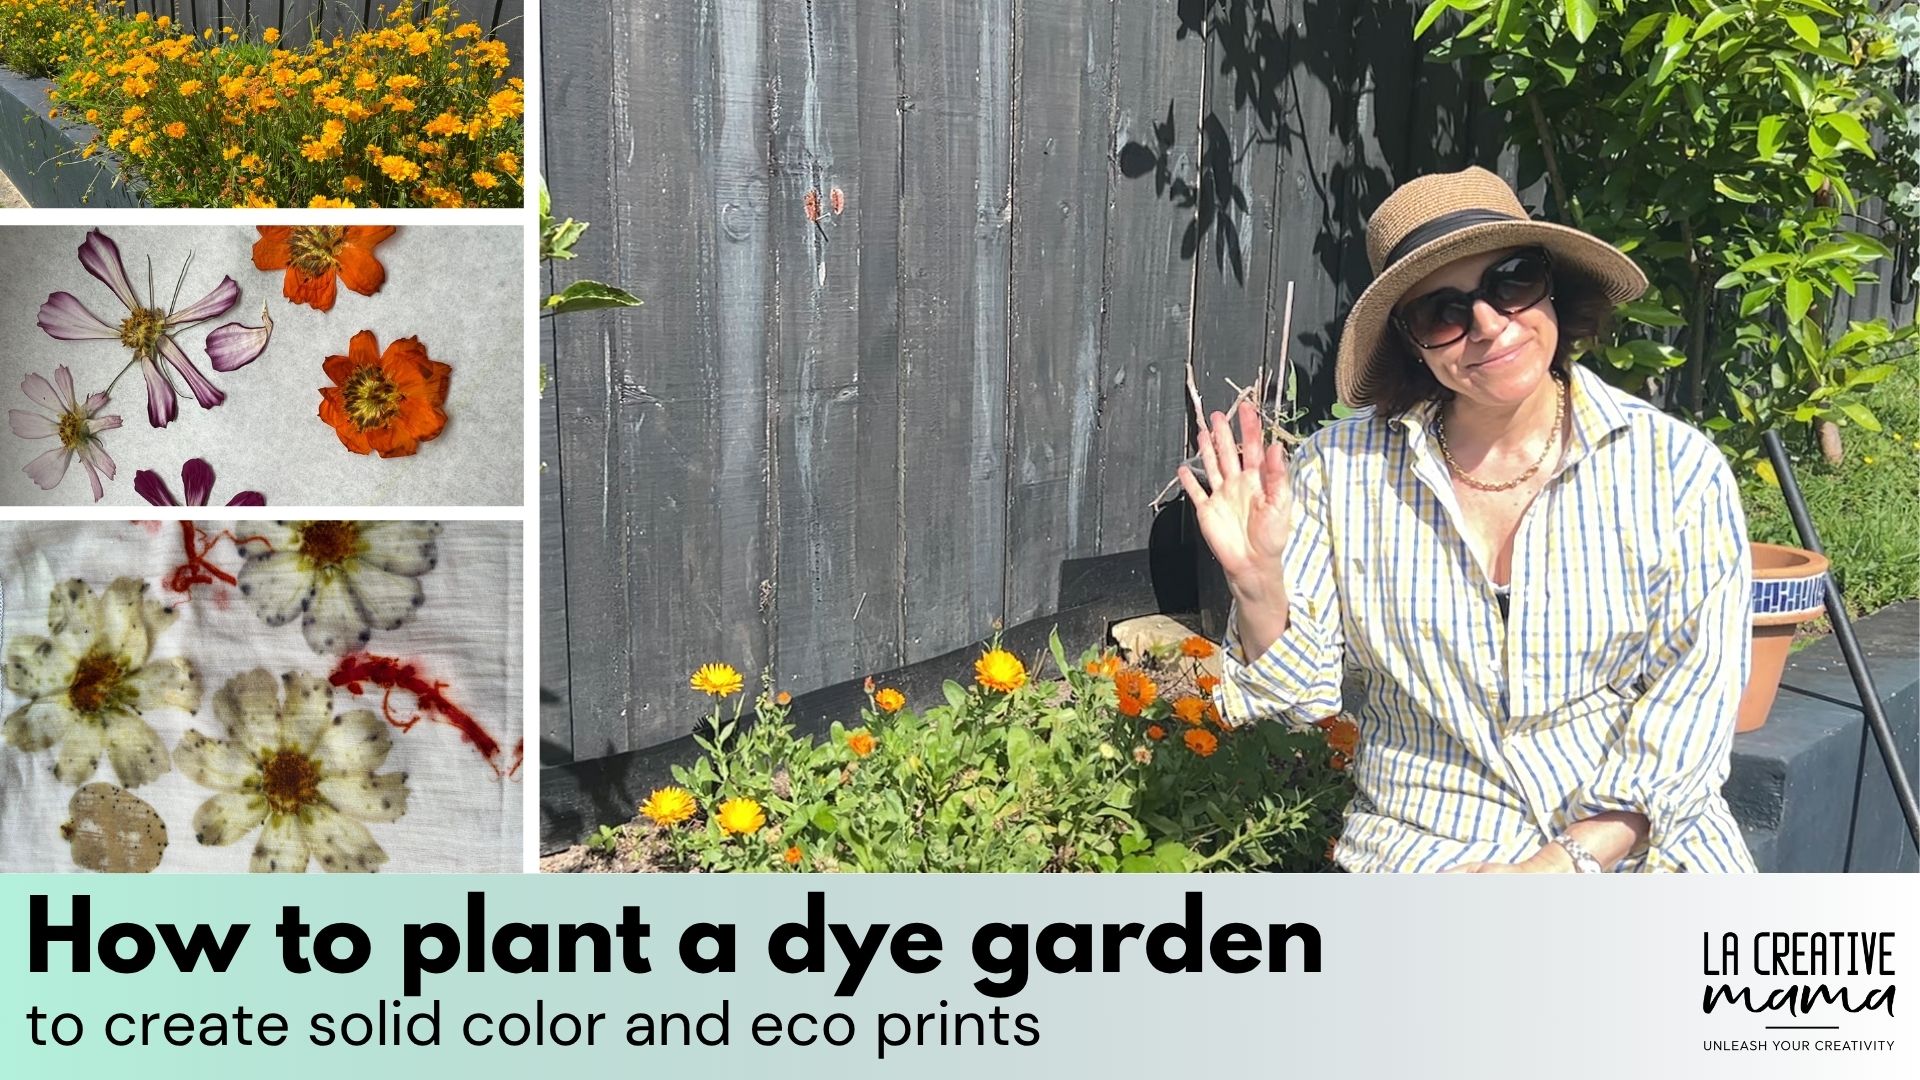
Hi Creative Mamas! I am so excited to write this post about how to plant a dye garden using traditional dye plants.
I have been meaning to write an article about growing and cultivating your own dye plants for a while. This is a wonderful way to dive deeper into the natural world of possibilities available to us.

Having a dye garden in my backyard has been extremely satisfying and very helpful for my natural dyeing practice and my eco printing practice!
Please note that I am not a professional gardener. This post is simply me sharing with you what I do to grow plant material that I use for my work as a sustainable natural dyer and eco printer.
When I first started looking at planting dye plants I had no clue of what I was doing. The most satisfying thing has been connecting with my little plot of land (my backyard) and learning from the experts at the nurseries.
I really treat my dye plants as little babies who need to be cared for to grow and thrive. In return I get beautiful natural color and prints all year round!
Video tutorial – Planting a dye garden from seeds
Best natural dye plants to grow at home
There are many plants that will grow beautifully in any backyard, even in plant pots in case you only have a balcony.
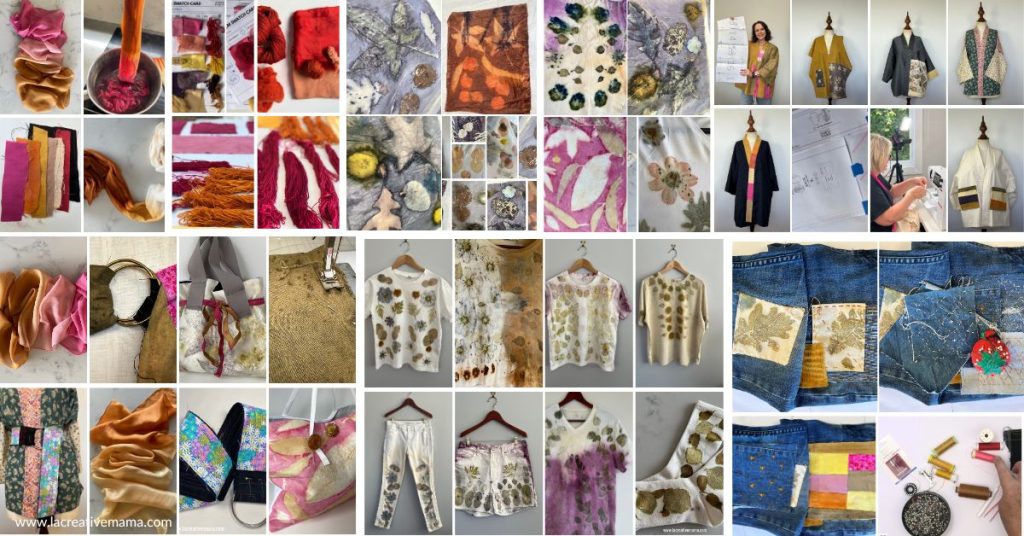
The photo below shows you the kind of color and prints that are possible when we use good quality dyes.

Here is a list of common plants that I have grown myself or that my crafty friends have grown in their own homes. They produce beautiful yellow dye, red dye, blue dye and brown dye.
- Madder Root
- Dyer’s Chamomiles
- Cardoon
- Coreopsis tinctoria
- Woad
- Weld
- St John’s Wort
- Marigolds
- Japanese indigo
- Rose
- Goldenrod
- Cosmos
Planting a dyer’s garden (flower garden)
The first thing to do is to choose which plants you want to have in your garden.
As discussed in the natural dyes guide I like to have a variety of natural color all year round.
I purchase my purples (logwood, alkanet) and my pink (cochineal) because I can’t produce those dyes in my garden, but I make sure that I plant a variety of dyes that produce different tones of yellow dye for natural dyeing as well as bright oranges, blues and purples for eco printing.
At the moment I regularly plant a variety of coreopsis (there are several varieties), marigold, hollyhocks, dyer’s chamomile, pansies, hibiscus and goldenrods.
I want to share with you the process I go through each time I plant my little dyer’s garden.
Buying dye plants
You can buy the seeds or the punnets (In New Zealand little plants come in punnets, which are the little black containers they have been growing in the nurseries.)
I always buy the punnets to speed up the process.
The photo below shows a dyer’s chamomile plant in the punnet, hollyhocks against the fence , marigolds (flowers) and coreopsis to the left.

I normally buy my plants and plant at the beginning of spring time. By the middle of summer I am usually harvesting all the way until late autumn.
How to plant dye plants
Let me show you the steps I take as a home gardener every year.
Location
First of all you need to choose your spot for planting. Make sure that you are leaving enough space in between plants.
I have made the mistake of planting my dye plants too close to each other and then it becomes a bushy mess :).

Plants usually come with an indication of what is the ideal distance in between plants and whether they need to be in a full sunny spot or half shade etc. So be sure to talk to your nursery or check the instructions for each type of plant.
Generally, most plants will thrive in a sunny spot and in a well drained soil. I have a raised bed and I make sure to feed the rich soil with compost and natural fertilizer every year before planting.
Planting
The second step is to dig the garden space to lift up any hard soil. You also need to remove any old plants or roots that might be hidden underneath.
In my case there is always lots of weeds by the start of Spring.

Don’t miss this step because it will ensure that your soil is a nice environment for your plants and that they will be comfortable growing in their new spot.
Happy plants equals lots of natural color!

Once you have prepared the soil, dig a hole bigger than the dye plant.

If you are planting several dye plants at once dig all the holes and place the punnets inside to check for distance before planting.

Remove the plant from the container by pressing on the bottom of it or by pounding on it with your shavel to release the plant.
Place the plant in its new little nest and fill the hole with lots of new rich soil.

The photo below shows a dyer’s chamomile flowering after 8 weeks from planting.

And the photo below shows the same plant after 12 weeks from the planting date. As you can see it’s already giving me lots of flowers to start dyeing with.

The photo below shows my marigold flowers by the start of summer. I usually cut the flowers when they are looking like this.

I either use them fresh for natural dyeing or eco printing or I dry them for later use.
The photo below shows my dyer’s chamomile ready to go through the extraction process to create the dye bath.

In the middle of summer I get a big basket of flowers every week from my garden.

To dry the flowers I simply make little bunches and I hang them upside down. They will completely dry after a couple of weeks.
You can keep them up to a year inside a plastic container or inside a brown paper bag.

Another great idea when you have lots and lots of flowers, is to use them inside solar power jars.
This is a great way to dye little pieces of fabrics and leftover yarns.

Natural color and prints from dye plants
I want to show you some of the prints and colors that you can get from your dye garden.
Please note that all fibers are 100% natural fibers such as cotton (cellulose fibers) and silks/wool (protein fibers).
Eco printed marigold flowers
I love how versatile the little marigold flowers are! Here are a few examples.

The photo below shows a piece of cotton which was eco printed using a marigold flower.

The photo below shows cotton socks which were upcycled by printing them with the marigold petals.

Eco printed silk with pansies
These little purple flowers are super cute if used in eco printing. Let’s see a few pansy prints!

The photo below shows a piece of silk which was printed using the pansies (blue print) and the little copper prints are dyer’s chamomiles.

Yellow dye with dyer’s chamomiles
The yellow yarn was created by using the dyer’s chamomiles batch from my garden two years ago.
I dyed a batch of NZ merino wool and have been using it to make my granny squares.
The orange color is madder root and the ochre color is marigolds from the garden as well.

I like how different the yellow dye appears when combined with other naturally dyed yarn as shown in the photo below.
The purple dye is logwood and the pale pink is a 5th exhaust from a leftover cochineal dye.

Eco printing with coreopsis flowers
I love eco printing with coreopsis. There are various types of them and they all produce beautiful prints!

The photo above shows a print on paper and the photo below shows a yellow coreopsis which was printed with an iron blanket effect on a cotton piece of fabric.

The same flower on the blanket side produced a much brighter yellow dye.

Eco printing with hibiscus
I also like my hibiscus flowers. They look great in my garden and they are also fabulous to print with.

The photo below shows an upcycled tote bag which was printed with hibiscus and marigold petals from my garden and a few oak leaves.

As you can see the hibiscus turns blue which I love!!!

I hope you have enjoyed this article and that it has inspired you to grow your own plant dyes and create a wide variety of dyes for eco printing and natural dyeing.
Make sure that your own dye garden has plenty of light, good soil and plenty of available space to grow and flourish.
As mentioned above, you can use your little garden to create natural color palettes and prints using different techniques such as bundle dyeing, solar dyeing, eco printing on paper, eco printing on fabric and naturally dyeing fabrics and yarns.
For more information about the best natural dyes to use in your natural dyeing practice check out the FREE list of 40 dyes!
Complete the form below and download for free.


Are the things you are dying (wool cotton etc) all white to start with or can you use a light grey for instance?
Thank you.
Mostly they are but you can totally over dye using natural dyes too, but make sure you are washing and mordanting your fabrics before the dyeing process!