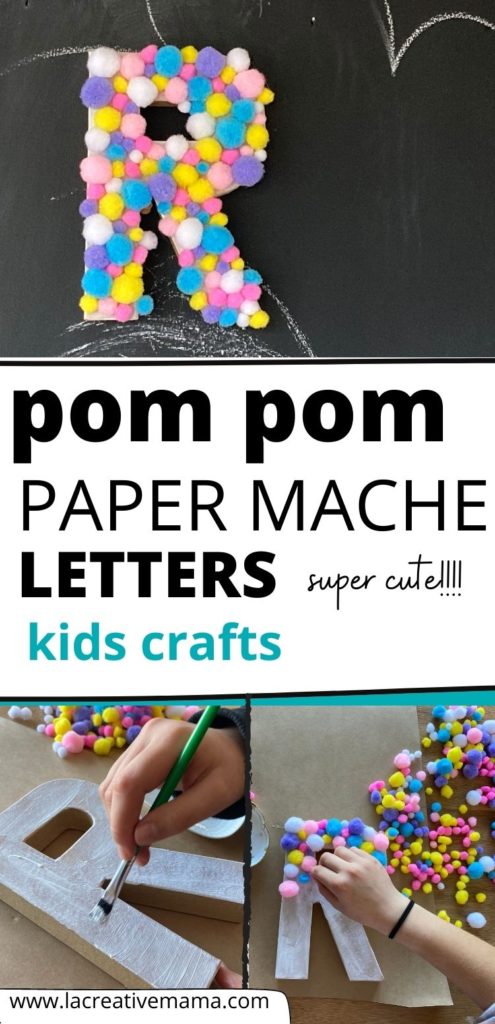
Hi Creative Mamas! I am excited to share this great kids craft tutorial with you all. Making pom pom paper mache letters has proven to be so much fun for my daughter and her little friends. We literally can’t have enough pom poms or enough paper mache letters in stock for them to craft with.
I think it’s the tactile nature of the felt pom poms that they like but also all the glue that is involved in the process. The other great thing about making pom pom paper mache letters is that is a great way for kids to decorate their rooms.
Have fun with your kids making their whole paper mache name or just the first letter. They can also choose their own color palette. This tutorial is lots of fun!
Paper mache letter video tutorial
Here is a quick little video that shows you the process but make sure that you go through the tutorial steps below to get all detailed instructions 🙂
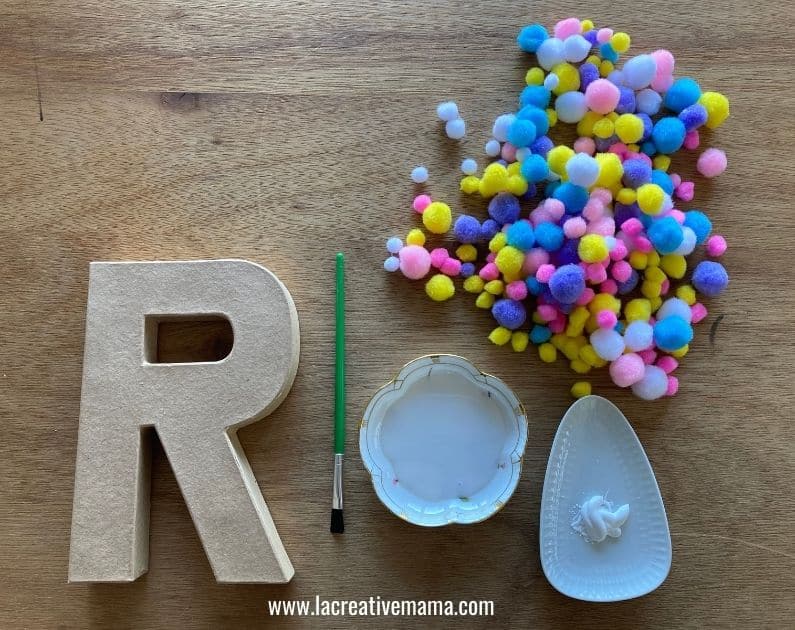
For this tutorial I have chosen the letter R because it’s the first letter in my daughter’s name. We also chose girlie color pom poms as you can see in the photo above but there are a lot of different colors to choose from. You could even make it all one color and play with different tones variations on that color. The sky is the limit with these paper mache letters 🙂
How to decorate paper mache letters with pom poms tutorial
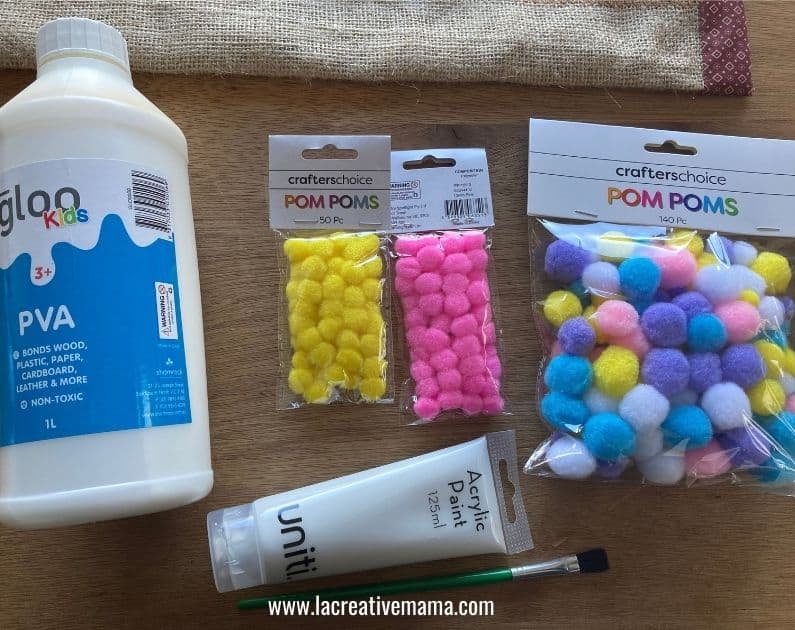
Materials and Equipment
- Paper mache letter/letters
- Different color pom poms (you can also have different sizes like the ones I used for this tutorial)
- White acrylic paint
- Craft glue
- Paint brushes
Step 1: Getting the pom poms ready
Gather all the materials. As you can see we chose different sizes of pom poms and my daughter decided she wanted accents of bright pink and yellows so we got a couple xtra bags of mini pom poms in those colors.
Place all the materials on your working surface. I highly recommend that you use a piece of paper or plastic to protect your working table (talking from experience here)
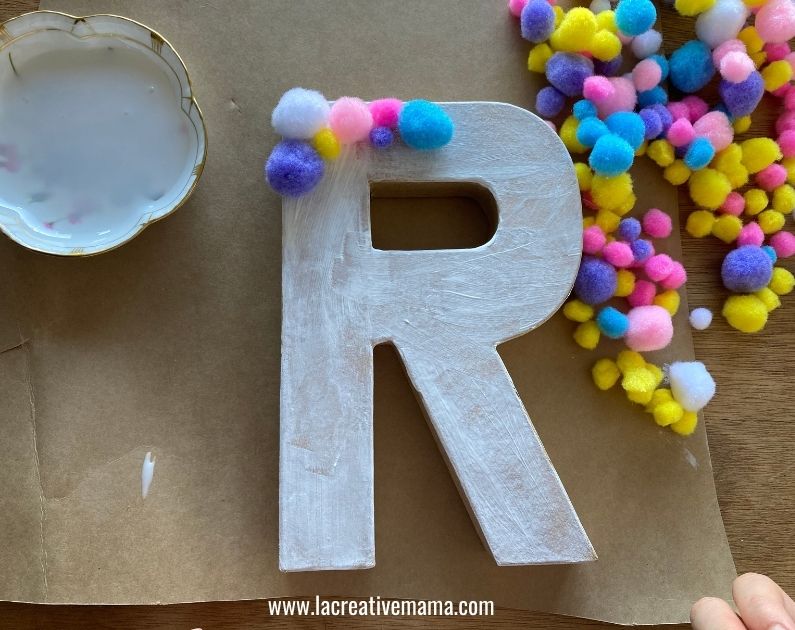
Step 2: Painting the base of your paper mache letter
Cover the whole paper mache letter with the white acrylic paint. The idea is to have a white base to work with before we even start applying the color pom poms.
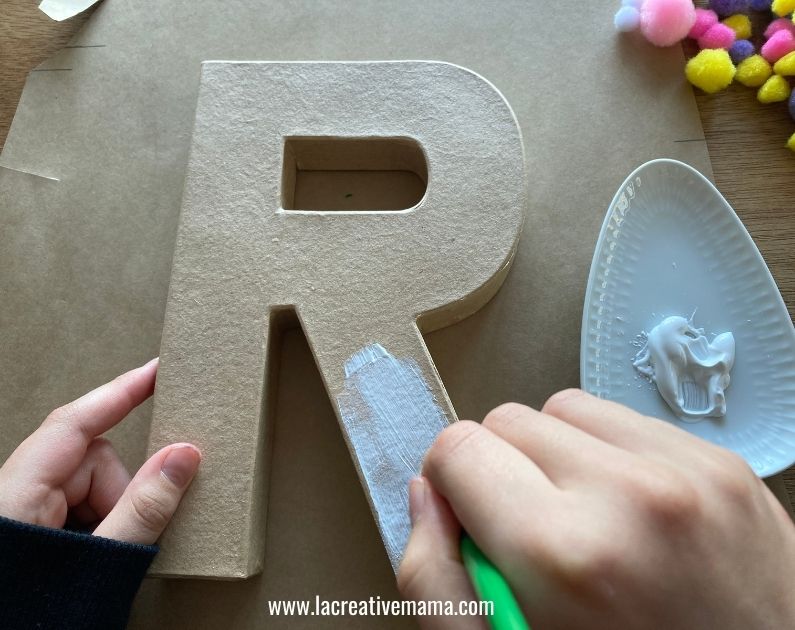
Note: If you rather have the craft color instead of the plain white background color simply skip this step 🙂 My daughter designed her letter to match her room so we went with the white option.


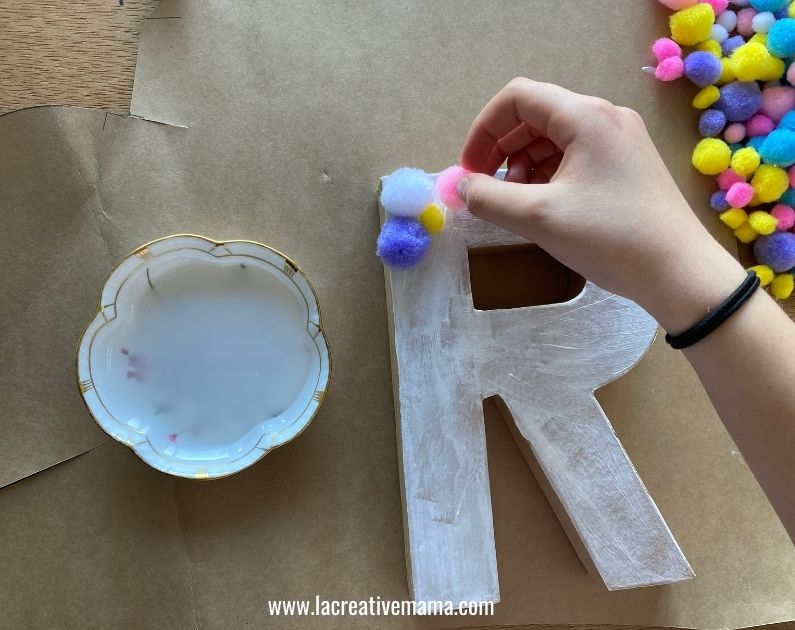
Step 3: Glueing the pom poms
In this step we are going to start gluing the pom poms. You can dip one side of the pom poms in the glue and then place it on the paper mache letter.

You can also use a paint brush and apply the glue to the letter first with the brush and then place the pom pom on top of the glued area. Whatever the kids find easier!
Let the kids have fun combining the pom poms.
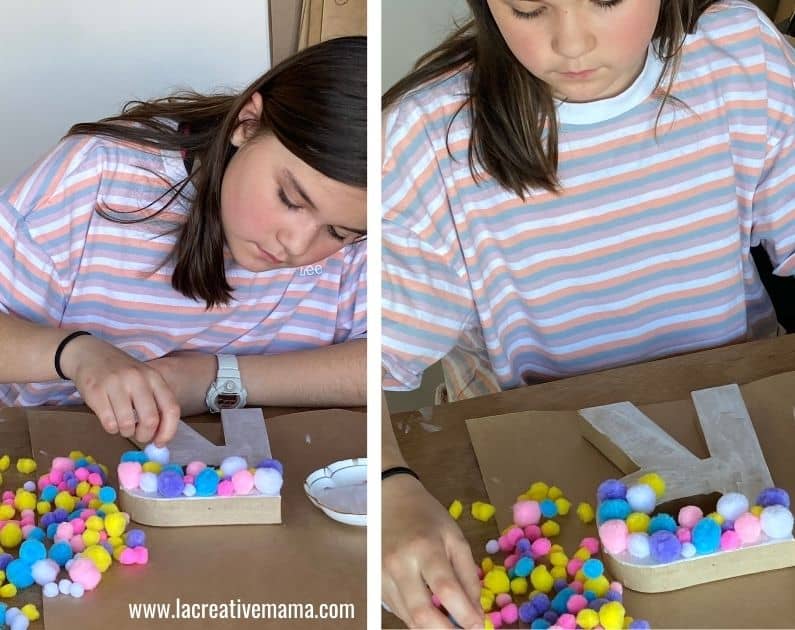

When you child is happy with the way the paper mache letter looks then the letter is done! Place it in a place away from the kids so that the glue can dry overnight.

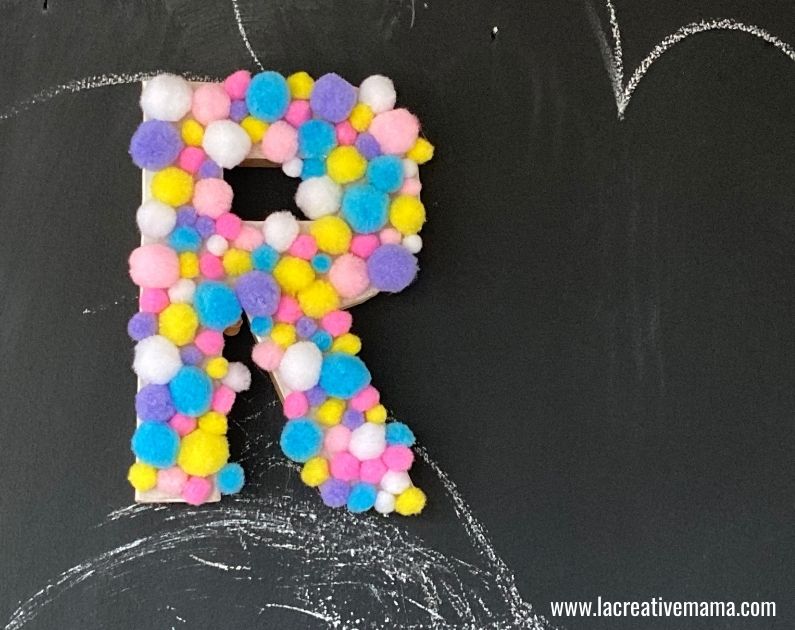
Pom pom paper mache letter wall art
The great thing about these letters is that they are super light. You can hang them in your kids’ rooms without damaging any walls. Here is my daughter’s letter in the blackboard wall. She keeps changing it around.
Here is the same letter hanging from her pink wall. Note that the difference is color background makes the pom poms look differently. I think that’s why she keeps changing the letter around her room.

I hope you have enjoyed this super simple and easy way to get your kids crafting and also to get your kids involved in decorating their own room! Below is my daughter’s letter on top of her desk (her favorite spot).

Other ideas for kids crafts
If your kids like crafting with fabric make sure to check out How to make super easy crafts for kids: Fabric Hedgehog. In this tutorial I show you how to get your kids sewing and making a little hedgehog that they can be proud of.
Also if you have girls that like felt dolls check out How to make a doll using Doll Patterns (Free). It’s a great tutorial to teach kids how to make their own flat felt dolls.
And… if you or your kids love a little bit of messy crafts check out this cool tutorial on how to dye fabric and wool using food coloring!
Save this tutorial to your favorite Pinterest board