Hi Creative Mamas! Welcome to this new post about yet another way to practice the beautiful art of natural dyeing. This time I will show you how to do fabric printing using natural dyes that are around you.
This method of fabric printing is very similar to Bundle Dyeing but the difference is that you steam the fabric instead of submerging it in a dye bath.

What is fabric printing with natural dyes?
Also called Eco printing, fabric printing with natural dyes is a way to extract the dye from flowers, leaves, rusty nails or food waste such as onion skins or tea bags and transfer their shape into a piece of fabric by using pressure and heat.
What are good natural dyes for fabric printing?
I love using what I have around me. I always tell my students that natural dyeing and fabric printing gives us a vehicle to interact with nature and to connect with the local environment around us.
Therefore, I always use what I have at hand which means using plant material which is in season flowers, perennial leaves, food waste and rusty elements.
These include:
- Leaves: Eucalyptus leaves, Liquidambar leaves, rose leaves
- Flowers: Cosmos, Marigolds, Dyers Chamomiles
- Food waste: Onion skin, used black tea bags
- Rust: Rusty nails, rusty wire, rusty keys, anything flat and rusty works well
Download your FREE List of the best 30 plants to eco print with
What are the best fabrics to use for fabric printing?
You can use all natural fabrics, these include:
- Protein fibers such as wool and silk fabrics
- Cellulose fibers such as linen and cotton fabric
Before the printing process it’s very important that all fabrics are prepared correctly. For a detailed guide on how to prepare fibers before eco printing or natural dyeing please read this article.
This involves scouring and mordanting the fabrics according to their composition. For more information about the best mordants for eco printing you can read this article.
Also, to make sure that your fabrics are natural fibers you can perform a quick burn test.
How long does the fabric printing process take?
This is the best part. Fabric printing with natural dyes is a quick method in itself. It will take you just over one hour from start to finish but you must prepare the fabric first.
I use this fabric printing method to test if a flower or a leaf will yield a good color before I go through the long process of naturally dyeing a piece of fabric with the hot dyeing method.
So lets get started with a step by step tutorial, but before check out this little video with lots of info about our amazing Eco Printing on Fabric Course.
Fabric Printing Tutorial
This post contains affiliate links, which means I receive a small commission, at no extra cost to you, if you make a purchase using this link. Please see my disclosure for more details
Materials and equipment
- Scoured and mordanted silk or wool fabric (for this tutorial I am using an old merino wool top)
- Leaves and flowers (for this tutorial I am using cosmos flowers and silver dollar leaves) But you can use any type of leaves or flowers from the list above.
- Plastic or paper barrier
- String
- Steamer
Sometimes I like to use an iron dip to immerse my plants before they are placed on my fabrics. For this tutorial I have used my own iron water solution, so before we start going through the process of fabric printing we need to make the iron water solution.
What is Iron Water?
In this case we will use the Iron Water to enhance the shape definition of the leaves and flowers and it will also change the color of the leaves and flowers to a darker tone, in the greys or even black tones.
Best way to make an iron water solution?
You need:
- Rusty nails
- Sealable jar
- White vinegar, 1 cup
- Water, 1 cup
Place the small rusty nail objects inside a sealable jar. Pour water and white vinegar to cover the objects. Cover the jar and leave for at least 3 weeks
Download your FREE PDF Iron water solution Recipe by completing the form below.
Step 1:
Place your scoured and mordanted top over your working surface. Place the iron dipped plants on top of the left half of the fabric (in this case the merino top).
Note: You don’t need to dip the plants inside the iron solution, this is a totally optional step).
I usually immerse the plants for 20 seconds in the iron solution

Fold the right side of the wool top over the left, so that the plants are sandwiched in between.
Place a paper or a plastic barrier on top to avoid ghost printing.
Note: I also placed a few pieces of madder root just before I rolled my bundle and as you will see in the photos below it added a lovely red detail to the end result!
Step 2:
Roll the merino top and make a little bundle by securing the rolled fabric with string. Make sure its tight.
Step 3:
Place in the steamer and steam for 1 hour!

Step 4:
After 1 hour, remove the eco printed bundle from the steamer and open it up! It’s actually better if you let the bundle get to room temperature to avoid burning your hands with the hot steam.
Ok, get ready because this is the super exciting part!

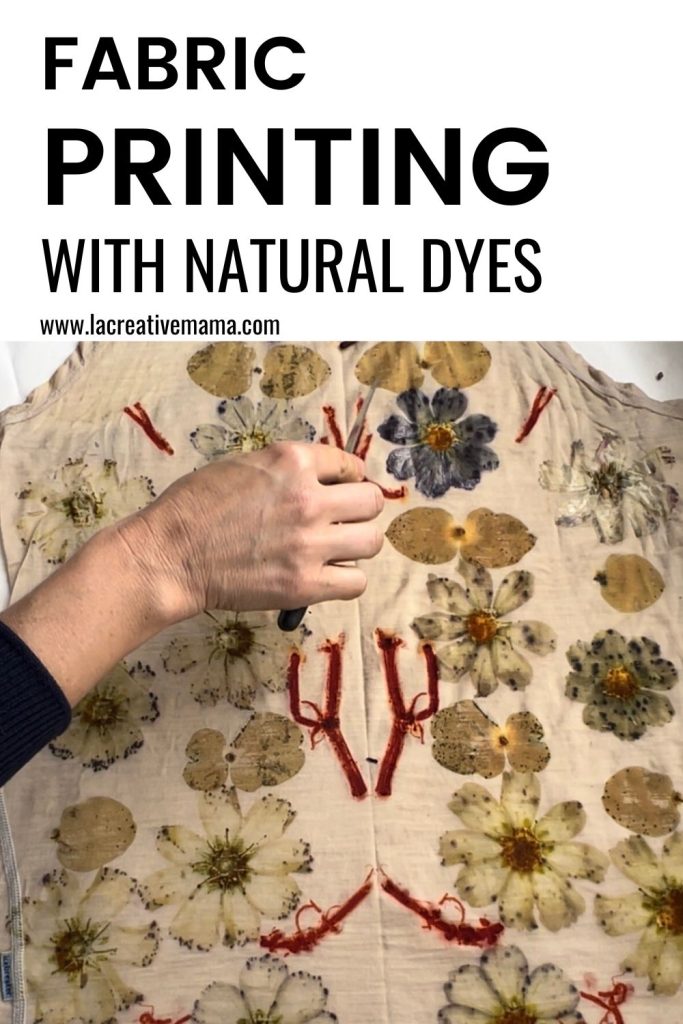
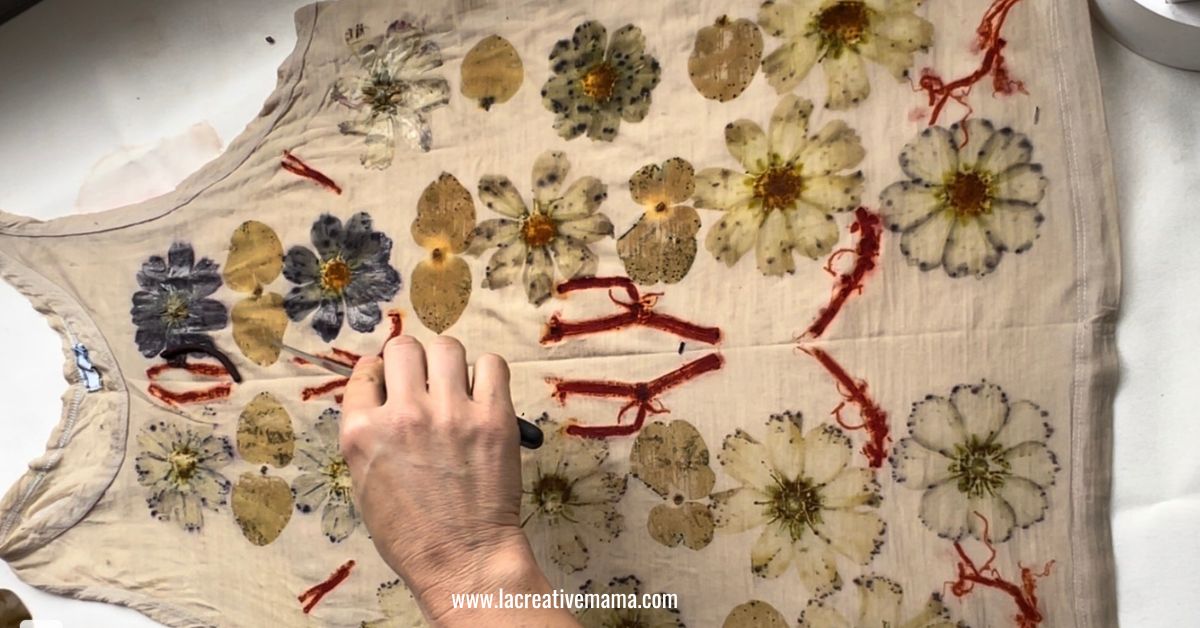
Unfold the bundle and remove all plants. I like to use a knife to help me remove the very fine petals from the cosmos flowers.

This is the end result! At this stage you will need to rinse the top and wash it using some delicate wool wash since we are dealing with a merino wool top 🙂

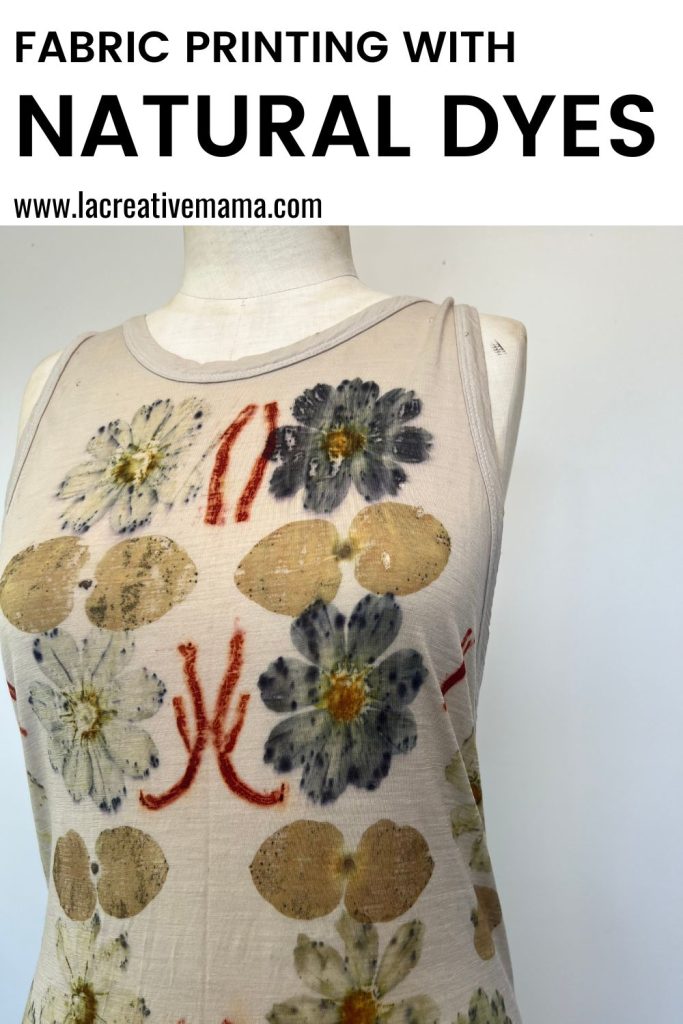
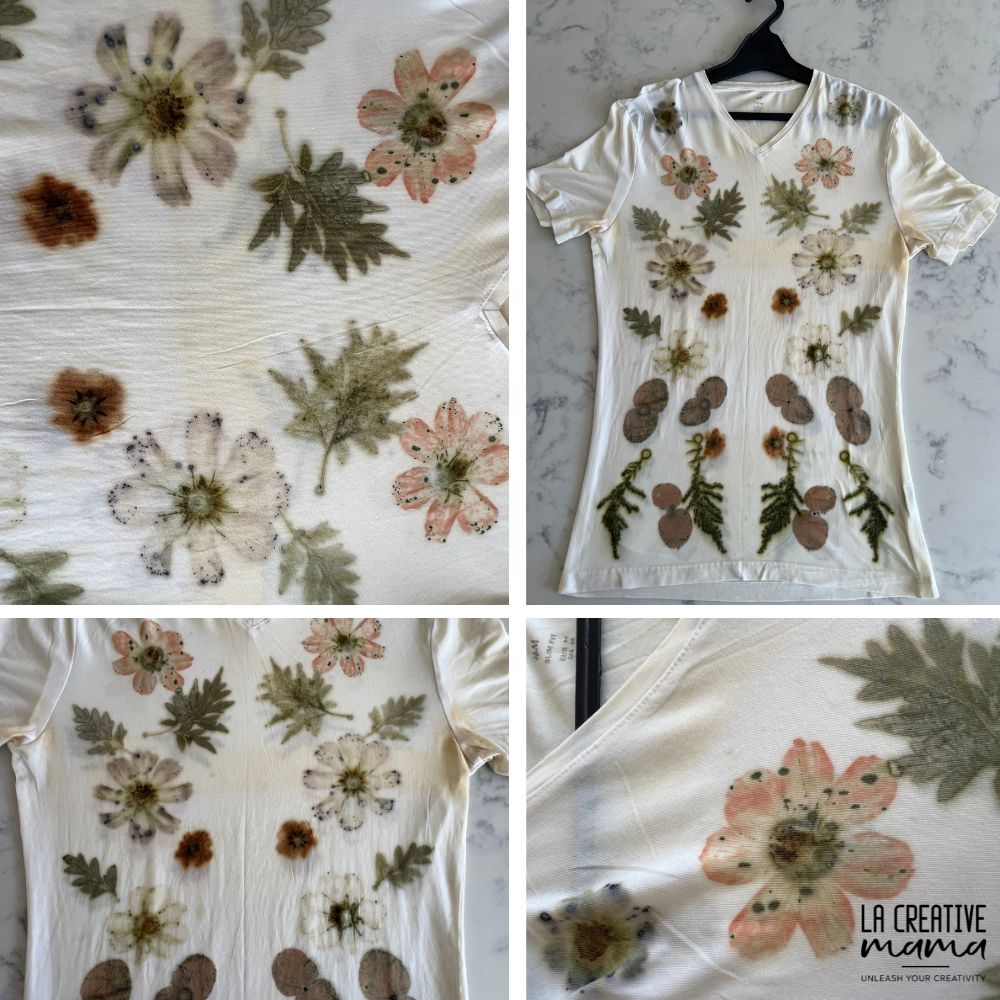
The big reveal! The photo bellow shows the result on the process described in the above steps. My favorite part of this project was the madder root I added at the last minute.
I hope you love this project and that you are inspired to go ahead and give it a go 🙂

If you are excited to start your eco printing practice using natural resources and natural materials in combination with different plants, check out the super popular Eco Printing ULTIMATE Course as well as all the other courses and resources inside La Creative Mama ACADEMY.
These are some of the prints that we will be making together once you become a student inside the Eco Printing ULTIMATE Course.

Can I combine fabric printing with other natural dyeing methods?
Yes! The use of natural dyes (dye solution) in combination with different techniques (block printing) or combined with a variety of printing techniques to create solid color as well as natural prints results in beautiful textiles and an enjoyable creative process.
Different methods within textile printing such as the iron blanket are great ways to get started when you don’t have any prior experience in the field.
You can explore bundle Dyeing as well as Solar Dyeing and all other methods of natural dyeing exploring dyes such as cochineal, onion skins, acorns and tea. You can also explore using natural dye extracts (my favorite is logwood).
Eco printing on paper is also a fantastic activity to do with kids as well as Hapa – Zome method which will keep your kids entertained for a long time during a long weekend or the school holidays!
Save this tutorial to your favorite Pinterest board!


you helped me alot
thank you so so so much😘😍
So happy to hear that, feel free to ask me any questions that you may have regarding these tutorials 🙂
Hallo, I’m so confused on steaming time. Does steaming leaves on cotton need to be steamed longer than flowers on silk? Both fabric have been scoured & mordant, cotton w/ alum acetate & silk alum triformate.
Thank you, Monica
Hi Monica, I always use the same steaming times no matter the fiber I am working with and I like to steam for 60 minutes as a general rule 🙂 I hope this helps. You seem to have prepared the fabric really well so as long as you are pressing your bundles tightly and using the right plants it should be great! Cheers Victoria