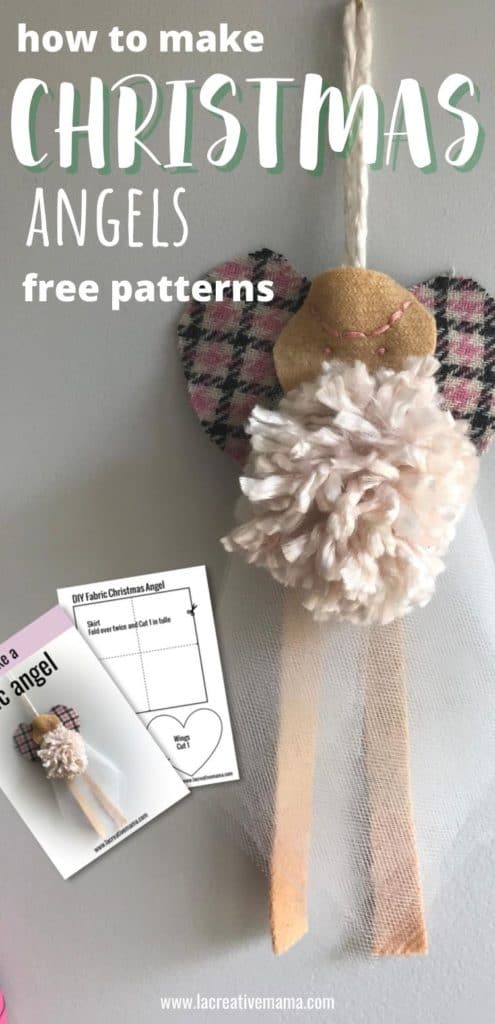
DIY your own fabric Christmas angel
Hi Creative Mamas! I wanted to share with you how to make a fabric Christmas angel. This is my favorite way to decorate my Christmas tree! I am originally from Argentina and I grew up in a very big catholic Italian family.
Ever since I can remember every night I would pray to my guardian angel. My mom told me that this guardian angel (the one that I would pray to) had been assigned to me the day I was born. It’s mission was to guard me, to keep me safe, specially at night while I was asleep.
And it worked! Every night I would feel safe and protected knowing there was a little angel looking after me.
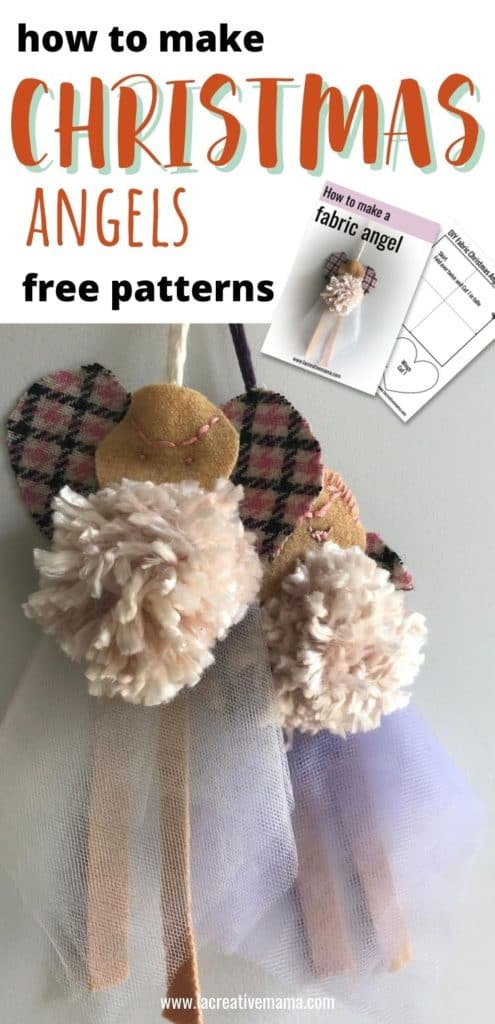
As a mom I have always tried to create a safe environment for my kids and all my three kids have learnt the guardian angel prayer in Spanish since the moment they could speak. Every night we do the prayer to the guardian angel and then we talk about our highs and lows for the day.
So, when it comes to decorate our family Christmas tree, my kids always like to do it with fabric angels everywhere. In this tutorial I will show you exactly how to make a fabric angel so that you can have fun making one (or lots) with your own kids.
Prayer to the Guardian Angel (in case you want to share this prayer with your kids)
Guardian angel prayer in English: “Guardian angel, sweet company, don’t forsake me, not at night, not by day”
Guardian angel prayer in Spanish: “Angel de la guarda, dulce compania, no me desampares, ni de noche ni de dia”
How to make your fabric Christmas angel
Making your own fabric angel is super easy. Follow these steps and you can make your beautiful fabric angel for your Christmas tree in less than fifteen minutes!
What materials do I need to make a fabric angel?
This post contains affiliate links, which means I receive a small commission, at no extra cost to you, if you make a purchase using this link. Please see my disclosure for more details.
Materials:
- PDF Fabric Angel Printable Pattern (available in my FREE RESOURCE LIBRARY— get the password for free by filling out the form below)
- Fabric and paper Scissors
- Wool fabric for wings (I used wool scraps but you can also use felt)
- Tulle for skirt
- Embroidery thread and needles
- Felted material for face. I used solar dyed felted wool that I dyed naturally using the Solar Dyed Method
- Woolen pom pom already made (Refer to “How To Make a Pom Pom” at the end of this post”)
PDF FREE Angel Printable Pattern

How to make a fabric angel tutorial
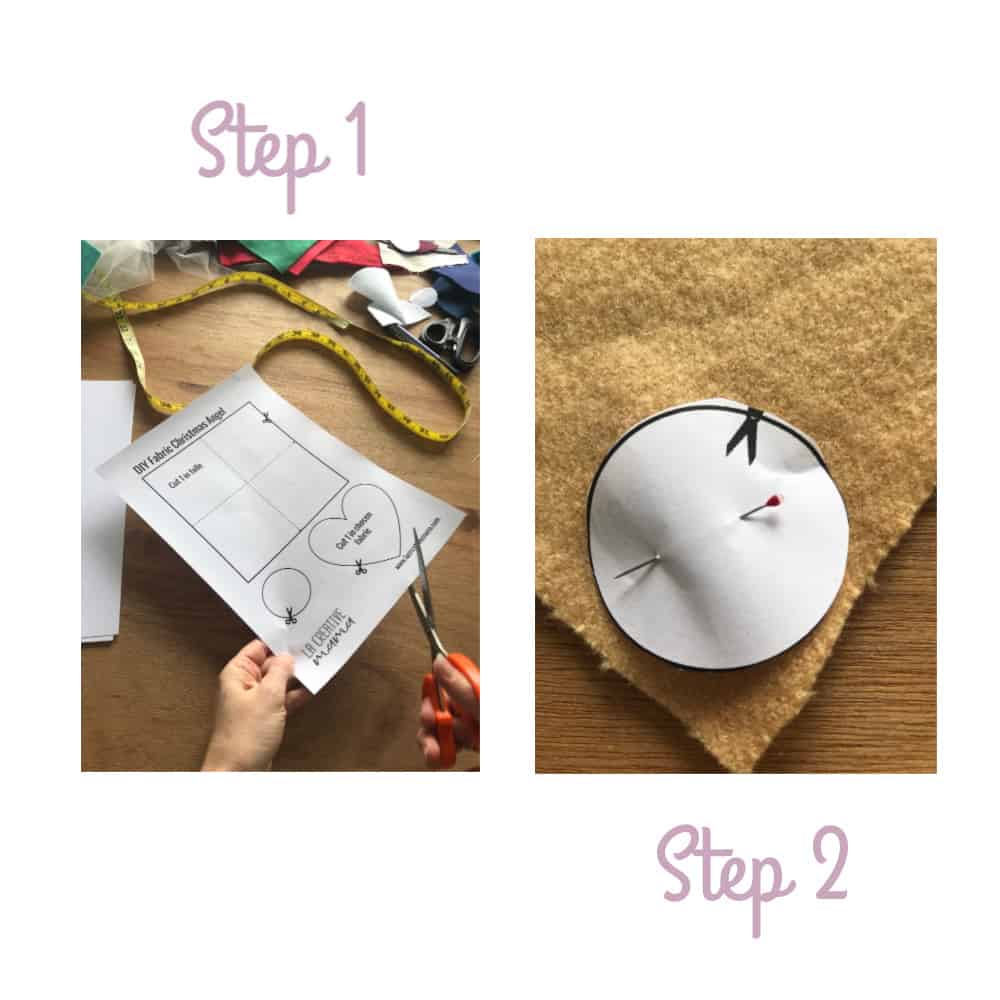
Step 1:
Cut around your Fabric Angel Printable Pattern
Step 2:
Pin shapes on fabric and cut fabric shapes
Step 3:
With a felt marker draw the eyes and the nose of the angel
Step 4:
Embroider the angel’s face following your drawn lines. Check out The Guide to embroidery stitches to choose your favorite embroidery stitch.

Step 5:
Fold the tulle over once and then fold again. You should have four layers. Then place the skirt of your Fabric Angel Printable Pattern on top of the folded tulle and cut around it.
Step 6:
Once the tulle is cut fold as shown in illustration step 6. Pin the top edge of the tulle skirt.

Step 7:
Place all the different elements side by side. We are now going to put them all together.

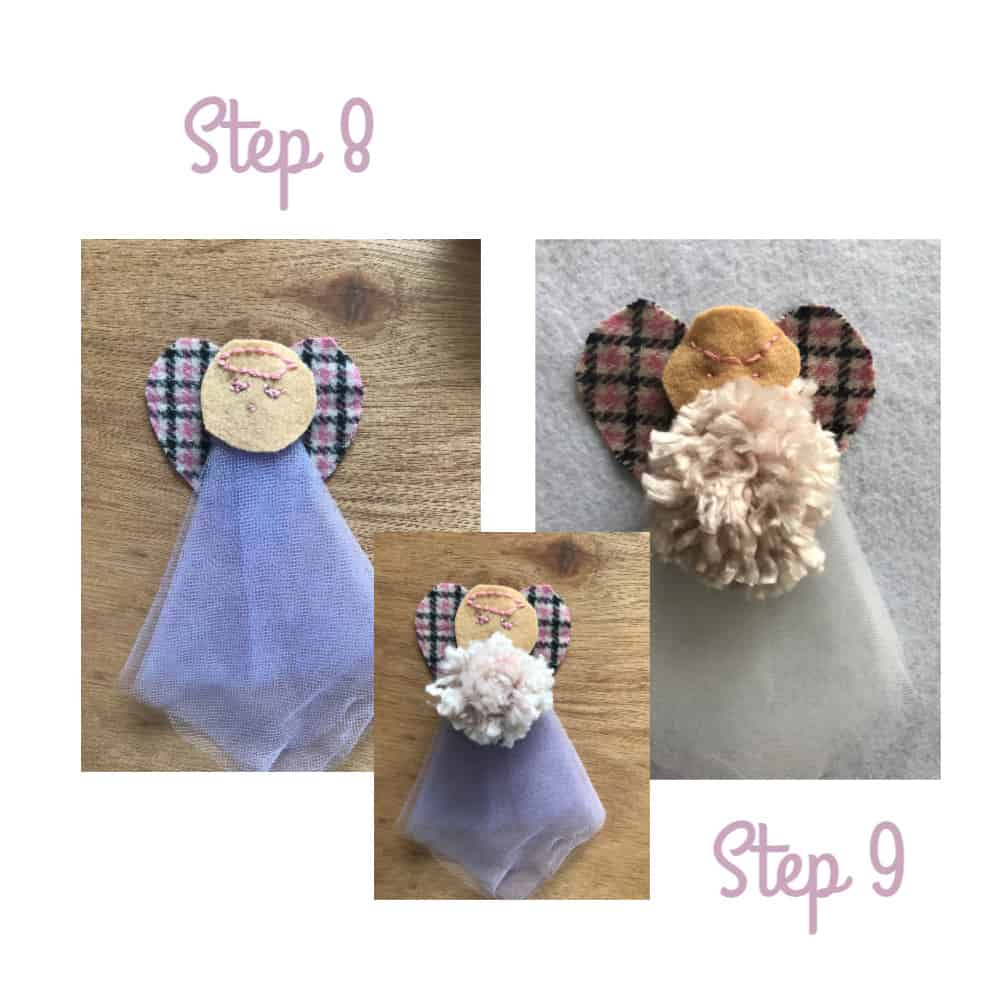
Step 8:
Stitch the skirt to the face making sure not to go through the whole felt layer so that it’s invisible and the thread doesn’t show on the right side of the angel’s face. Then stitch the wings to the skirt.
Step 9:
Stitch the pom pom through all layers of the angel. Finish with a strong know on the skirt. This know should be covered by the wings
Step 10:
Cut two long strips of felted wool and stitch them at the back of the tulle skirt. This know should be covered by the wings. I like to add these as in my imagination my angel has long legs as well as wings
Step 11:
Choose the same yarn as the pom pom yarn and make a little hanging loop to attach your angel to the Christmas tree, window, door or bed headboard to guard your dreams.

Your Christmas fabric angel is done! You may be wondering how to make those gorgeous pom poms. Below I share with you exactly how to make them but you can also check out this tutorial for an extensive post in different ways to make different types of pom poms.
How to make a Pom Pom
I started using this Pom Pom Maker a couple of months ago and I am in love with it. Before we used to use our fingers, like my grandma taught me, then we moved to cardboard. But both these methods were too hard for my daughter to use.
So I kept looking an found this little tool which is super easy to use for adults and kids alike. I also love that this pom pom maker allows you to make two different sizes. This step by step demo was done by my nine year old daughter.
Materials:
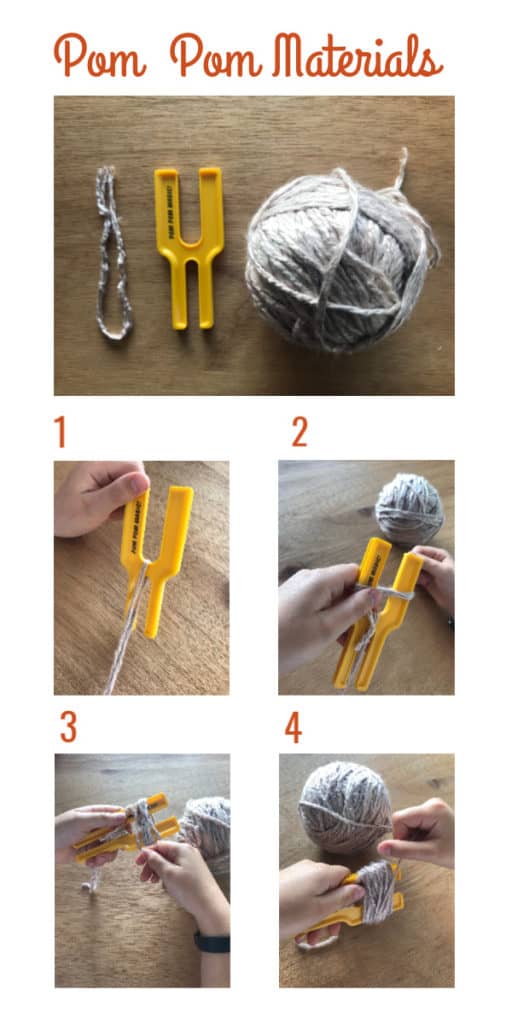
- Pom pom maker
- Yarn (I like these colors but you can use any color palette that suits your Christmas decor)
- Fabric scissors
How to make a pom pom tutorial
Step 1:
Cut a small length of yarn (same as the pom pom yarn you are using) and place it in the pom pom maker as in the picture
Steps 2,3,4:
Wind your yarn around the pom pom maker. The more winding the better and richer your pom pom will be.
Steps 5,6,7:
Gather the windings with your piece of yarn and make a very tight knot.
Steps 8,9,10:
Cut along the grooved out edge of the fork. You need a sharp pair of scissors for this step. Take your time.

Step 11:
Once you remove the pom pom from the pom pom maker tie a know in the opposite direction of the previous knot. this will secure your pom pom yarn and avoid from falling apart.
Step 12:
With your fabric scissors trim the pom pom until you have a smooth and uniform sphere.
Step 13:
Place pom pom in angel’s body

I hope you make lots of Christmas angels to decorate your Christmas tree! Let me know how you get on and reach out with any questions that you may have 🙂


