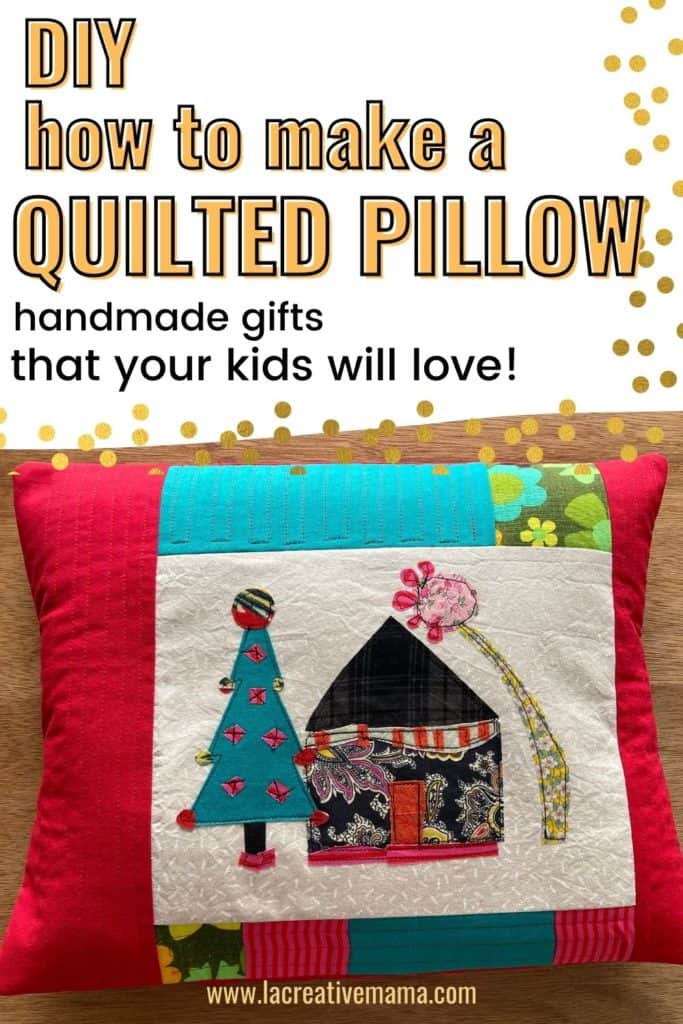
Hi Creative Mamas! Welcome to my super easy and quick way to make a quilted pillow cover! In this tutorial I will show you a step by step method so that you can transform any fabric collage, mini quilt or applique work into a fabulous quilted pillow cover.
This tutorial is the continuation of the tutorial: How to make a DIY Christmas pillow {super cute}
What is a quilted pillow?
A quilted pillow is a little quilt or mini quilt which you sew a back onto it so that it makes it possible to insert an inner pillow inside.
The pillow top can be a patchwork, an applique or a simple piece of fabric which is quilted. There are many ways to quilt, in this case I quilted my pillow top with 100% cotton batting. I then sewed it to a lining to enclose the batting and proceeded to make the pillow.
You can combine different techniques such as quilting, applique , patchwork and fabric collage in many different ways. Check out this really comprehensive guide on how to get started with creative sewing crafts for ideas and inspiration.
How do you make a patchwork pillow?
A patchwork pillow is a pillow that has been pieced together, usually by machine but can definitely be done by hand sewing as well. Check out this example of a patchwork pillow which is made of naturally dyed fabric scraps. The scraps were sewn together using the traditional log cabin patchwork pattern and was later quilted.
To learn the basic embroidery hand sewing stitches check out this tutorial.
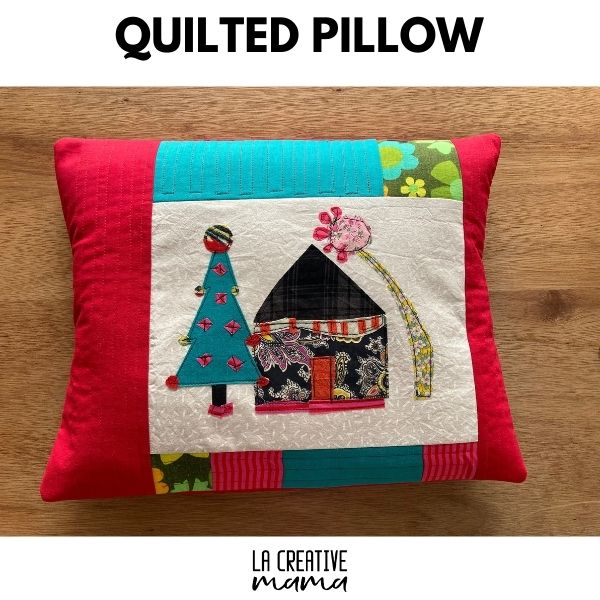
For this tutorial I am using the Christmas pillow top which is an applique collage and has a patchwork detail on both top and bottom edges. To make the Christmas pillow go to the tutorial here.
Quilted pillow pattern
For this tutorial I am using an applique and patchwork pillow top which was made for Christmas. Check out the tutorial here. I am transforming it by quilting it and making it into an envelope pillow cover.
To sew the pillow cover I am using this very basic envelope pillow pattern. Please note that the measurements are a simple guide and a reference. You can easily adapt them to whatever measurements your pillow top is.

This post contains affiliate links, which means I receive a small commission, at no extra cost to you, if you make a purchase using this link. Please see my disclosure for more details.
Sewing Materials and tools:
- Pillow top (you can use a mini quilt or an applique project or my favorite Christmas Pillow)
- Fabric scraps to match the pillow top and for the lining of the pillow
- Matching thread
- Sewing machine and sewing supplies
- 18” by 18” (46 cm x 46 cm) pillow insert
- 100 % cotton batting (I love this brand!)
- Quilting Ruler
- Rotary cutter
- Cutting mat
Step 1: Getting ready to make the quilted pillow top
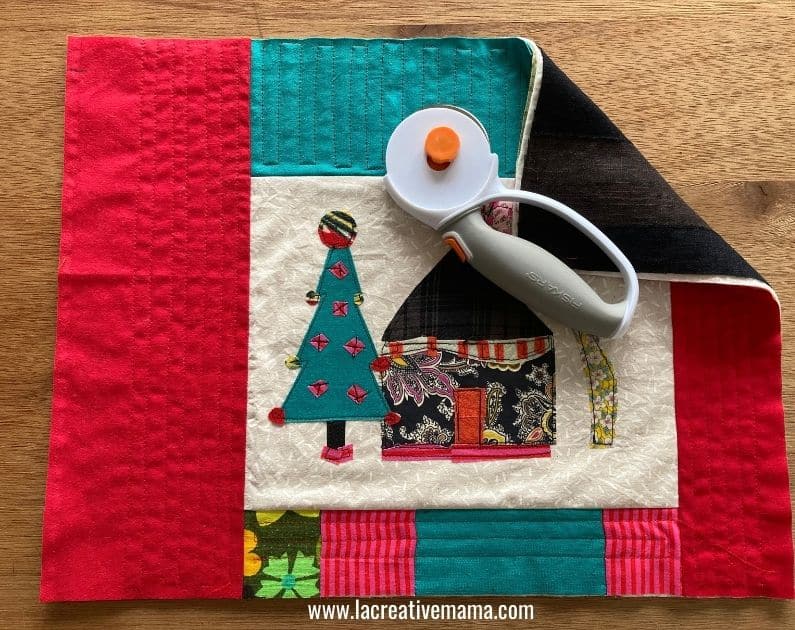
Place the pillow top on your working surface. Using the quilting ruler and the cutting mat make sure that your pillow top has 90 degree angle corners.

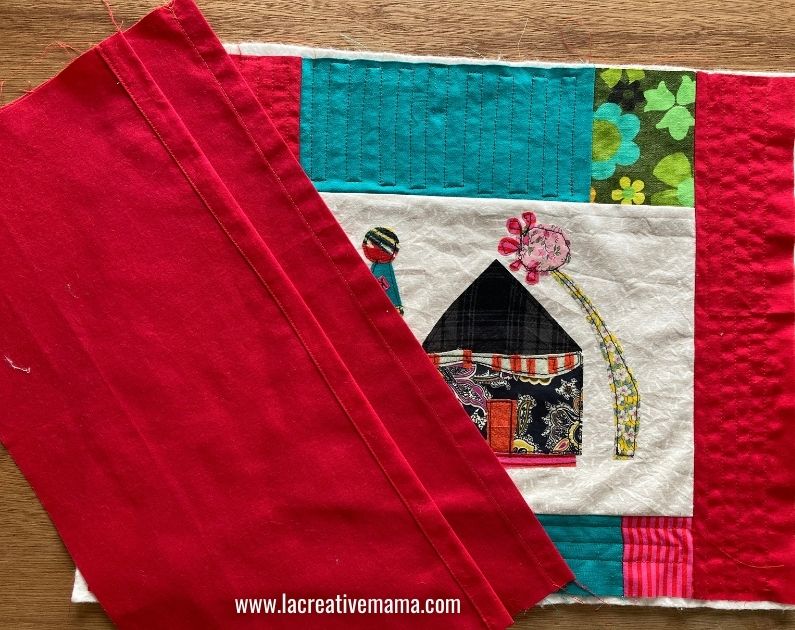
Choose a backing fabric to match the pillow top. In the photo below you can see that I placed my pencil where I need to cut my backing fabric.
The back of the pillow will be made out of 2 pieces measuring the same. They need to overlap in the middle creating an opening, so that when the pillow insert is inside its concealed and totally covered.
Therefore if your pillow measures 19 inches wide you need to cut 2 pieces 13 inches wide. The length for the backing fabric will be the same as the pillow top. See pattern illustration above.

Cut the two back pieces and a batting piece measuring the exact same as the pillow top.

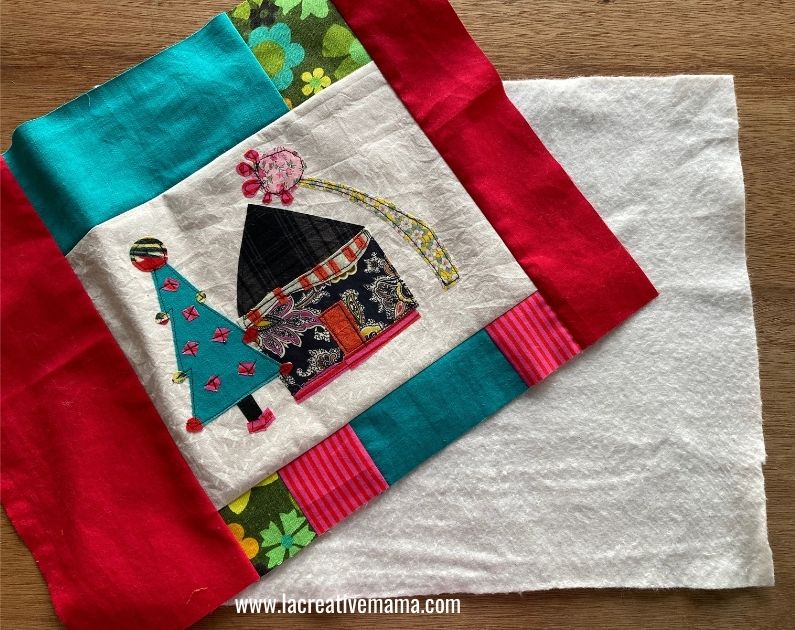
Place the pillow top on top of the batting piece.
Step 2: Quilting the pillow
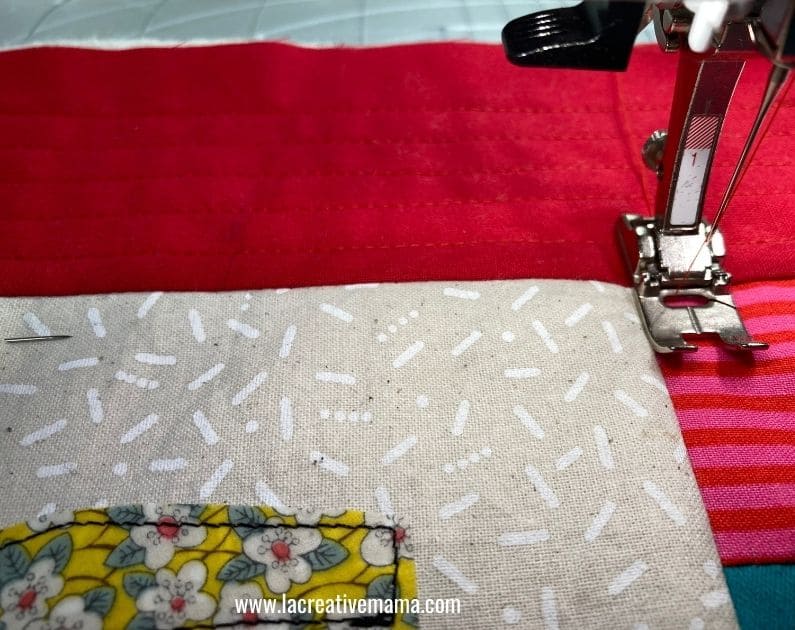
Using your sewing machine start quilting. In order to do this you need to choose the areas in the pillow that you will want to quilt. It can be the whole area or it can be different separate parts of the pillow. It depends on the effect that you want to create :).
If you are quilting the whole pillow top make sure to start quilting from the middle out. Start in the middle and quilt your way to the left and then come back to the center and quilt your way to the right.
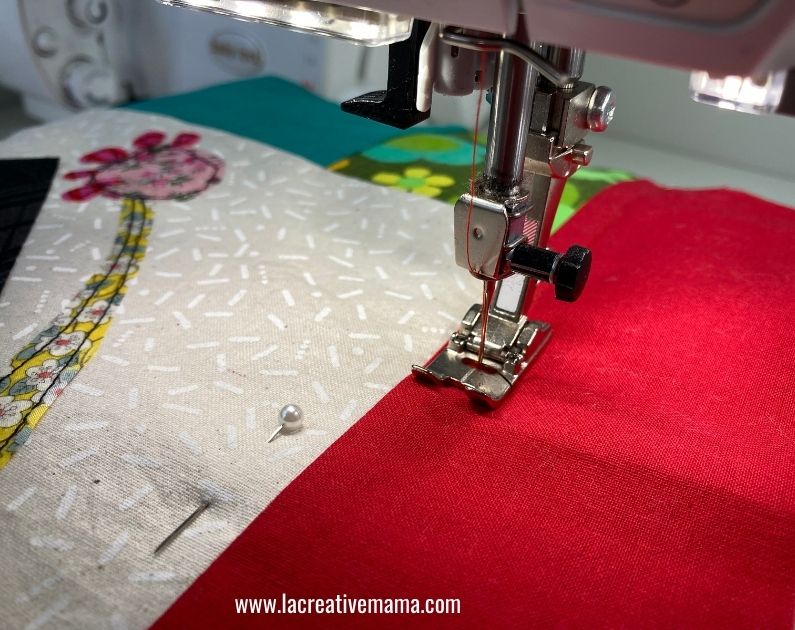
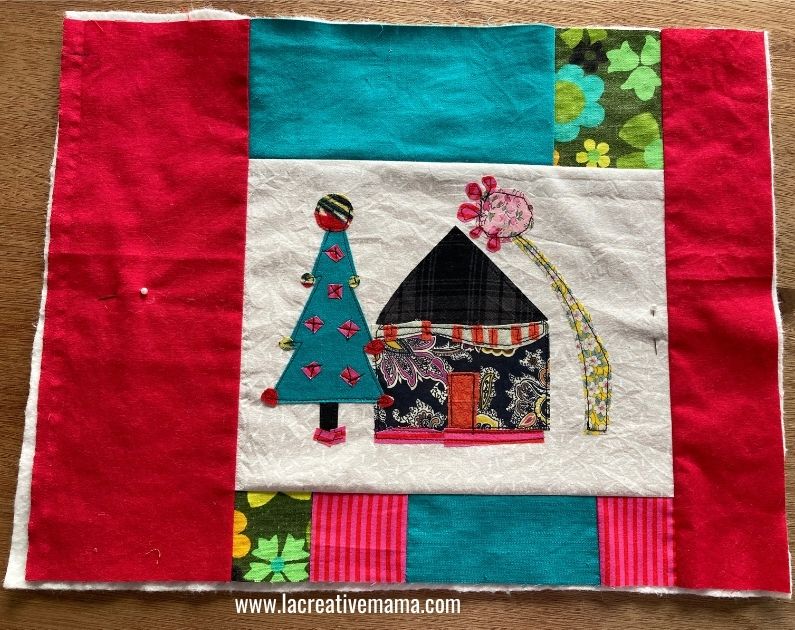
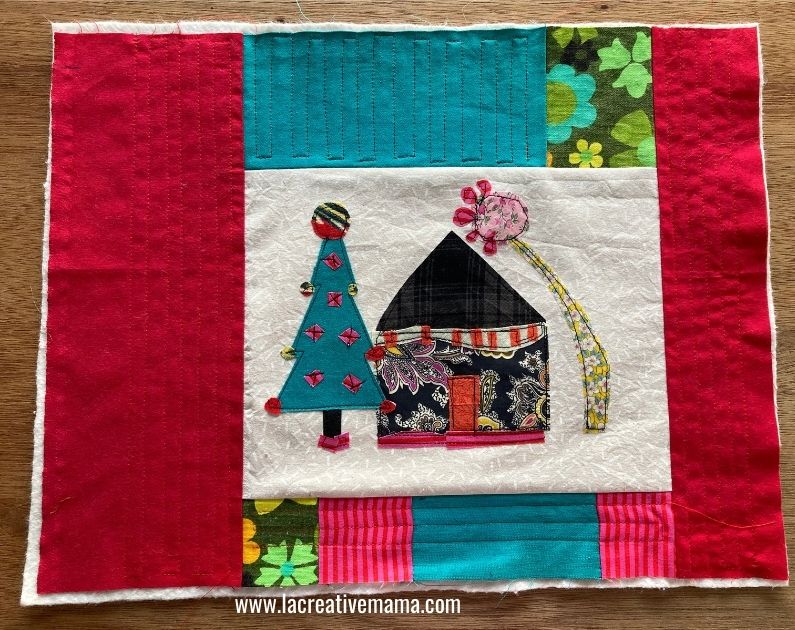
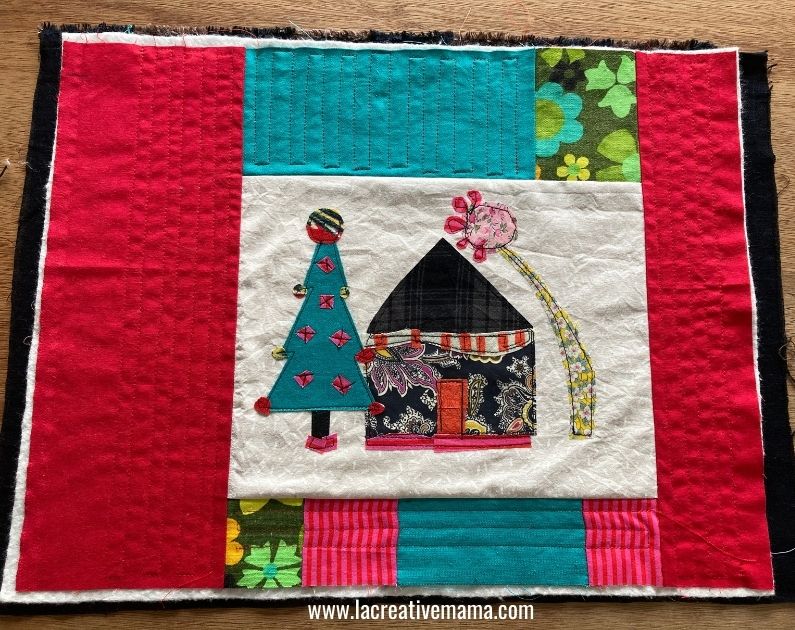
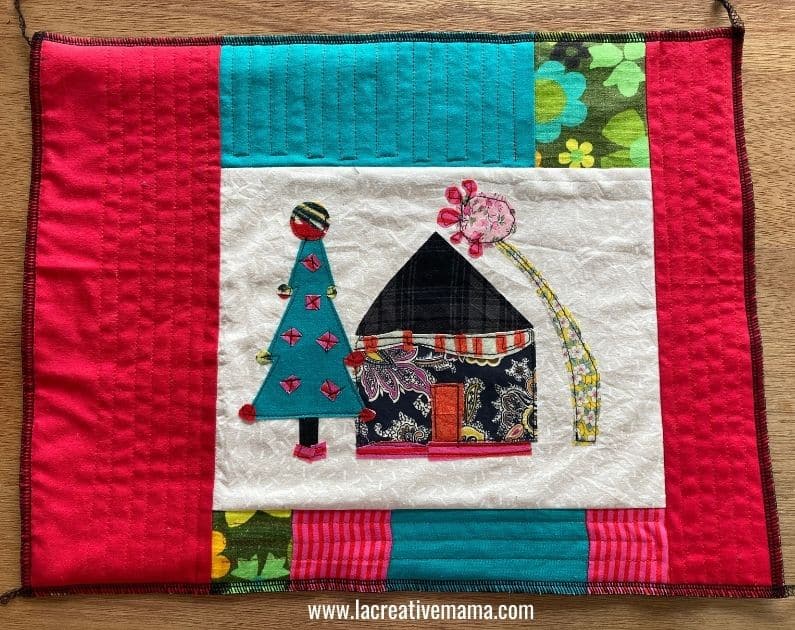
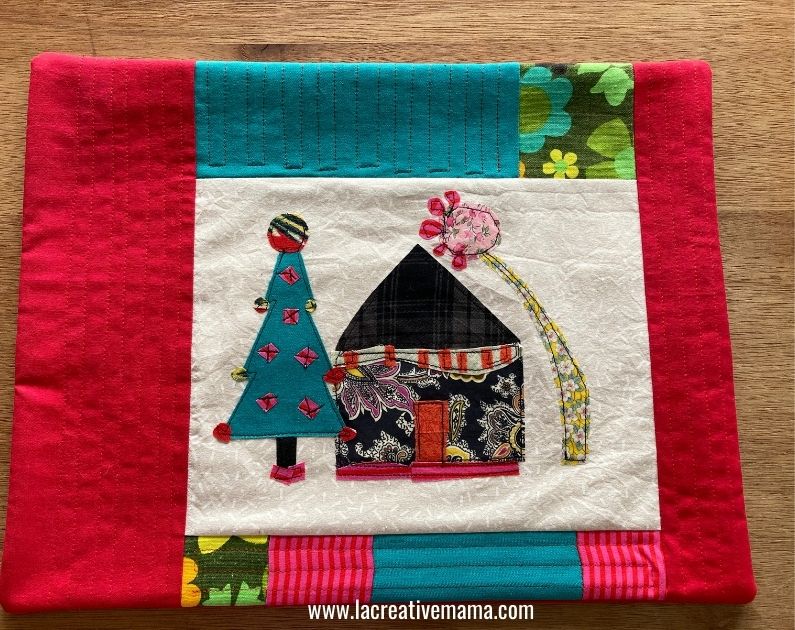
In this case I just wanted to quilt the edges because I loved the Christmas applique the way it was :).

This is how my quilted pillow looks after I am finished quilting it. Let’s get onto the pillow making now !
Step 3:
Cut 2 back pieces. For this tutorial I am following the measurements provided in the pattern at the top of this tutorial.
My pillow top is 19 inches by 19 inches. So this were my measurements for this christmas quilted pillow:
- Front piece: 19 inches by 19 inches
- Two back pieces: 19 inches by 13 inches
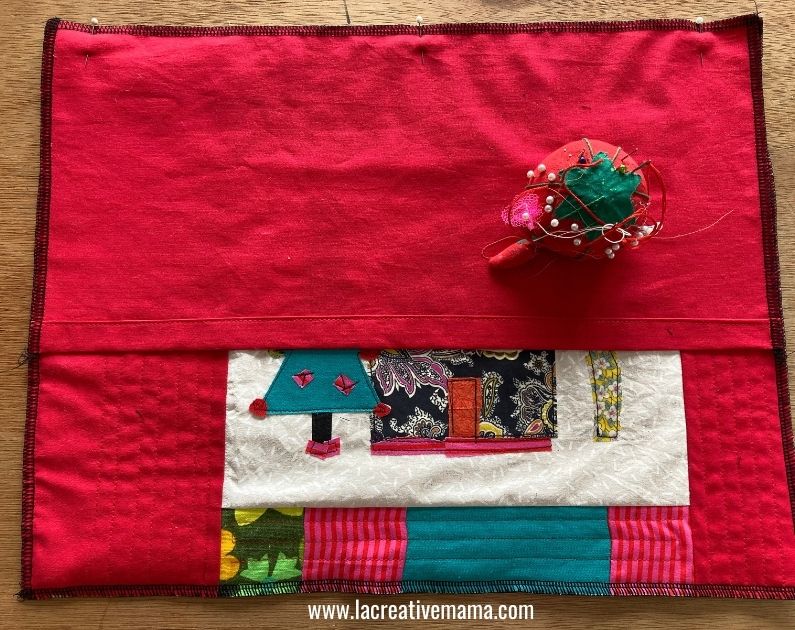
Roll the top edge of both back pieces twice and pin. This will be the hem in both back pieces.
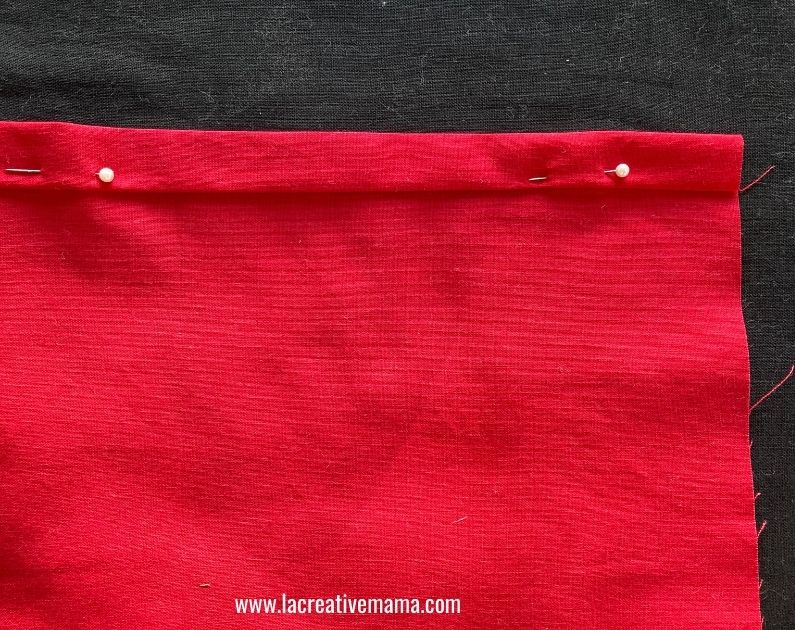
Sew a straight line.

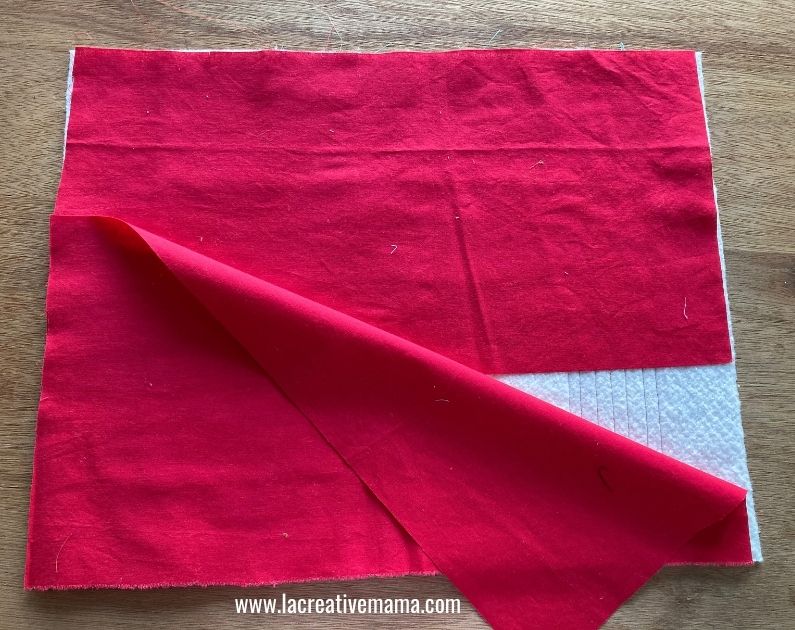
Step 4: Lining the quilted pillow top
Choose a lining for the quilted pillow top. This is a nice thing to do so that you don’t see the batting from the inside of the pillow cover. Also this is a great way to use fabric that you have from previous projects that don’t match with anything.

Place the quilted pillow top on top of the lining.
Using the quilting ruler and the rotary cutter trim edges.
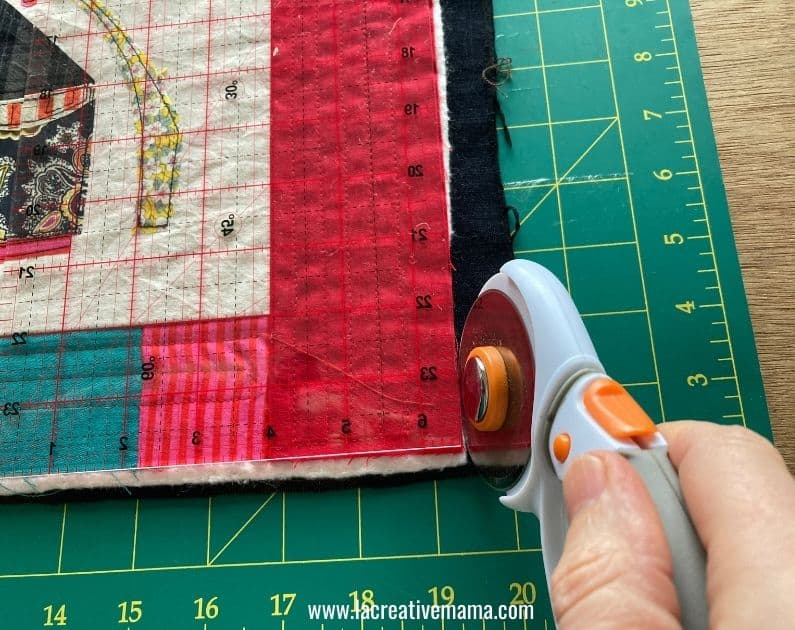
Now the quilted top is ready to be sewn into a pillow.
Step 5: Sewing the quilted pillow
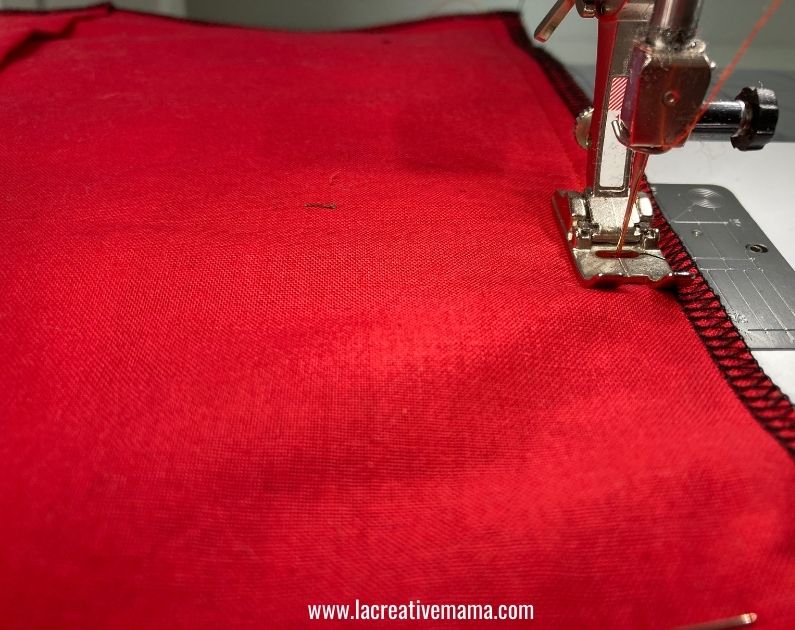
If you have a serger/overlocker sew around your pillow top. If you don’t have one a simple zig zag stitch will be just fine. This will sew all three layers of the pillow top.
Overlock/serge around the 2 back pieces too.
Pin the 2 back pieces to the front piece. Make sure that the right sides are touching so that you can only see the inside part of the pillow.
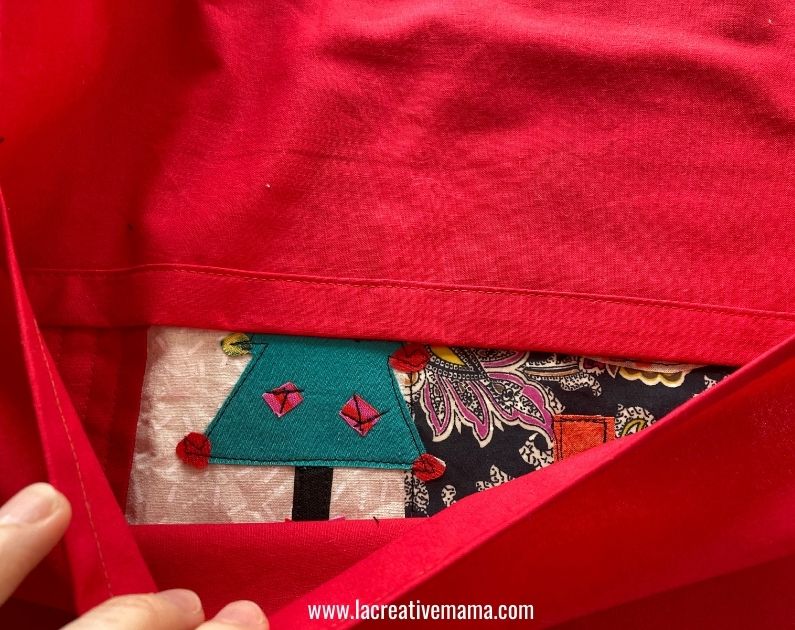
As you can see in the photo below the 2 back pieces are overlapping.

Sew around the whole pillow with a 1/4 inch seam allowance.
The finished sewn pillow should look like this from the inside.

Clip the corners.

Flip the pillow inside out.
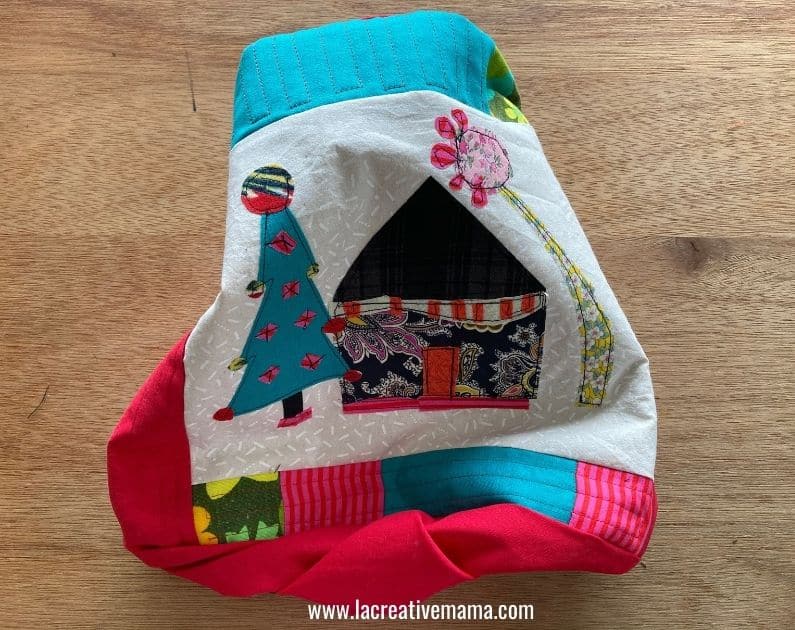
This is how the finished quilted pillow looks after its been sewn.
Give it a good press!

Insert the inner pillow and enjoy or give away !!!!!!

Save this tutorial to your favorite Pinterest board!