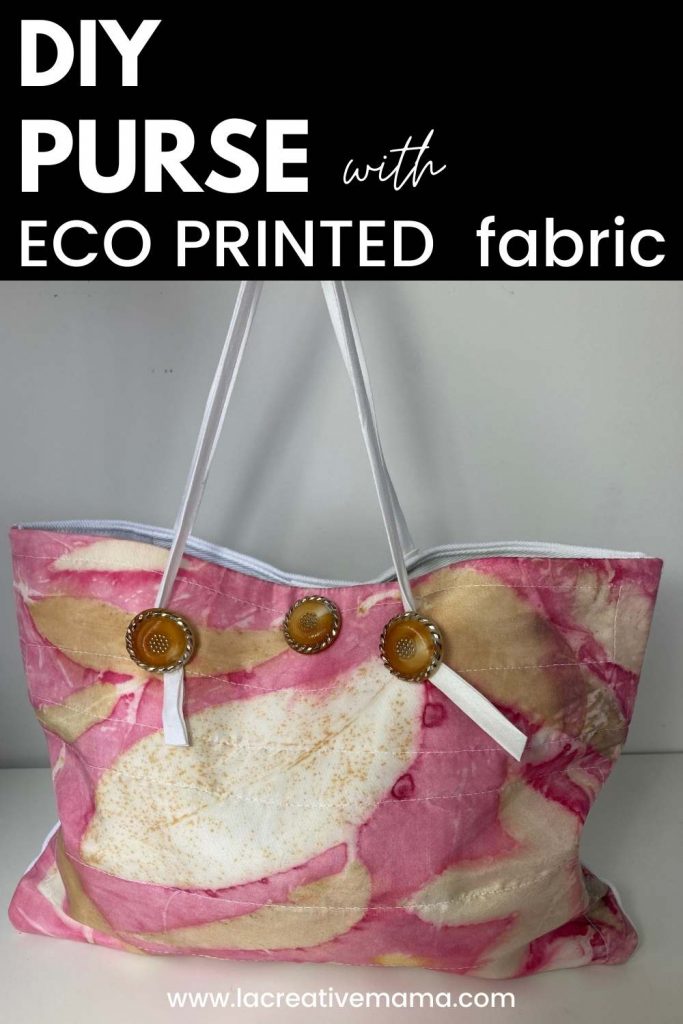
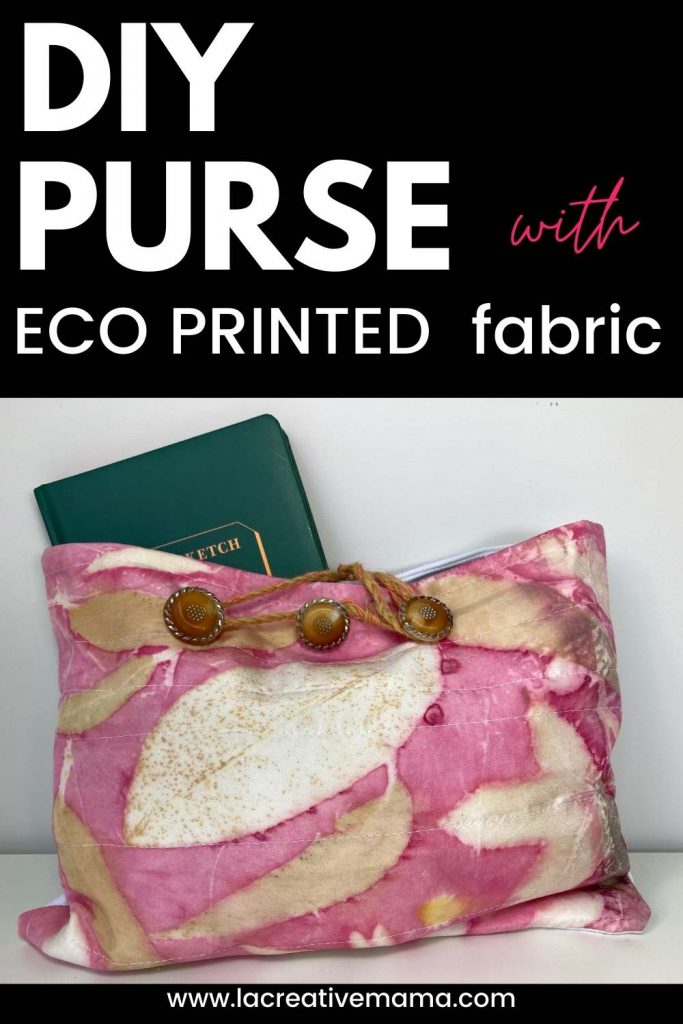
Hi Creative Mamas! I am so excited to share with you how to make a DIY purse using eco printed fabric.
This silk fabric has been eco printed using a color blanket with cochineal dye. Eco printing is a beautiful and very rewarding natural dyeing process that has many layers to it.
For this tutorial I will be using a fabric piece that was created as part of the Eco Printing on Fabric Course.

You can also download the DIY Purse FREE PATTERN (available in my FREE RESOURCE LIBRARY— get the password for free by filling out the form below)
Purse fabulous ideas
This purse was created with the idea of multifunction in mind. I wanted to make a purse that could have several uses depending on the time of day, the occasion and the need.
It can be used as a:
- tote bag
- diaper bag
- tote bag
- messenger bag
- clutch
- envelope bag
It’s the perfect size to use as any of the above mentioned bags 🙂

Purse tutorial
This post contains affiliate links, which means I receive a small commission, at no extra cost to you, if you make a purchase using this link. Please see my disclosure for more details.
Materials & equipment
- Eco printed fabric or any kind of printed fabric you love
- White canvas fabric (for bag and facings)
- Buttons
- Tape or yarn for closures and handles
- Sewing machine
Quilting the eco printed fabric
Download your FREE Pattern and gather your fabrics.
Cut 2 pieces of canvas fabric for the back and front of the bag.
Cut one piece of the eco printed fabric (or any other kind or printed fabric)

Place the printed fabric on top of one layer of the canvas fabric and quilt it by sewing straight lines with your sewing machine.
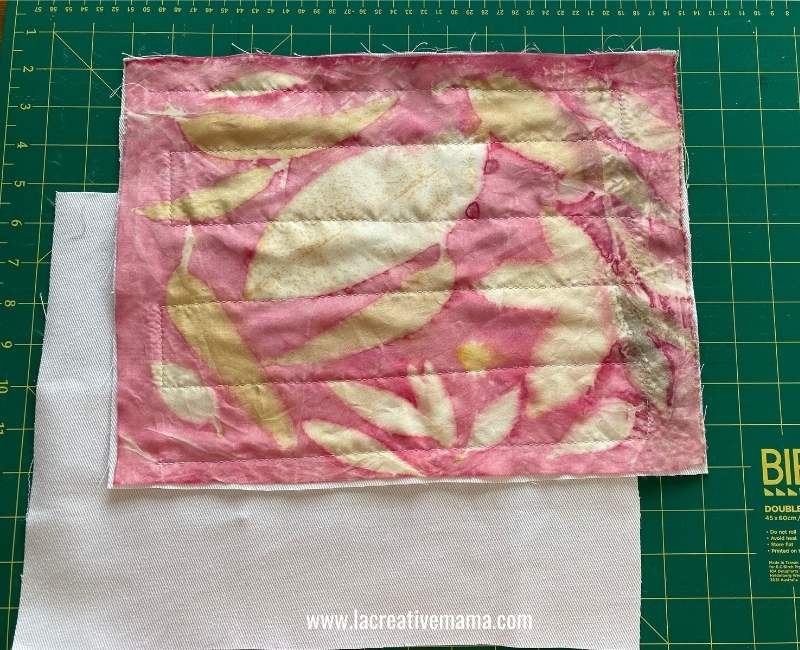
This will create another layer of texture to your already printed fabric.

Sewing the purse
Place the stitched layers on top of the other canvas piece (back of the bag) and stitch around the side seams and the bottom.
Make sure to leave the top of the bag open.
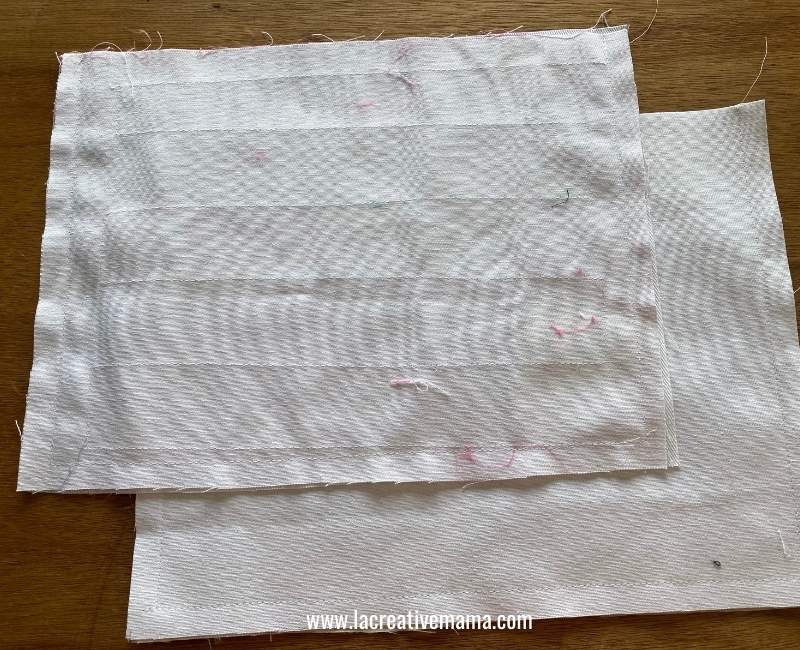
You can neaten the raw edges by sewing a zig zag stitch or by overlocking/serging around the seams.
Turn the envelope inside out.
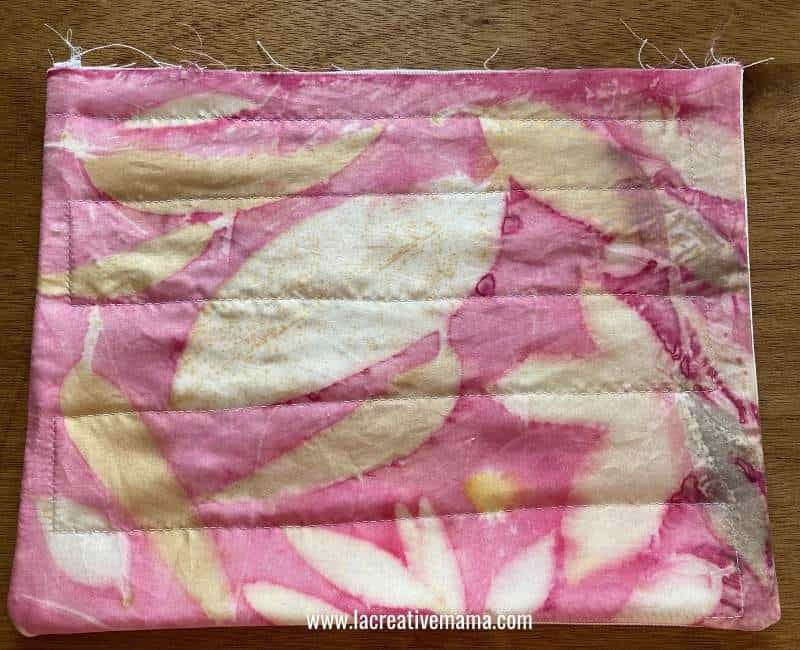
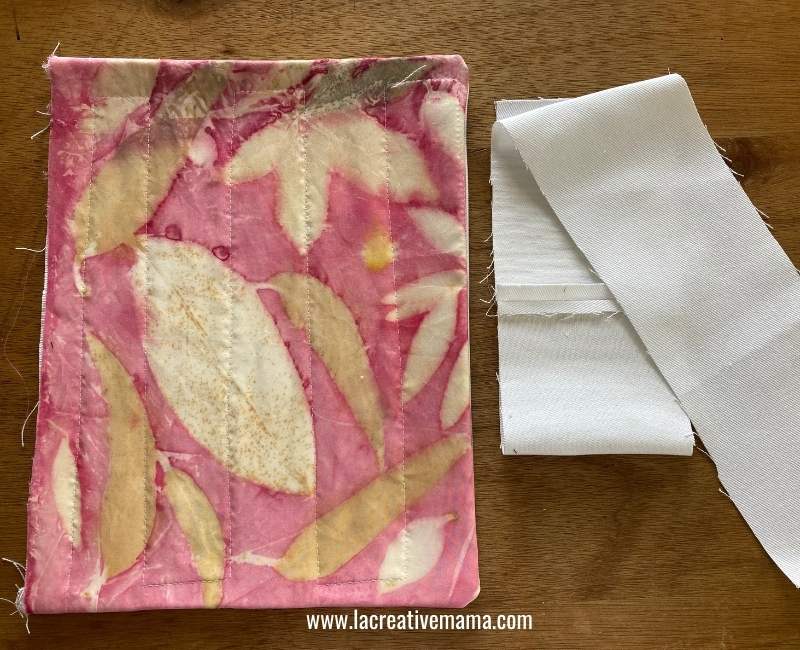
At this stage you should have a nice fabric rectangle. It’s time to add the facings.
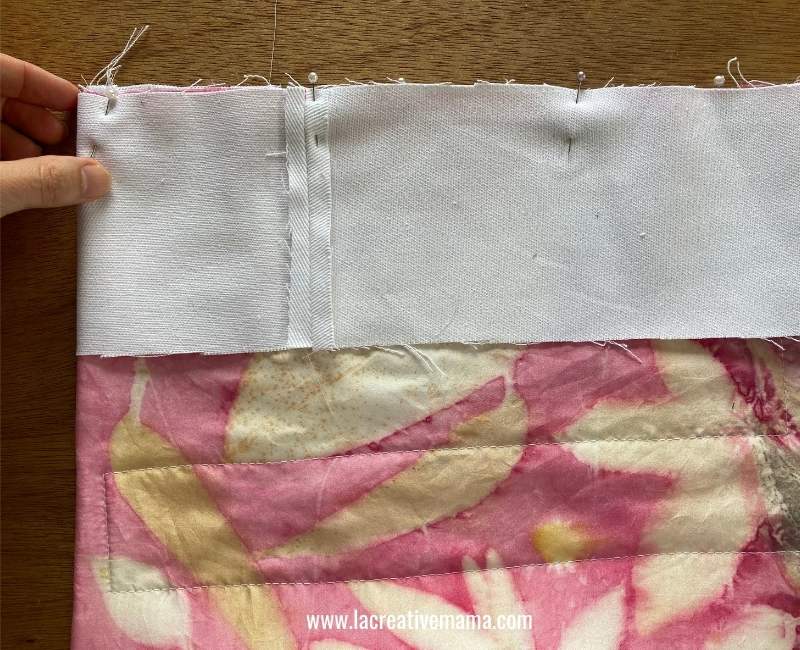
Cut the facings. You can use one piece of fabric or sew 2 or 3 pieces together.
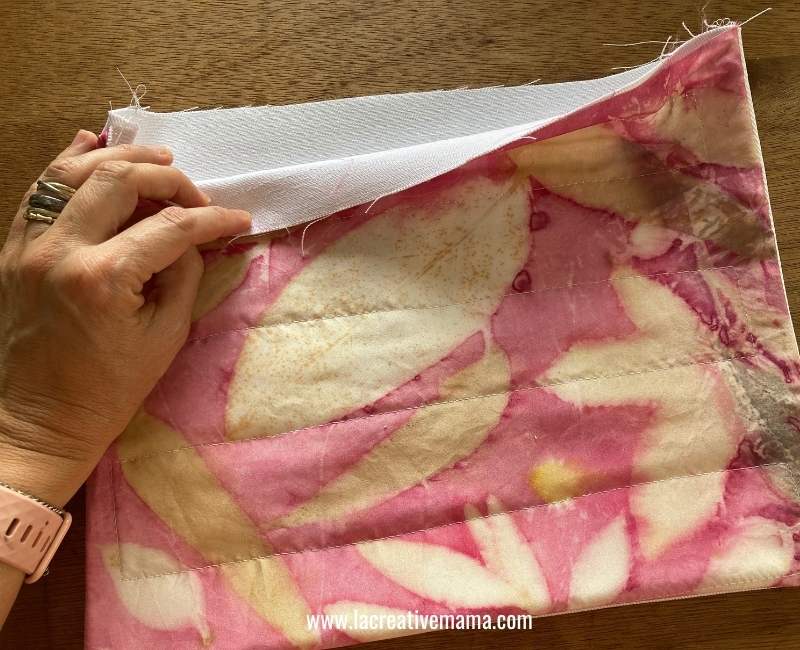
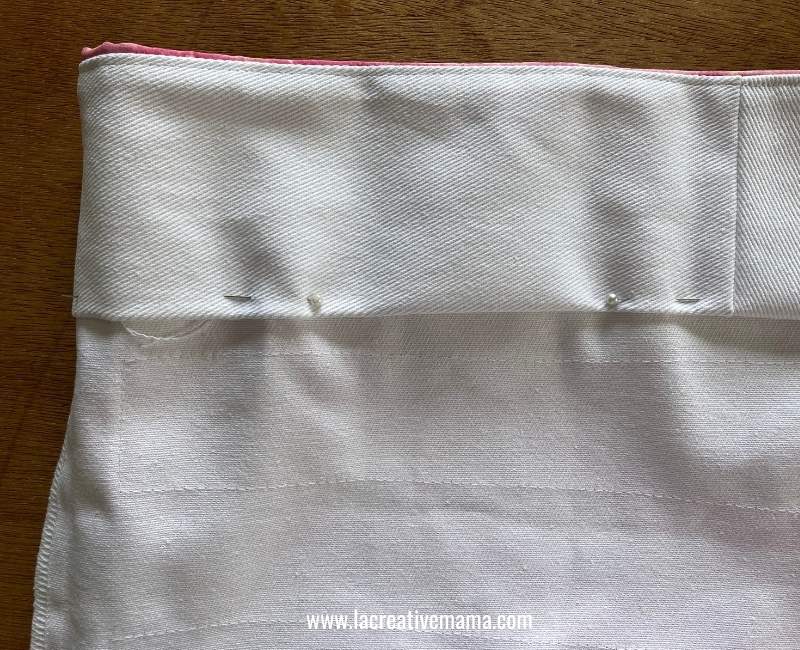
Pin the facings to the top edge of the purse.
Make sure you start by folding the facing edge in itself so that the facing doesnt show a raw edge 🙂
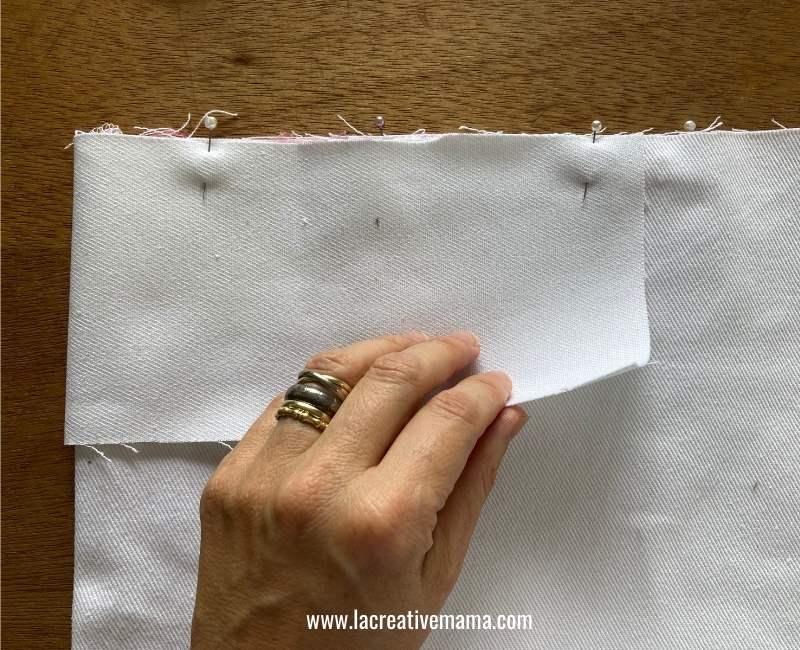
Pin all around and sew using the sewing machine.
This is how it will look at this stage of the process.

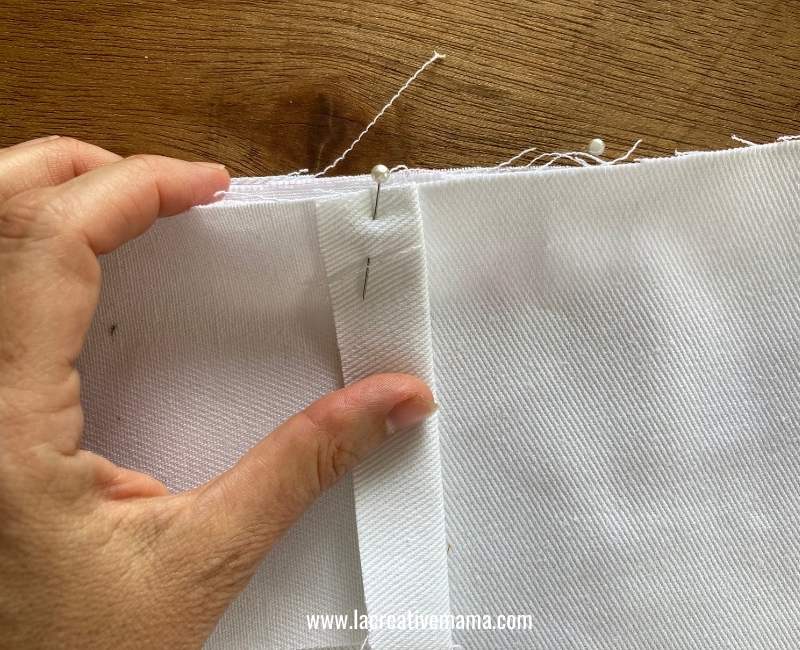
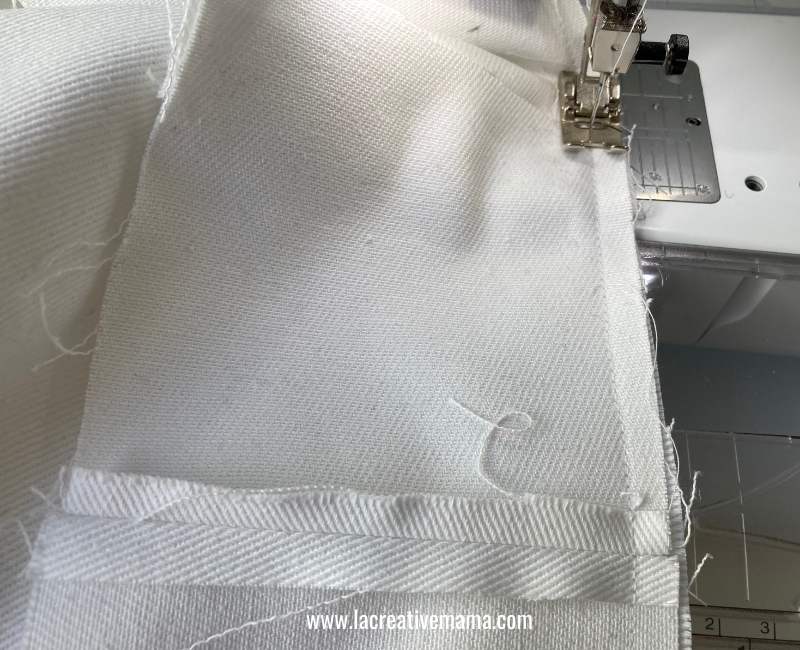
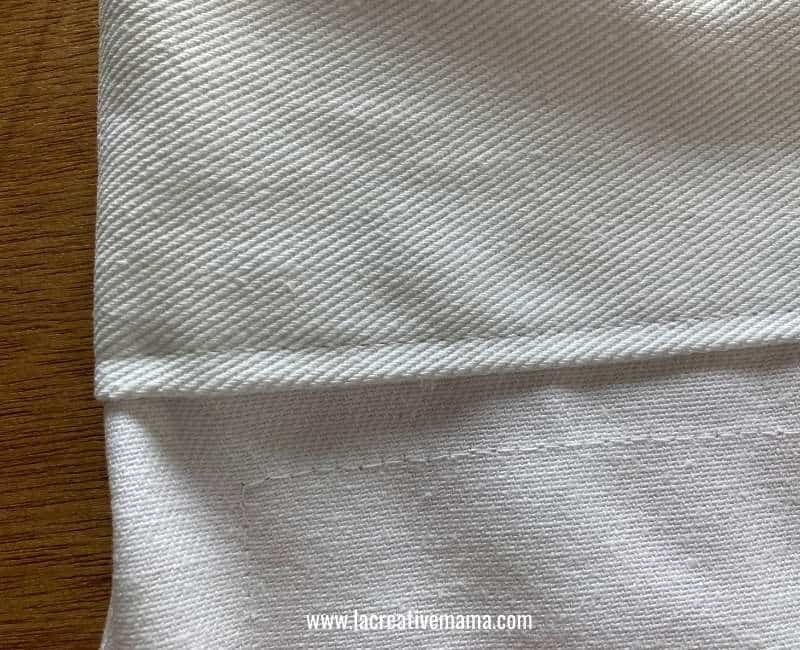
Pull the facings away from the purse and make sure that the seams inside are all tucked under the facing sode.
Sew a edge stitch so that all the seams are sewn towards the facing.

This will create a nice finish and the facing won’t roll towards the outside of the purse.
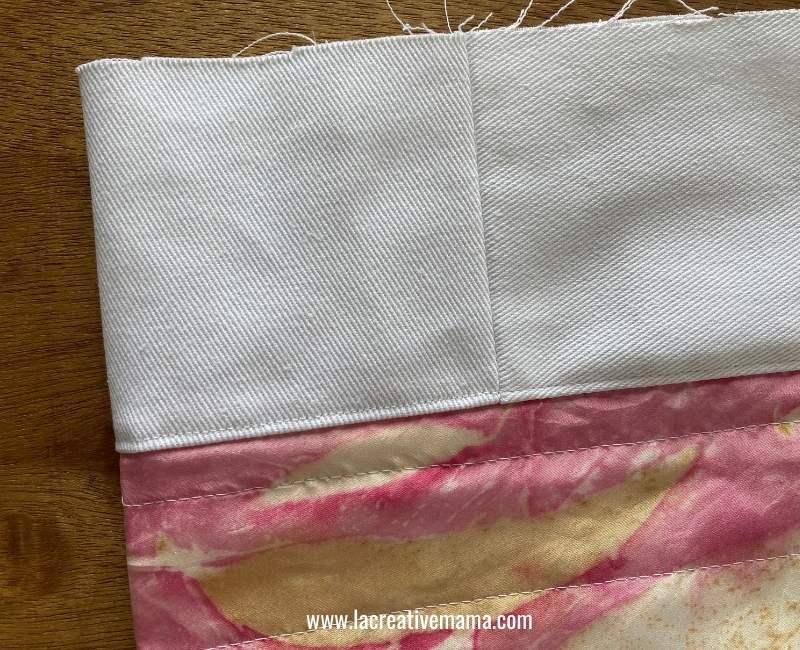
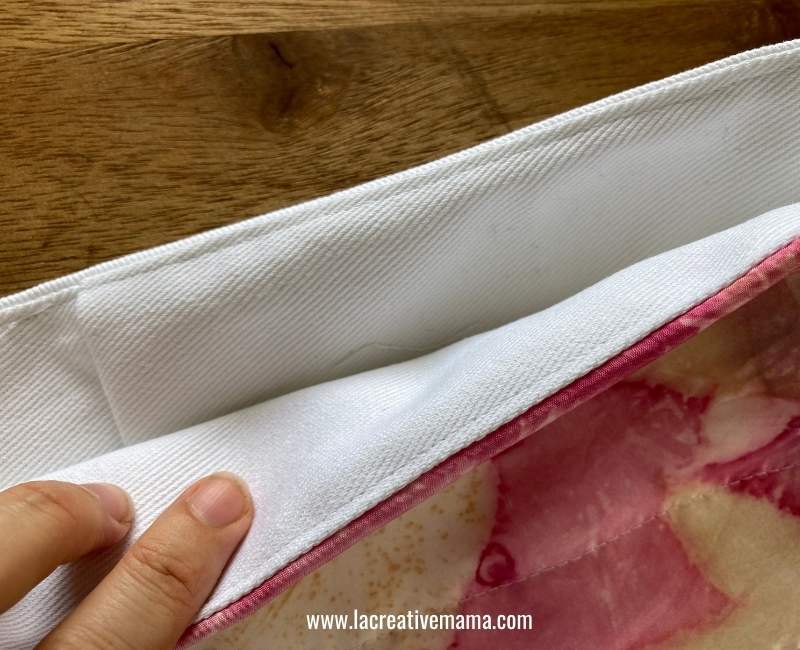
Fold the facing edges making sure to measure as you go along.

Pin in place.
Stitch the facing in place. You will be stitching through all the layers and this will add another layer of quilting to the outside :).
Adding the purse handles
I have done this in 2 different ways by getting creative with some vintage buttons.
First choose your buttons, you will need 2 or 3 in each side of the bag.
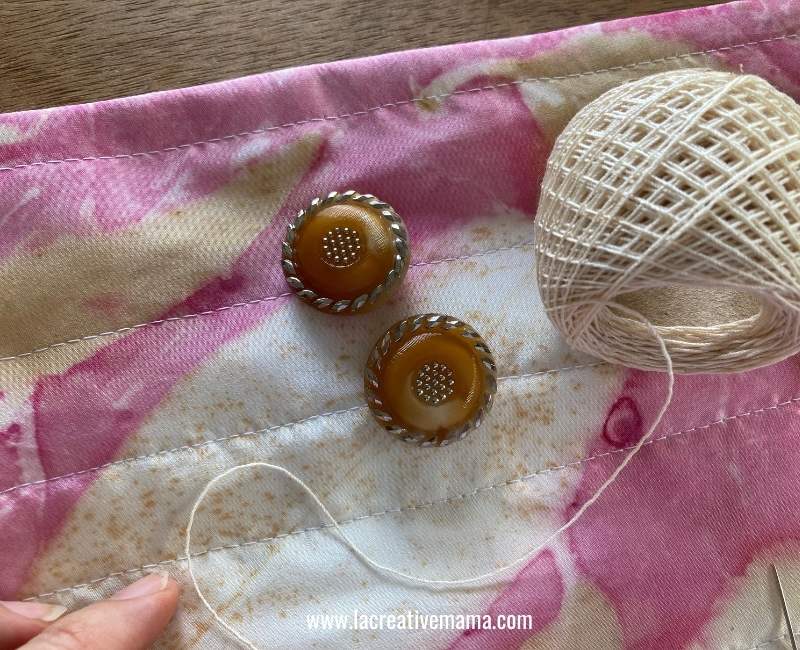
Sew the buttons in place. You can check out how to sew a button the easy way here.

Make sure the buttons are secured.
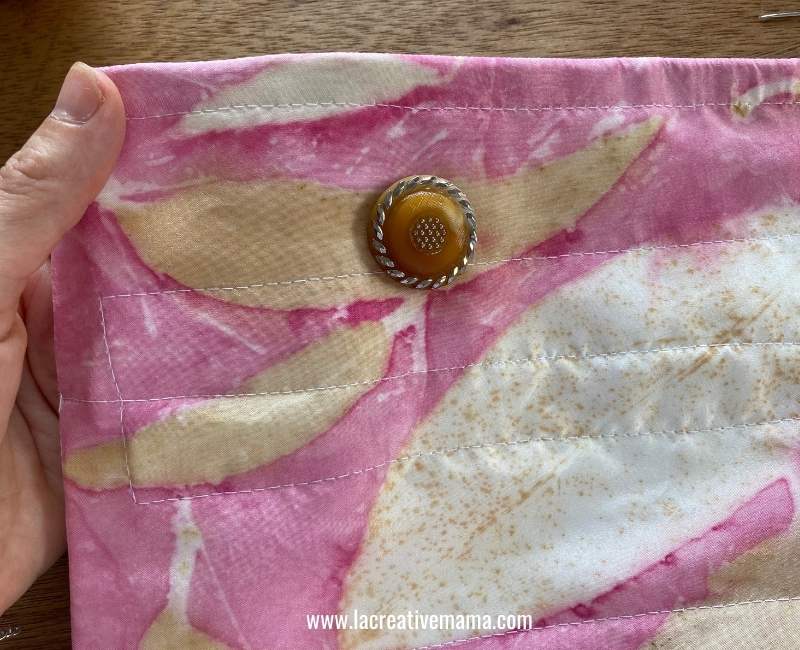
Using cotton tape, roll the tape around the buttons and make a knot. This will create the handles as shown in photo.

The other option is to grab a piece of tape or yarn and close the bag by rolling the yarn around the buttons.
This is a nice thing to do if you are using the bag as an envelope bag, a clutch or a diaper bag.

For more handbags ideas and free patterns check out these tutorials:
- How to upcycle old jeans into a tote
- Adorable quilted bag
- Reversible tote bag
- Grocery shopping DIY tote
Save this tutorial to your favorite Pinterest board
There are too many purses out there so making your own unique handbags is an awesome idea!
Thank you very much for sharing your bag tutorials. I will have a go at making them. I love making & being creative. I like making bags.